For the longest time, I’ve been avoiding buying clothing, because “I’m going to sew myself some clothes that fit”. Occasionally, I’ll run out of things to wear, because I still haven’t sewn any, and I’ll break down and buy some clothes from a thrift store, since it’s a lot less painful to spend only a little money on ill-fitting clothes I hate to wear than buy them new.
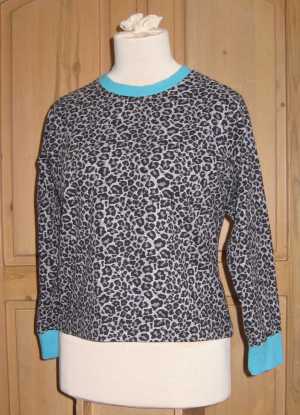
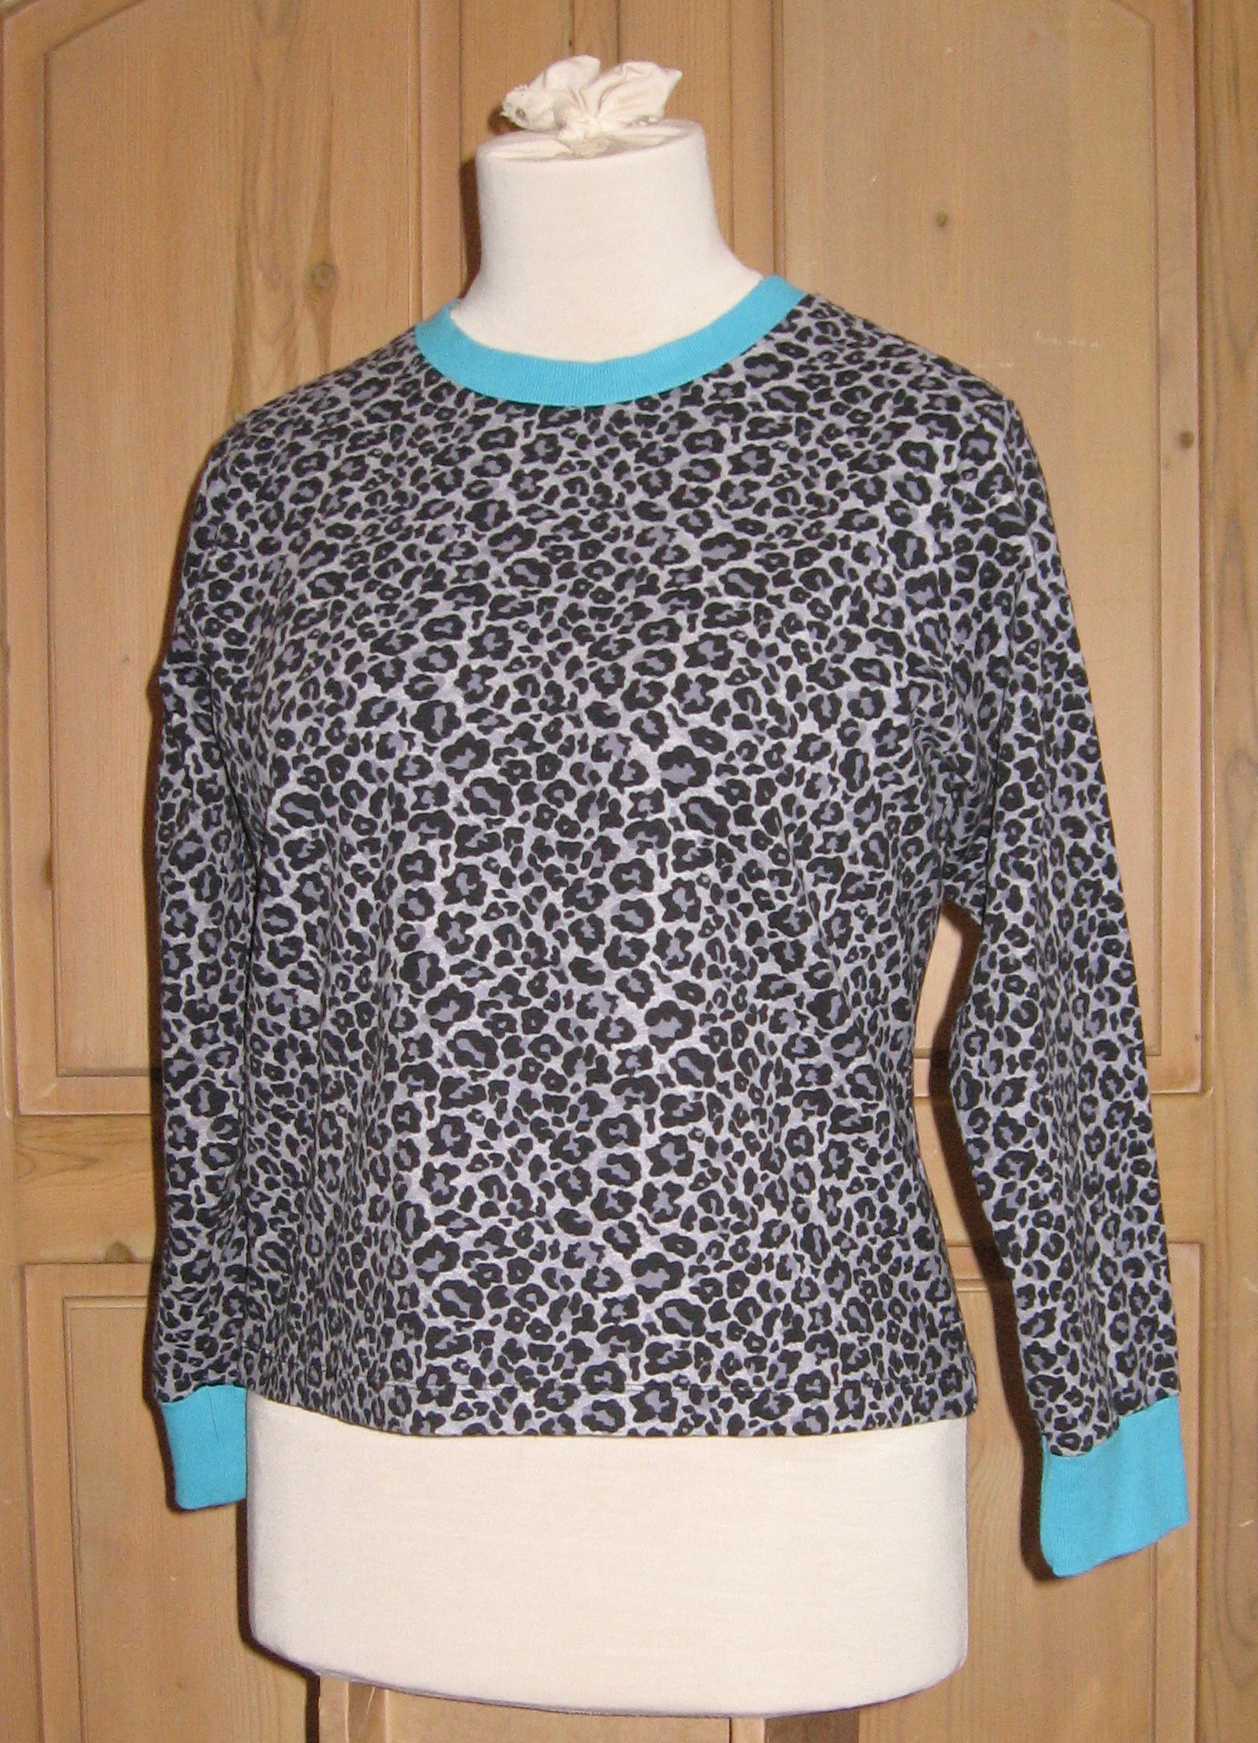
My old pajamas are completely worn out. Seriously, there’s not even enough of them left to make decent rags. But guess what? I finally sewed some new winter pajamas! I used four way stretch leopard print cotton knit. I made three tops and two bottoms, and used up a huge piece of fabric that was taking up room in my stash. Well, almost used it up. There are some good sized scraps I might be able to use – I can’t quite part with those 😉
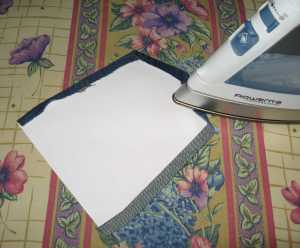
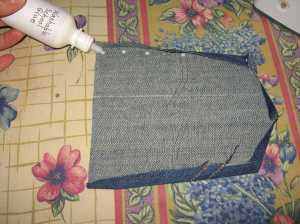
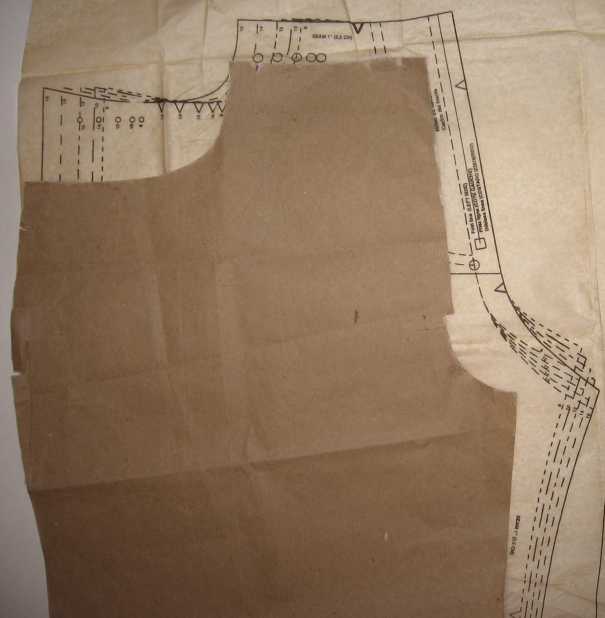
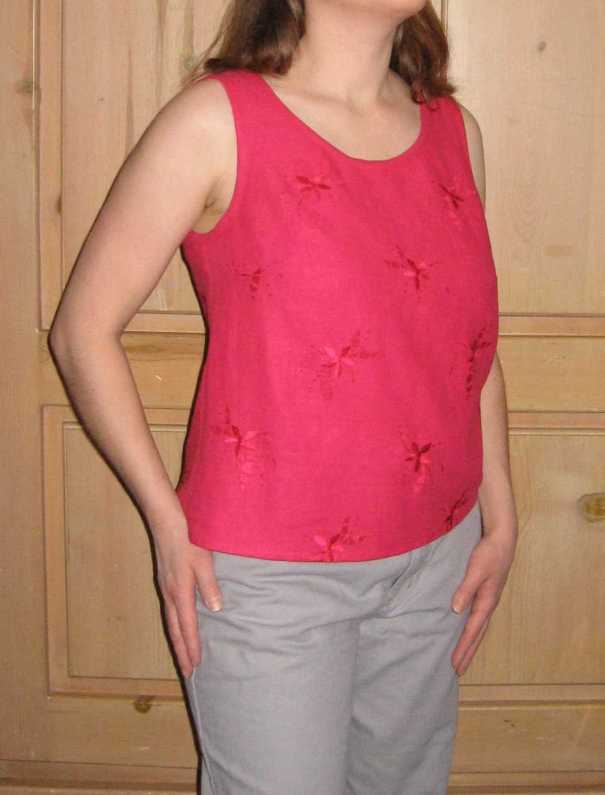
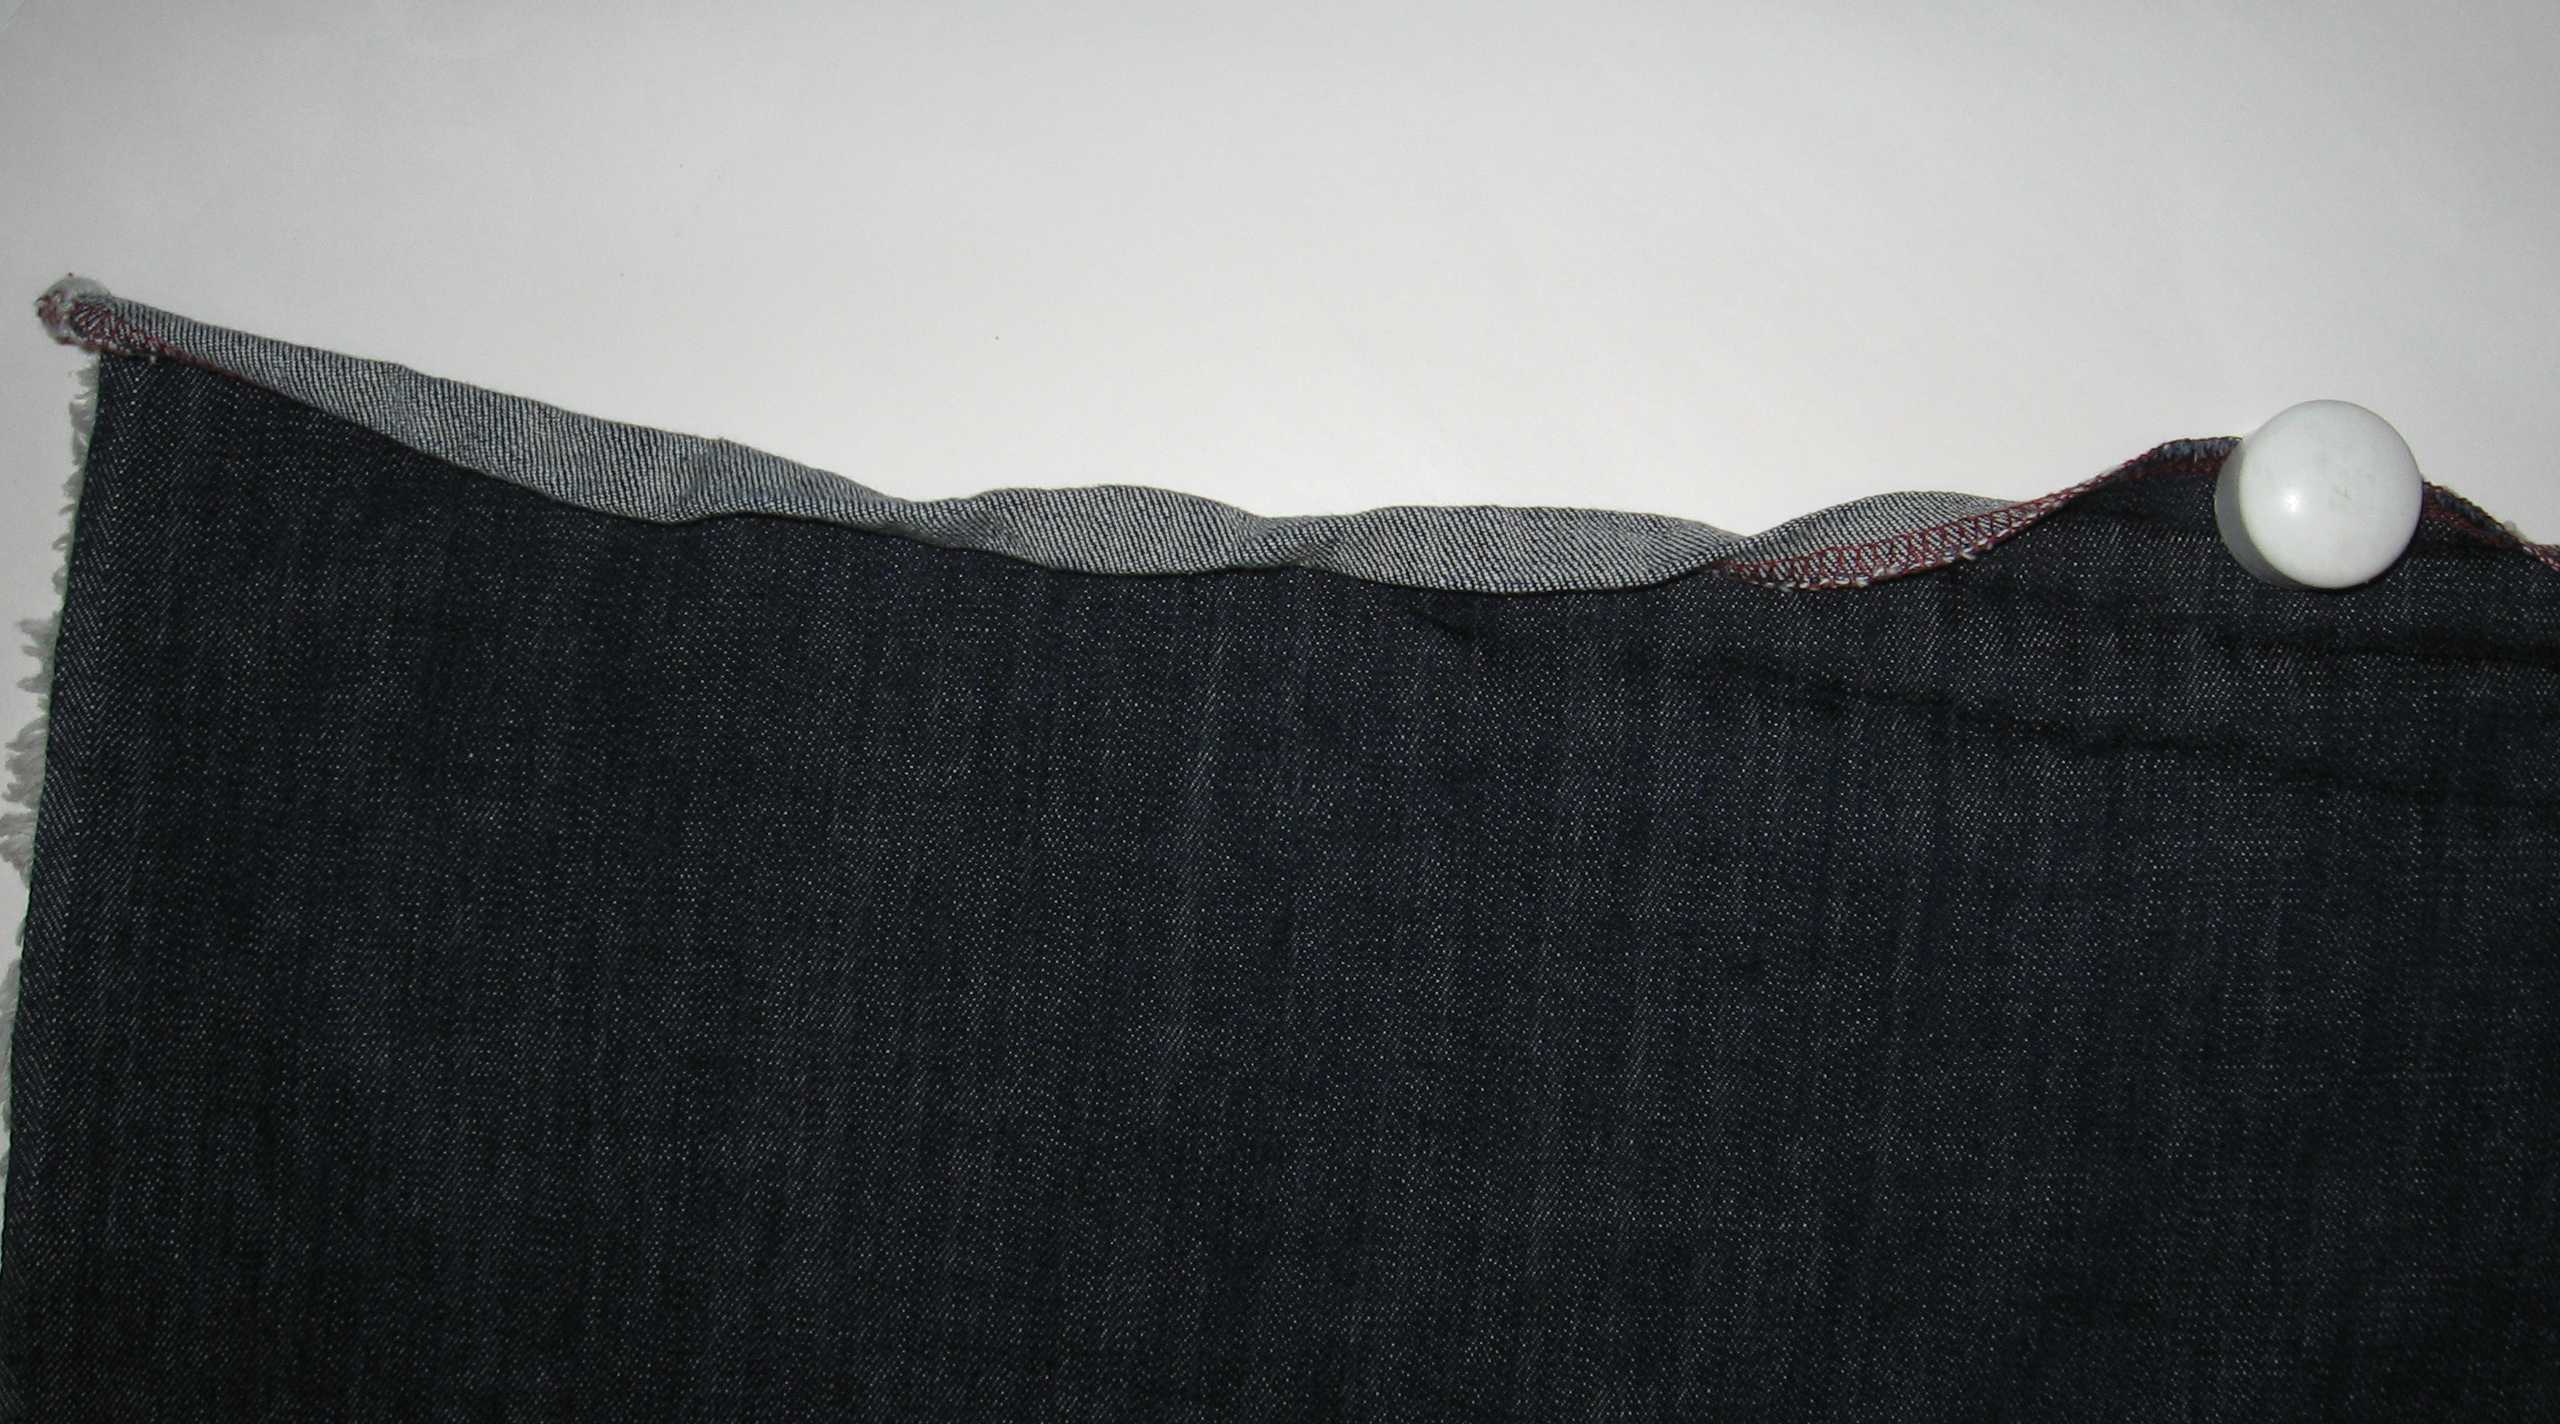
To draft the pajama pattern, the first thing I tried was copying my best fitting T-shirt to see if I could use it as the base for my pajama top. I made a rub-off pattern from the T-shirt, and it turns out the shirt really doesn’t fit as well as I thought. My version is too tight under my arms, and it is obvious the shoulder slope is too square. Also, the chest is a little snugger than I like. The original fabric stretches and drapes nicely, hiding the fit issues. I guess I at least have a new T-shirt to layer over, if nothing else.
-

-
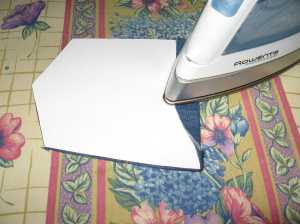
Original RTW T-Shirt
-

-
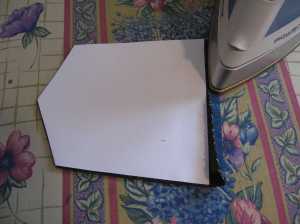
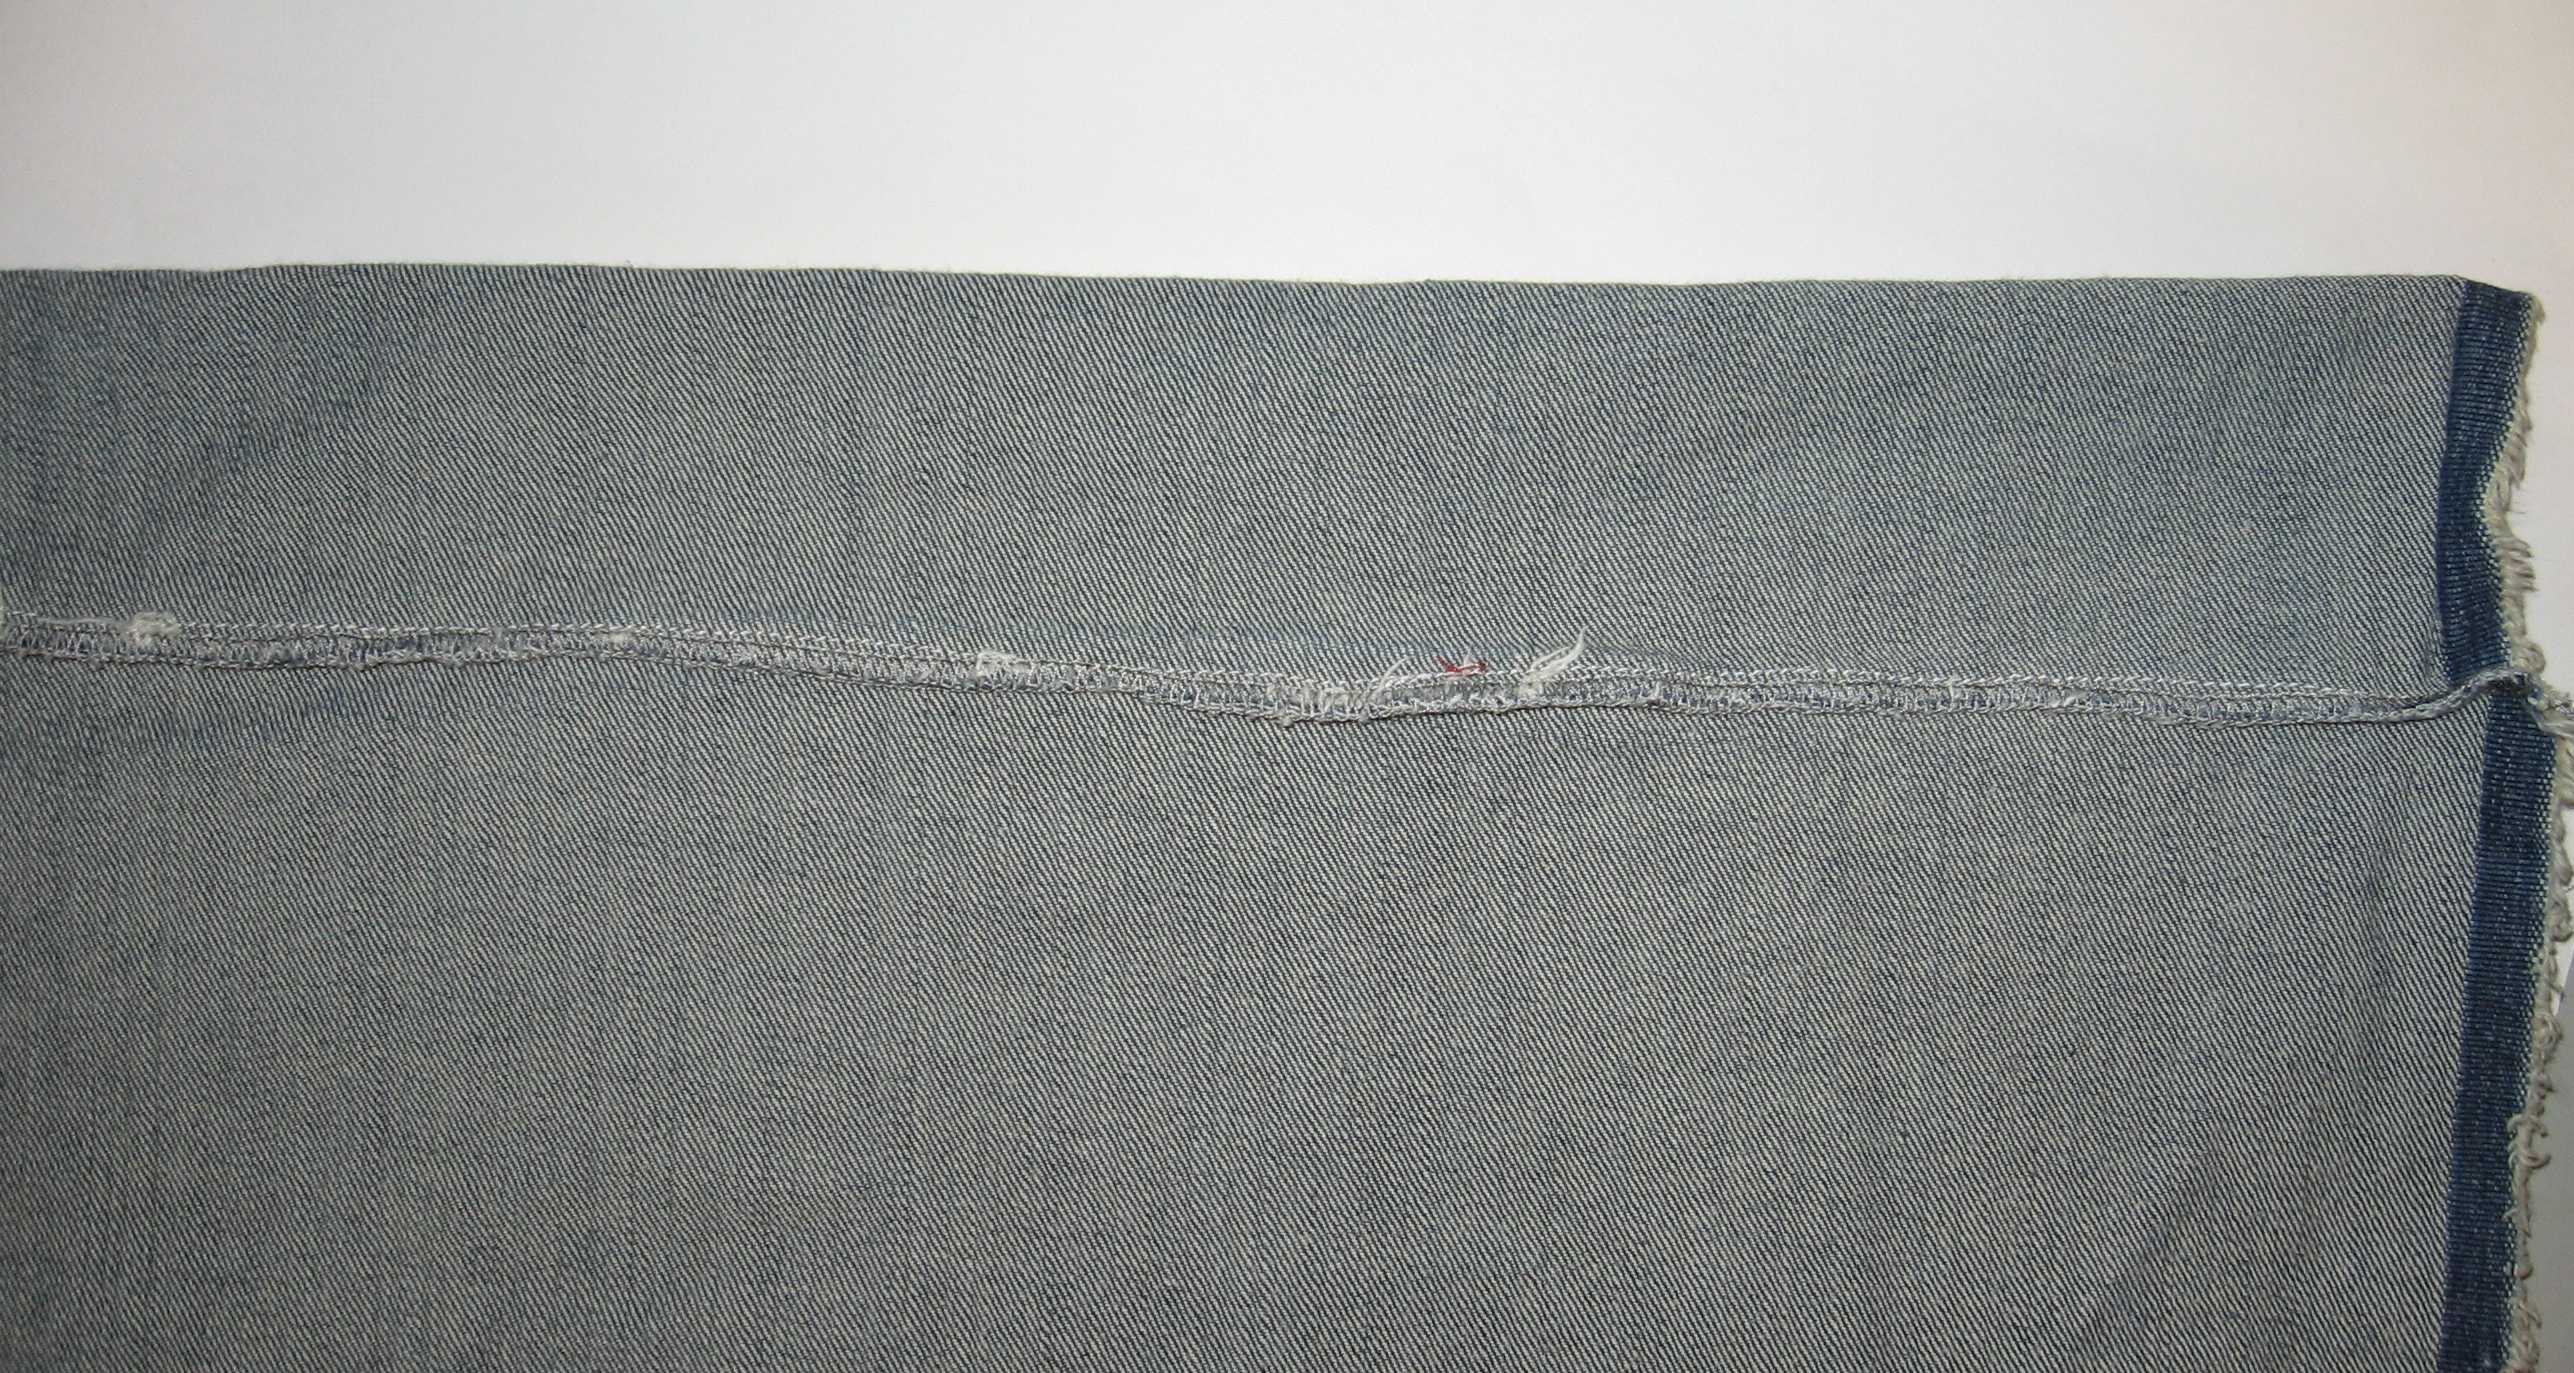
My Rub-Off T-Shirt
 So I went back to the drawing board. First I tried draping a shirt pattern. After about five minutes I lost patience with that and I pulled out my patternmaking textbooks. They don’t have a whole lot on knits, and none of the drafts were exactly what I wanted, but they did give me some ideas. I pulled out my torso block pattern and rotated the upper bust dart to the armhole where I left it unstitched as ease. I rotated the back shoulder dart to the armhole and left it as ease as well, then smoothed out the armhole shapes.
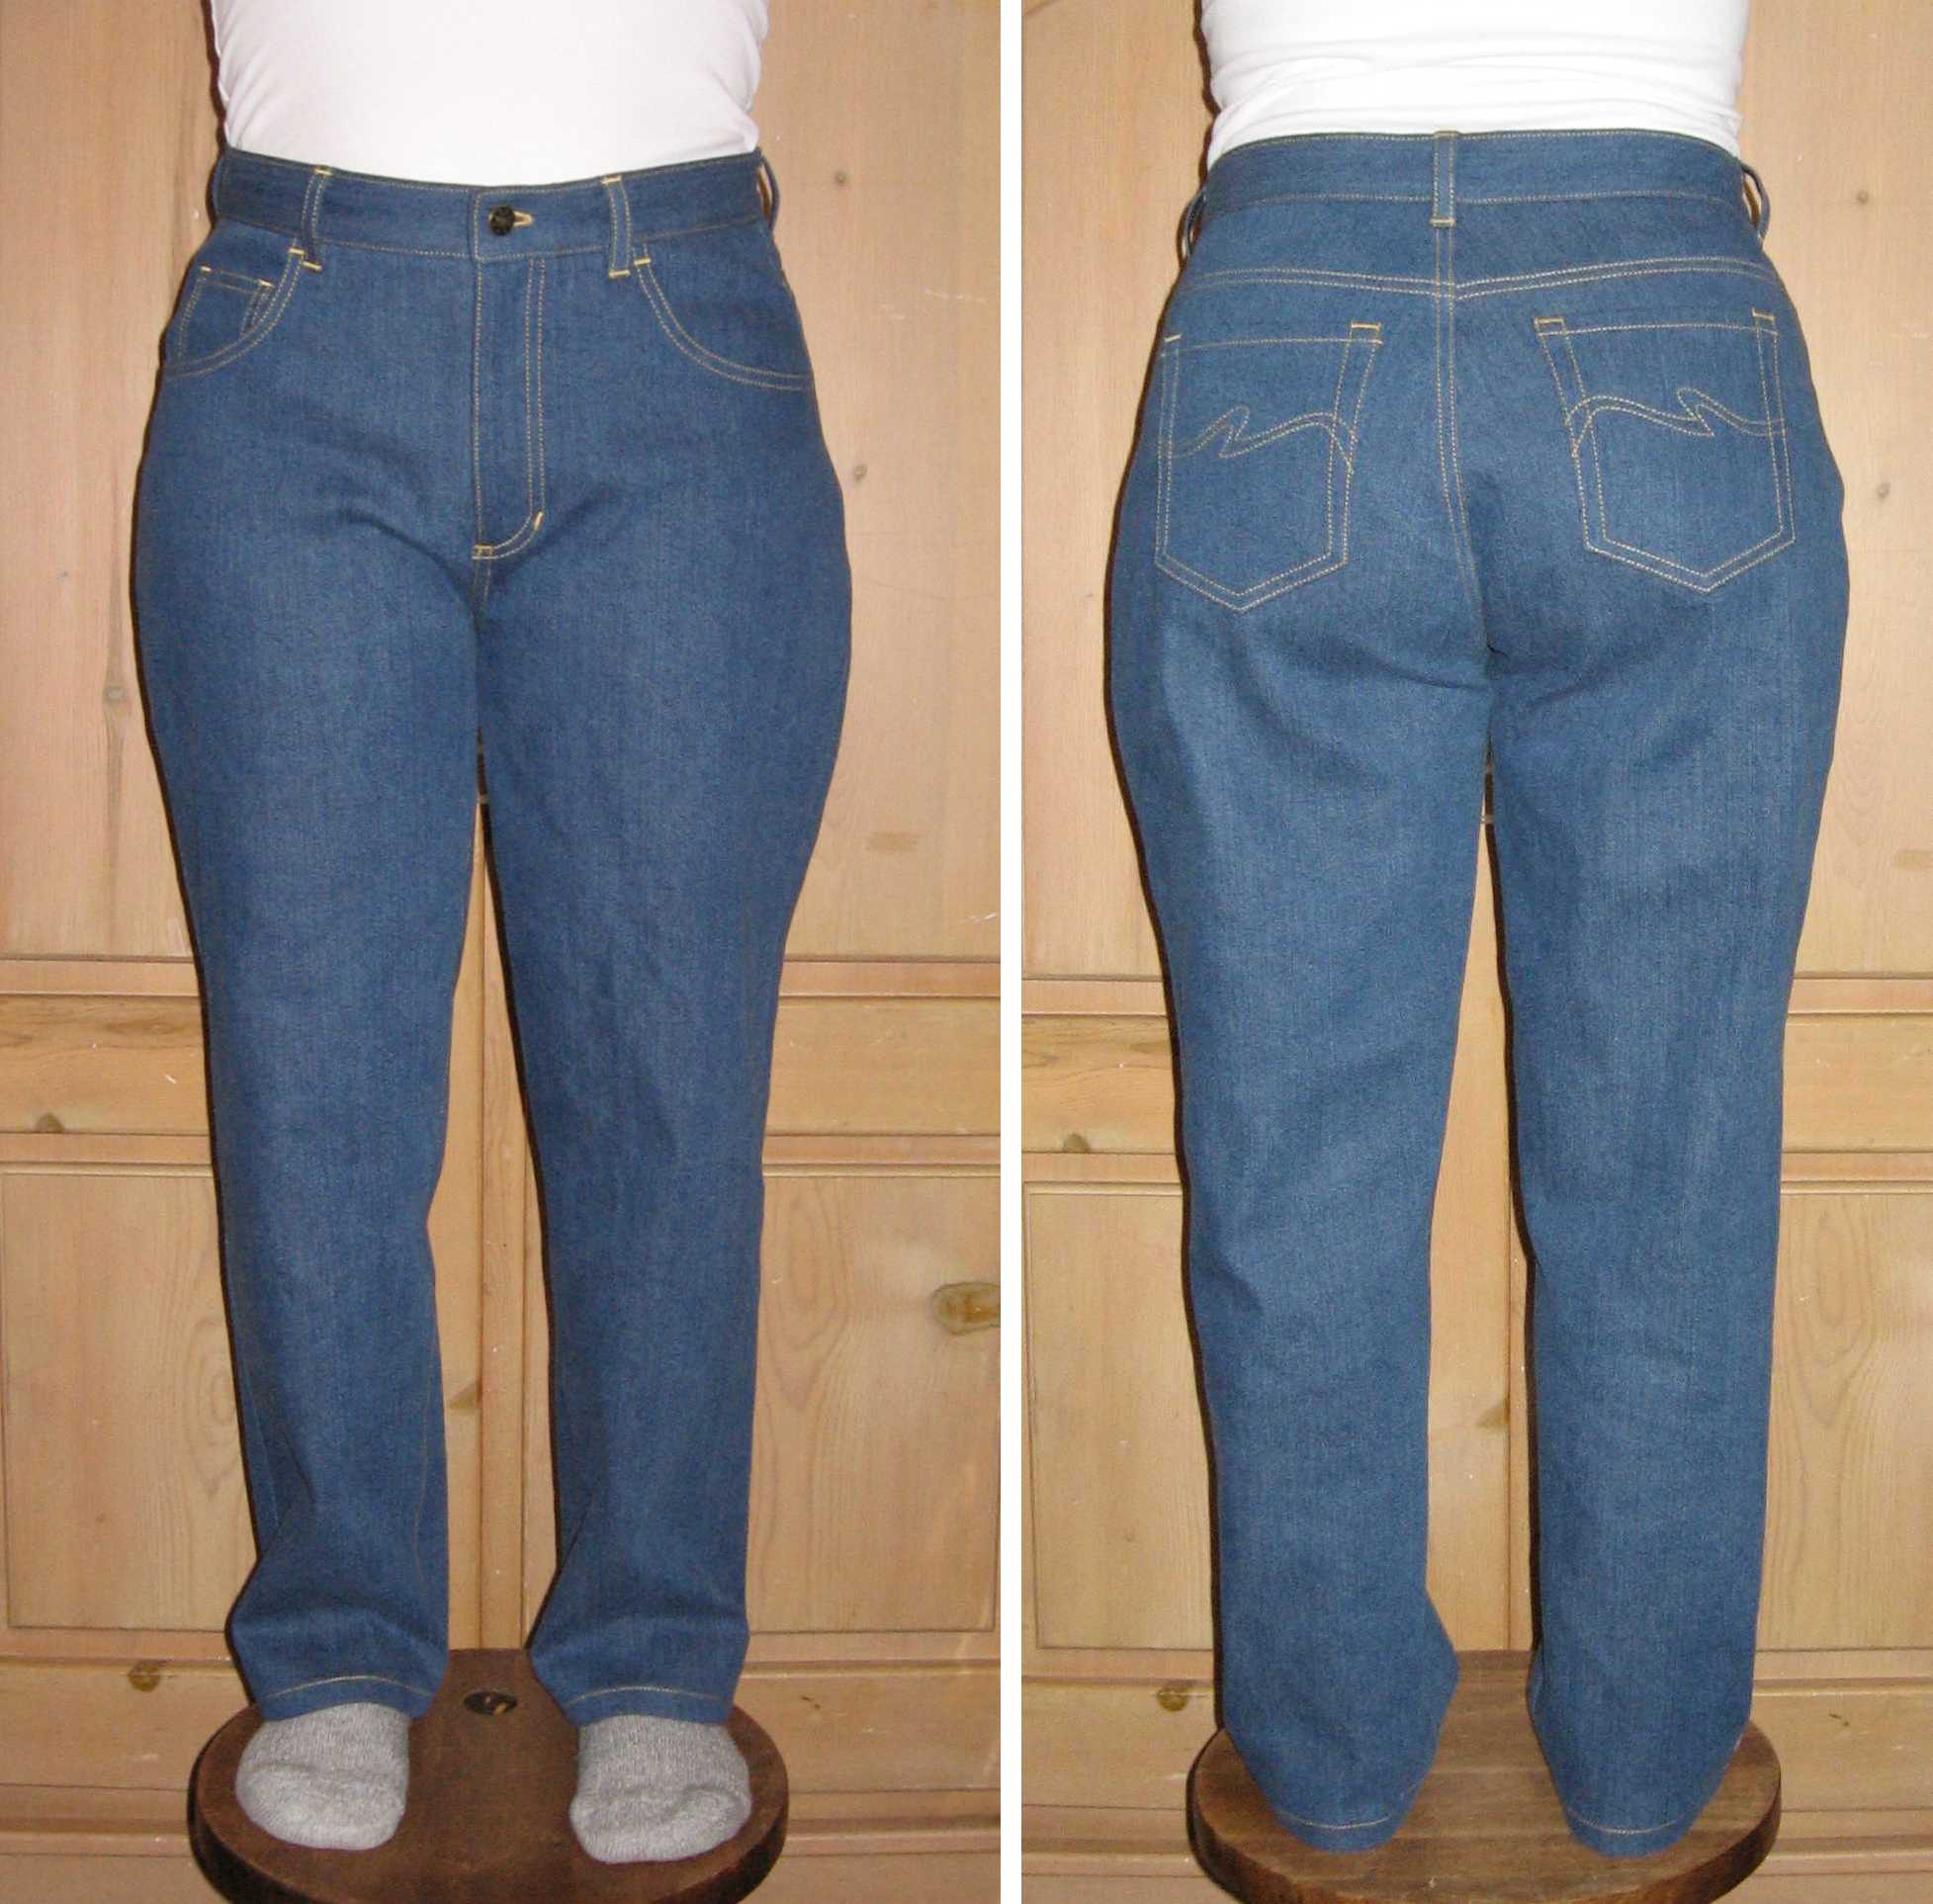
I looked at some other long sleeve T-shirts to get an idea of the neckline shape, ease around the chest, length, and sleeve cap height that I wanted. I drafted sleeves to fit the armholes, and added seam allowances. I sewed it up, and it was almost perfect. The only change I made was to shorten the sleeves a little.
Drafting from slopers seems like magic to me after all the fitting woes I’ve had. I don’t even really feel like I know what I’m doing, but it works anyway and the fit is perfect.
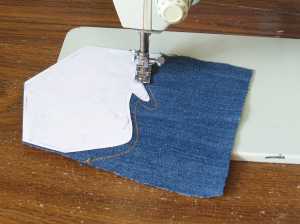
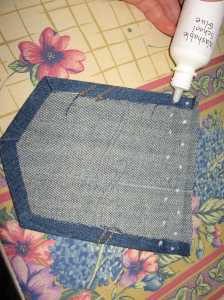
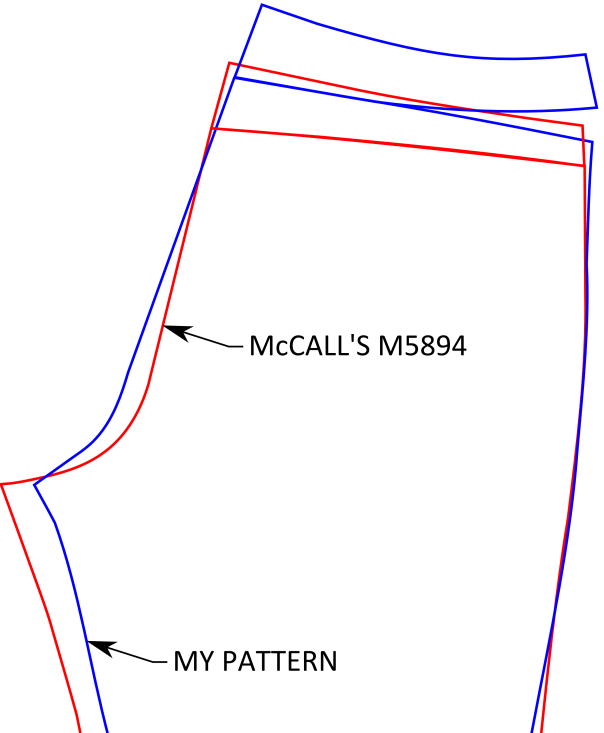
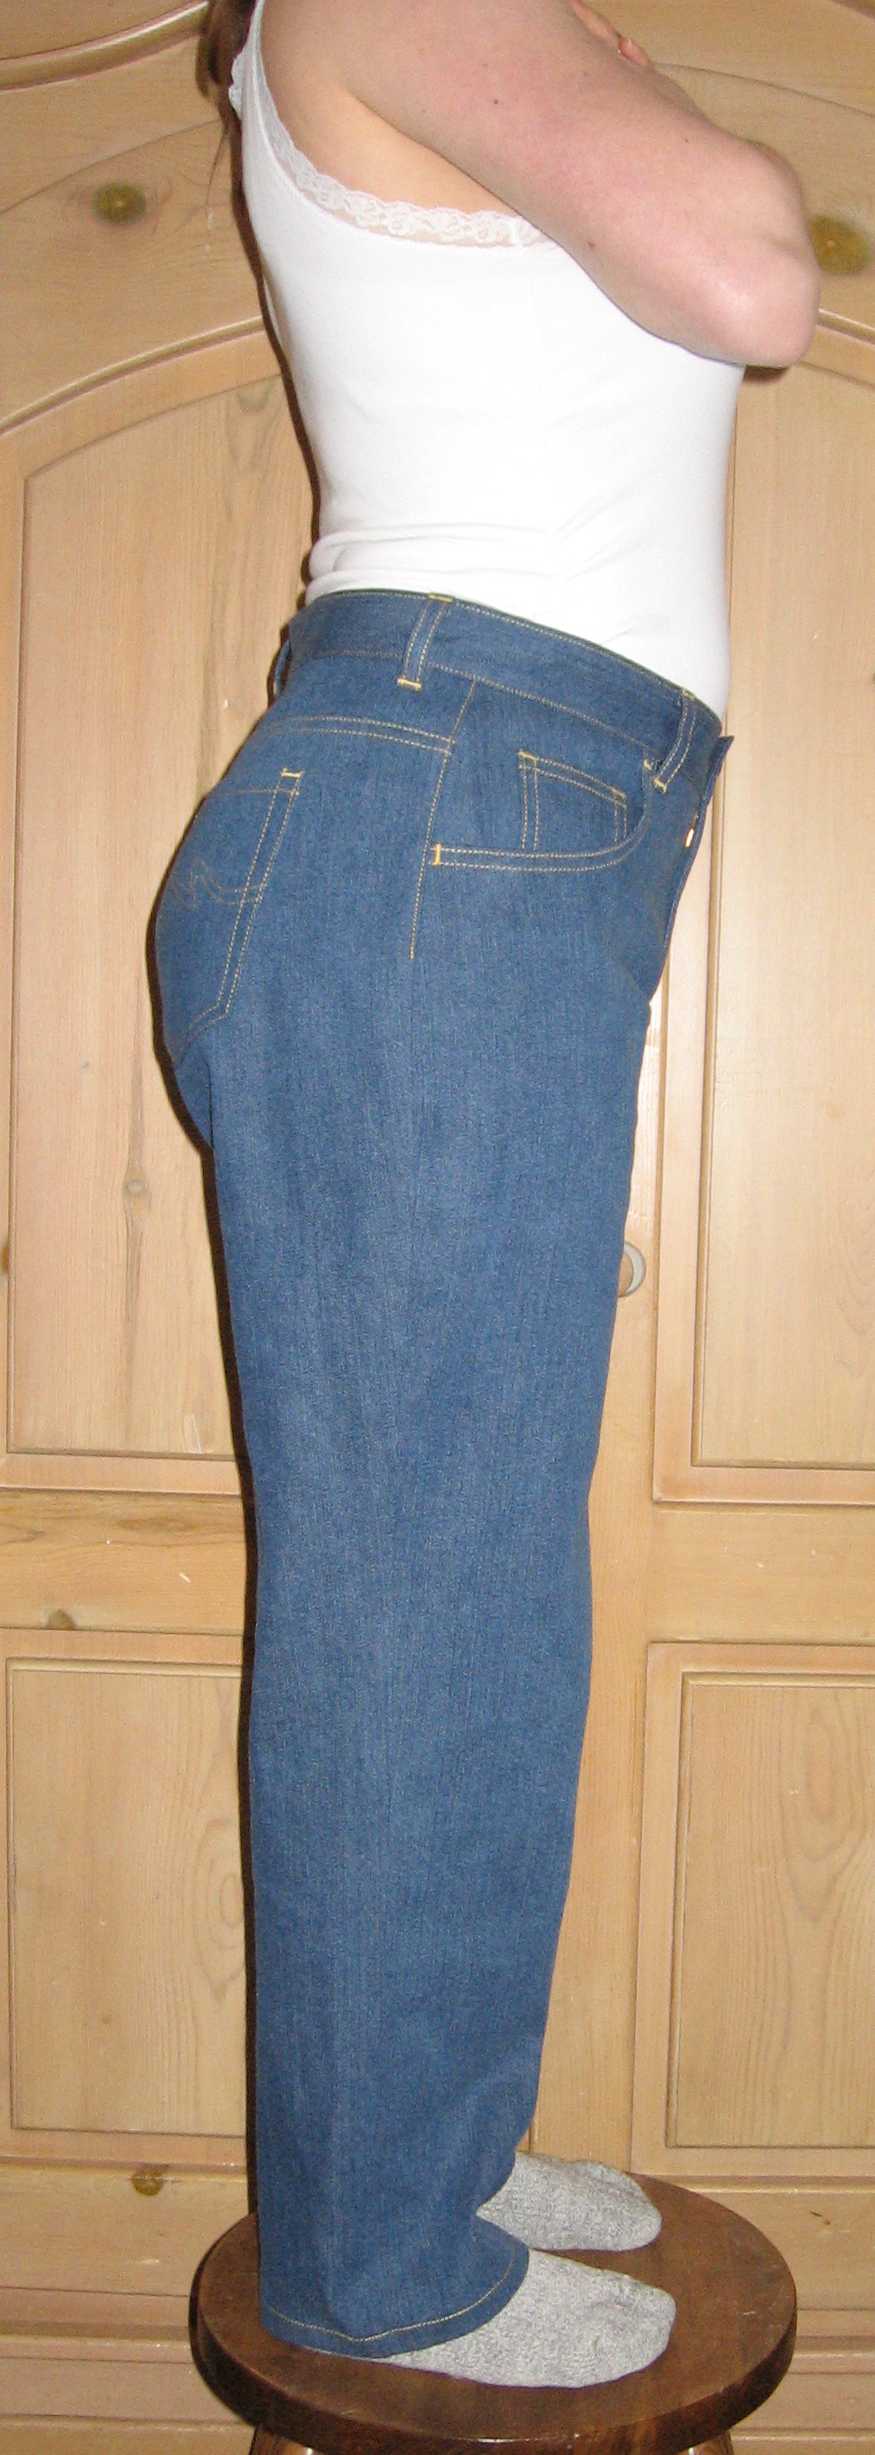
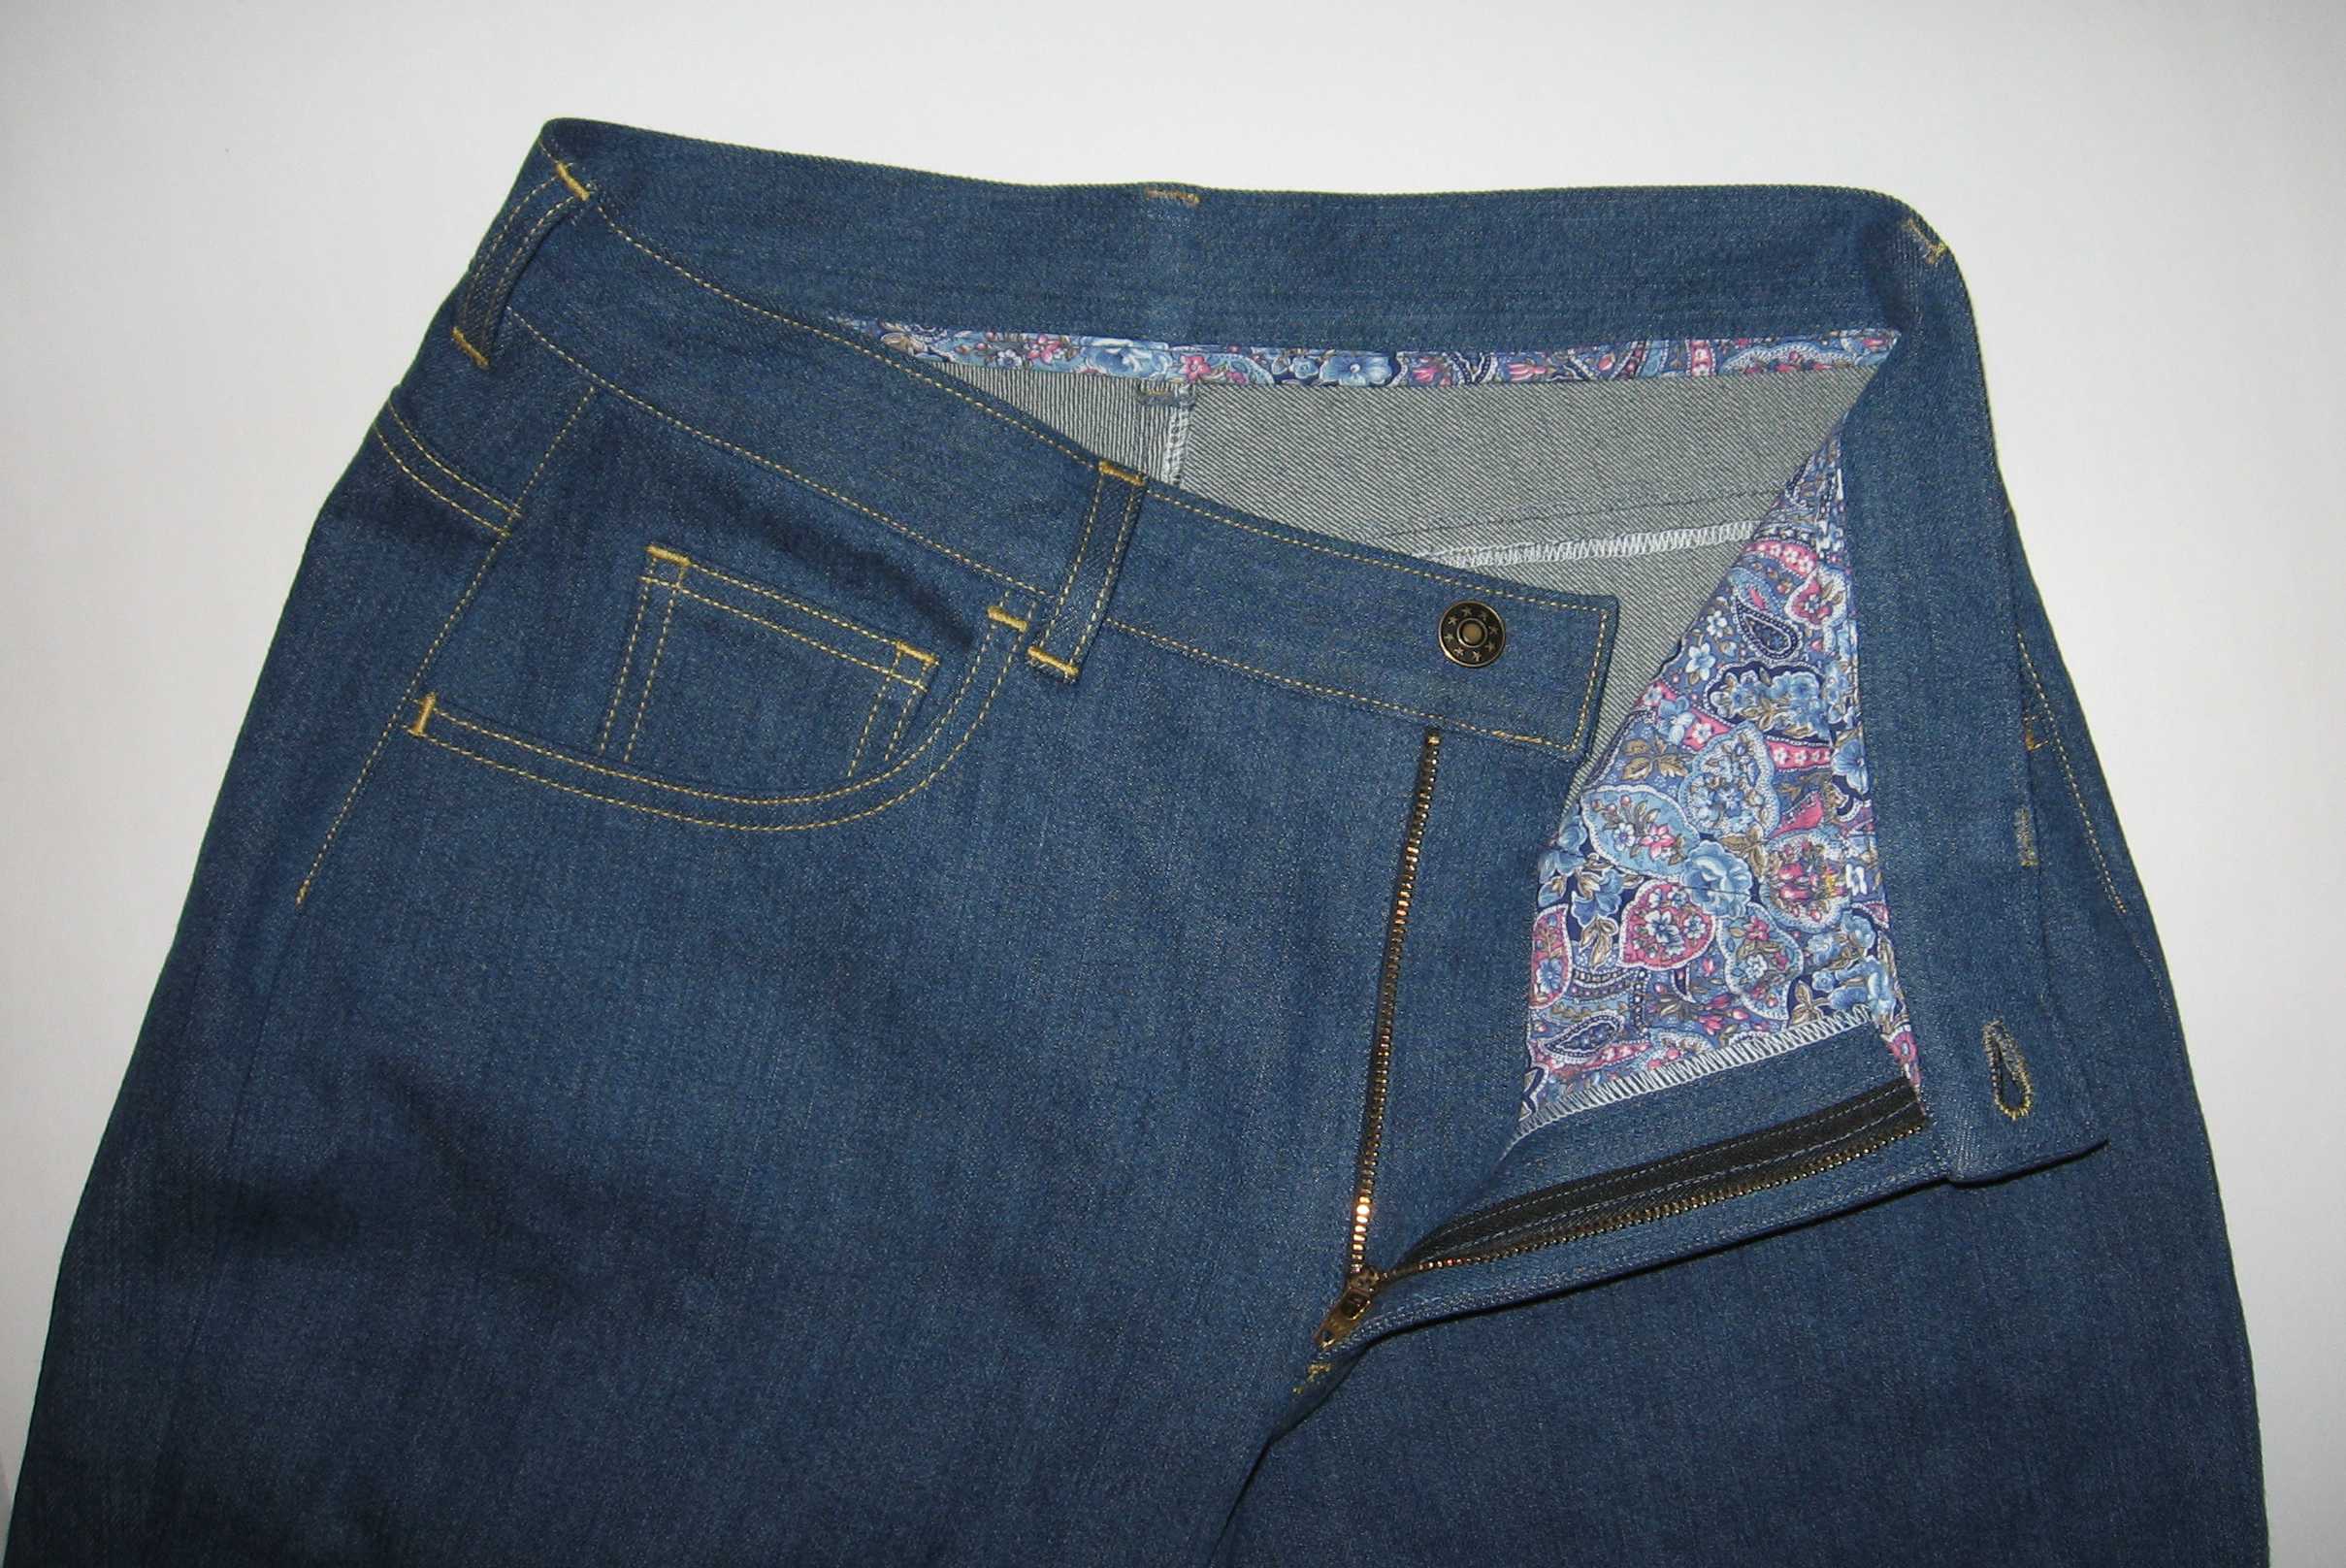
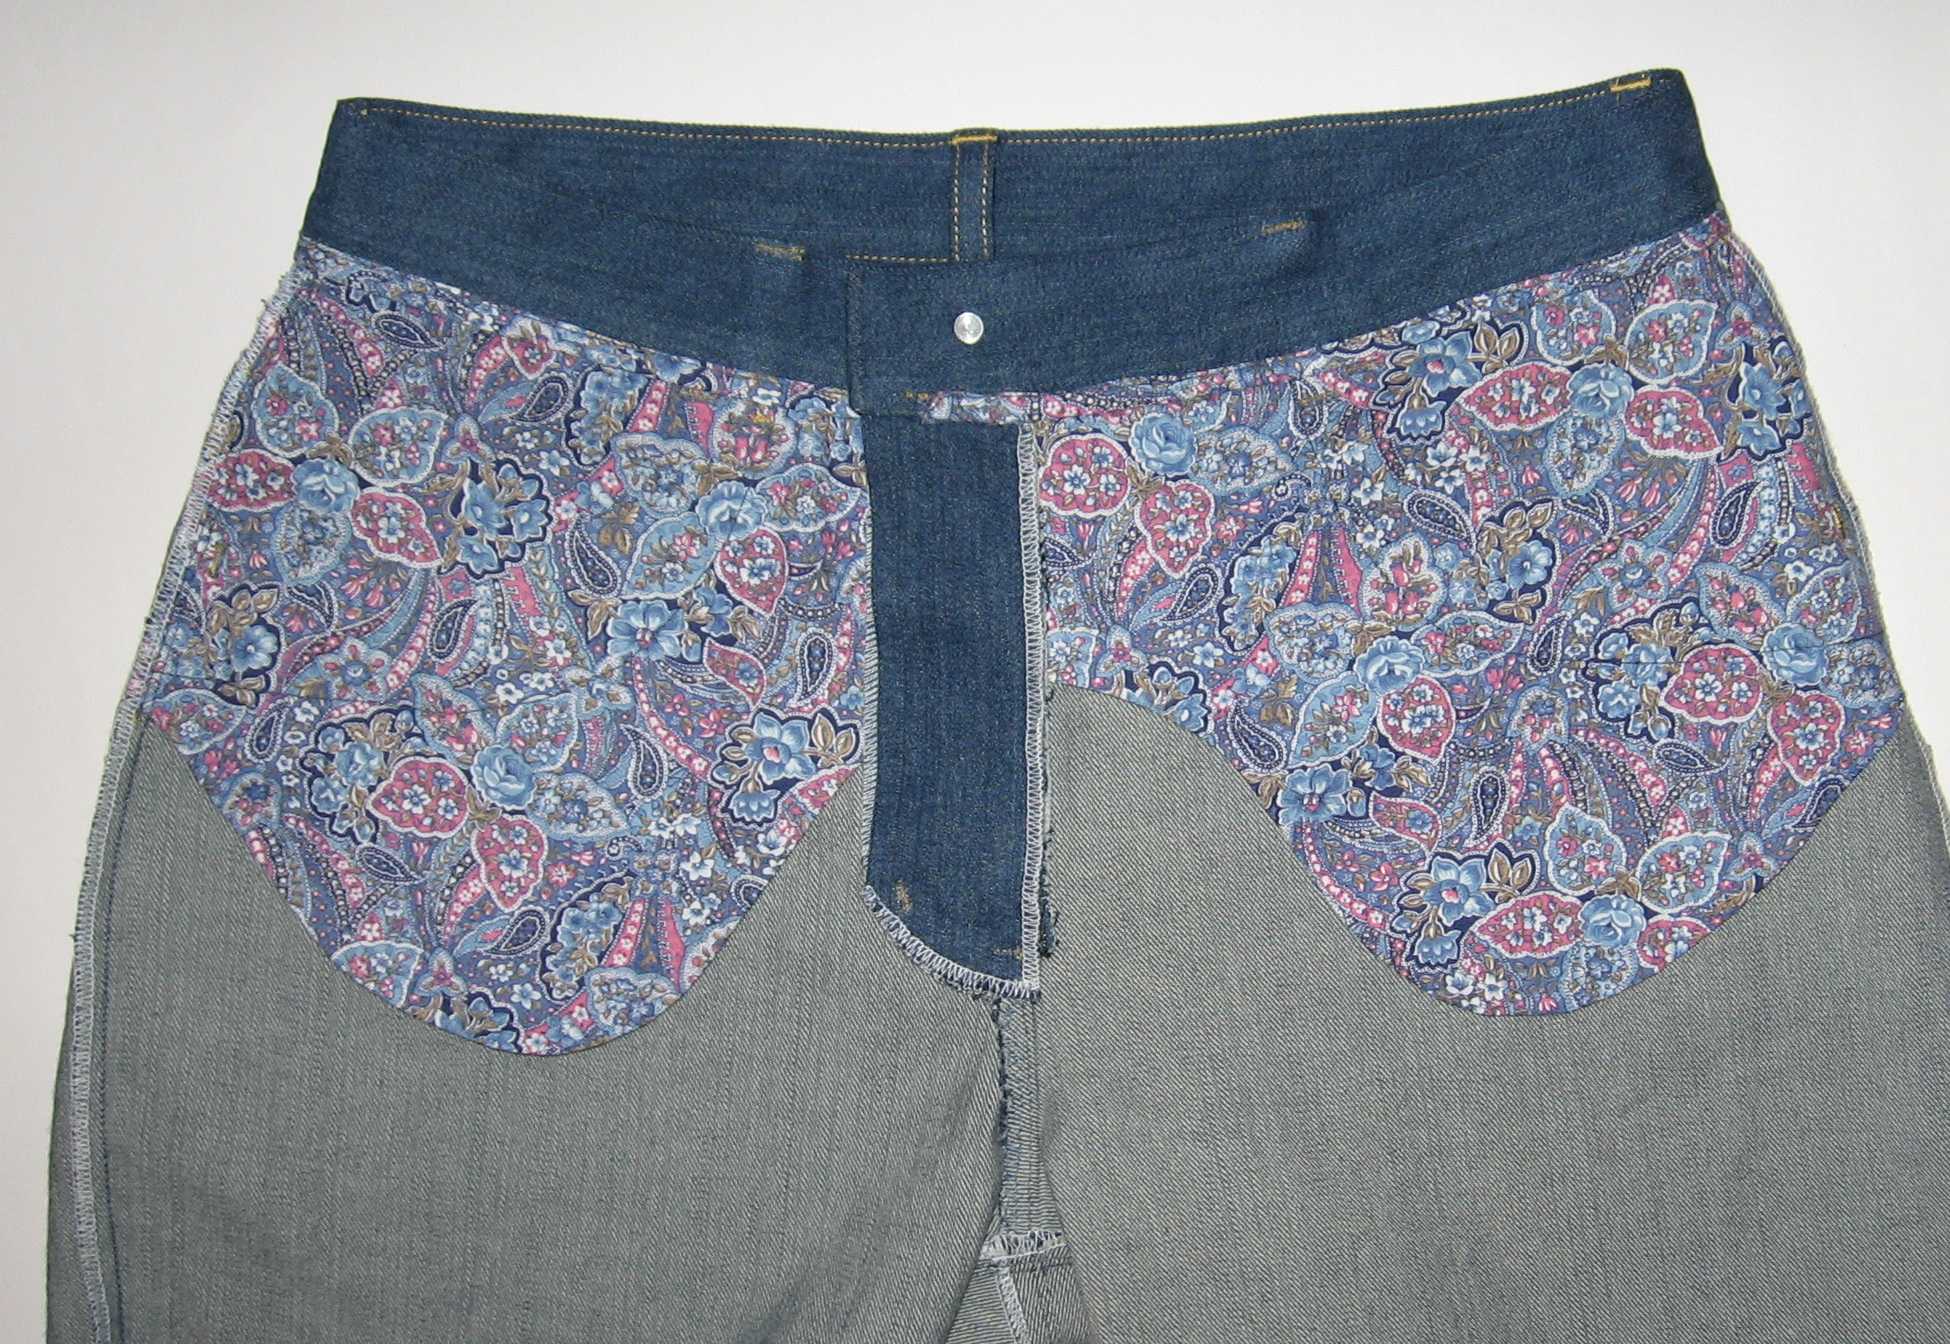
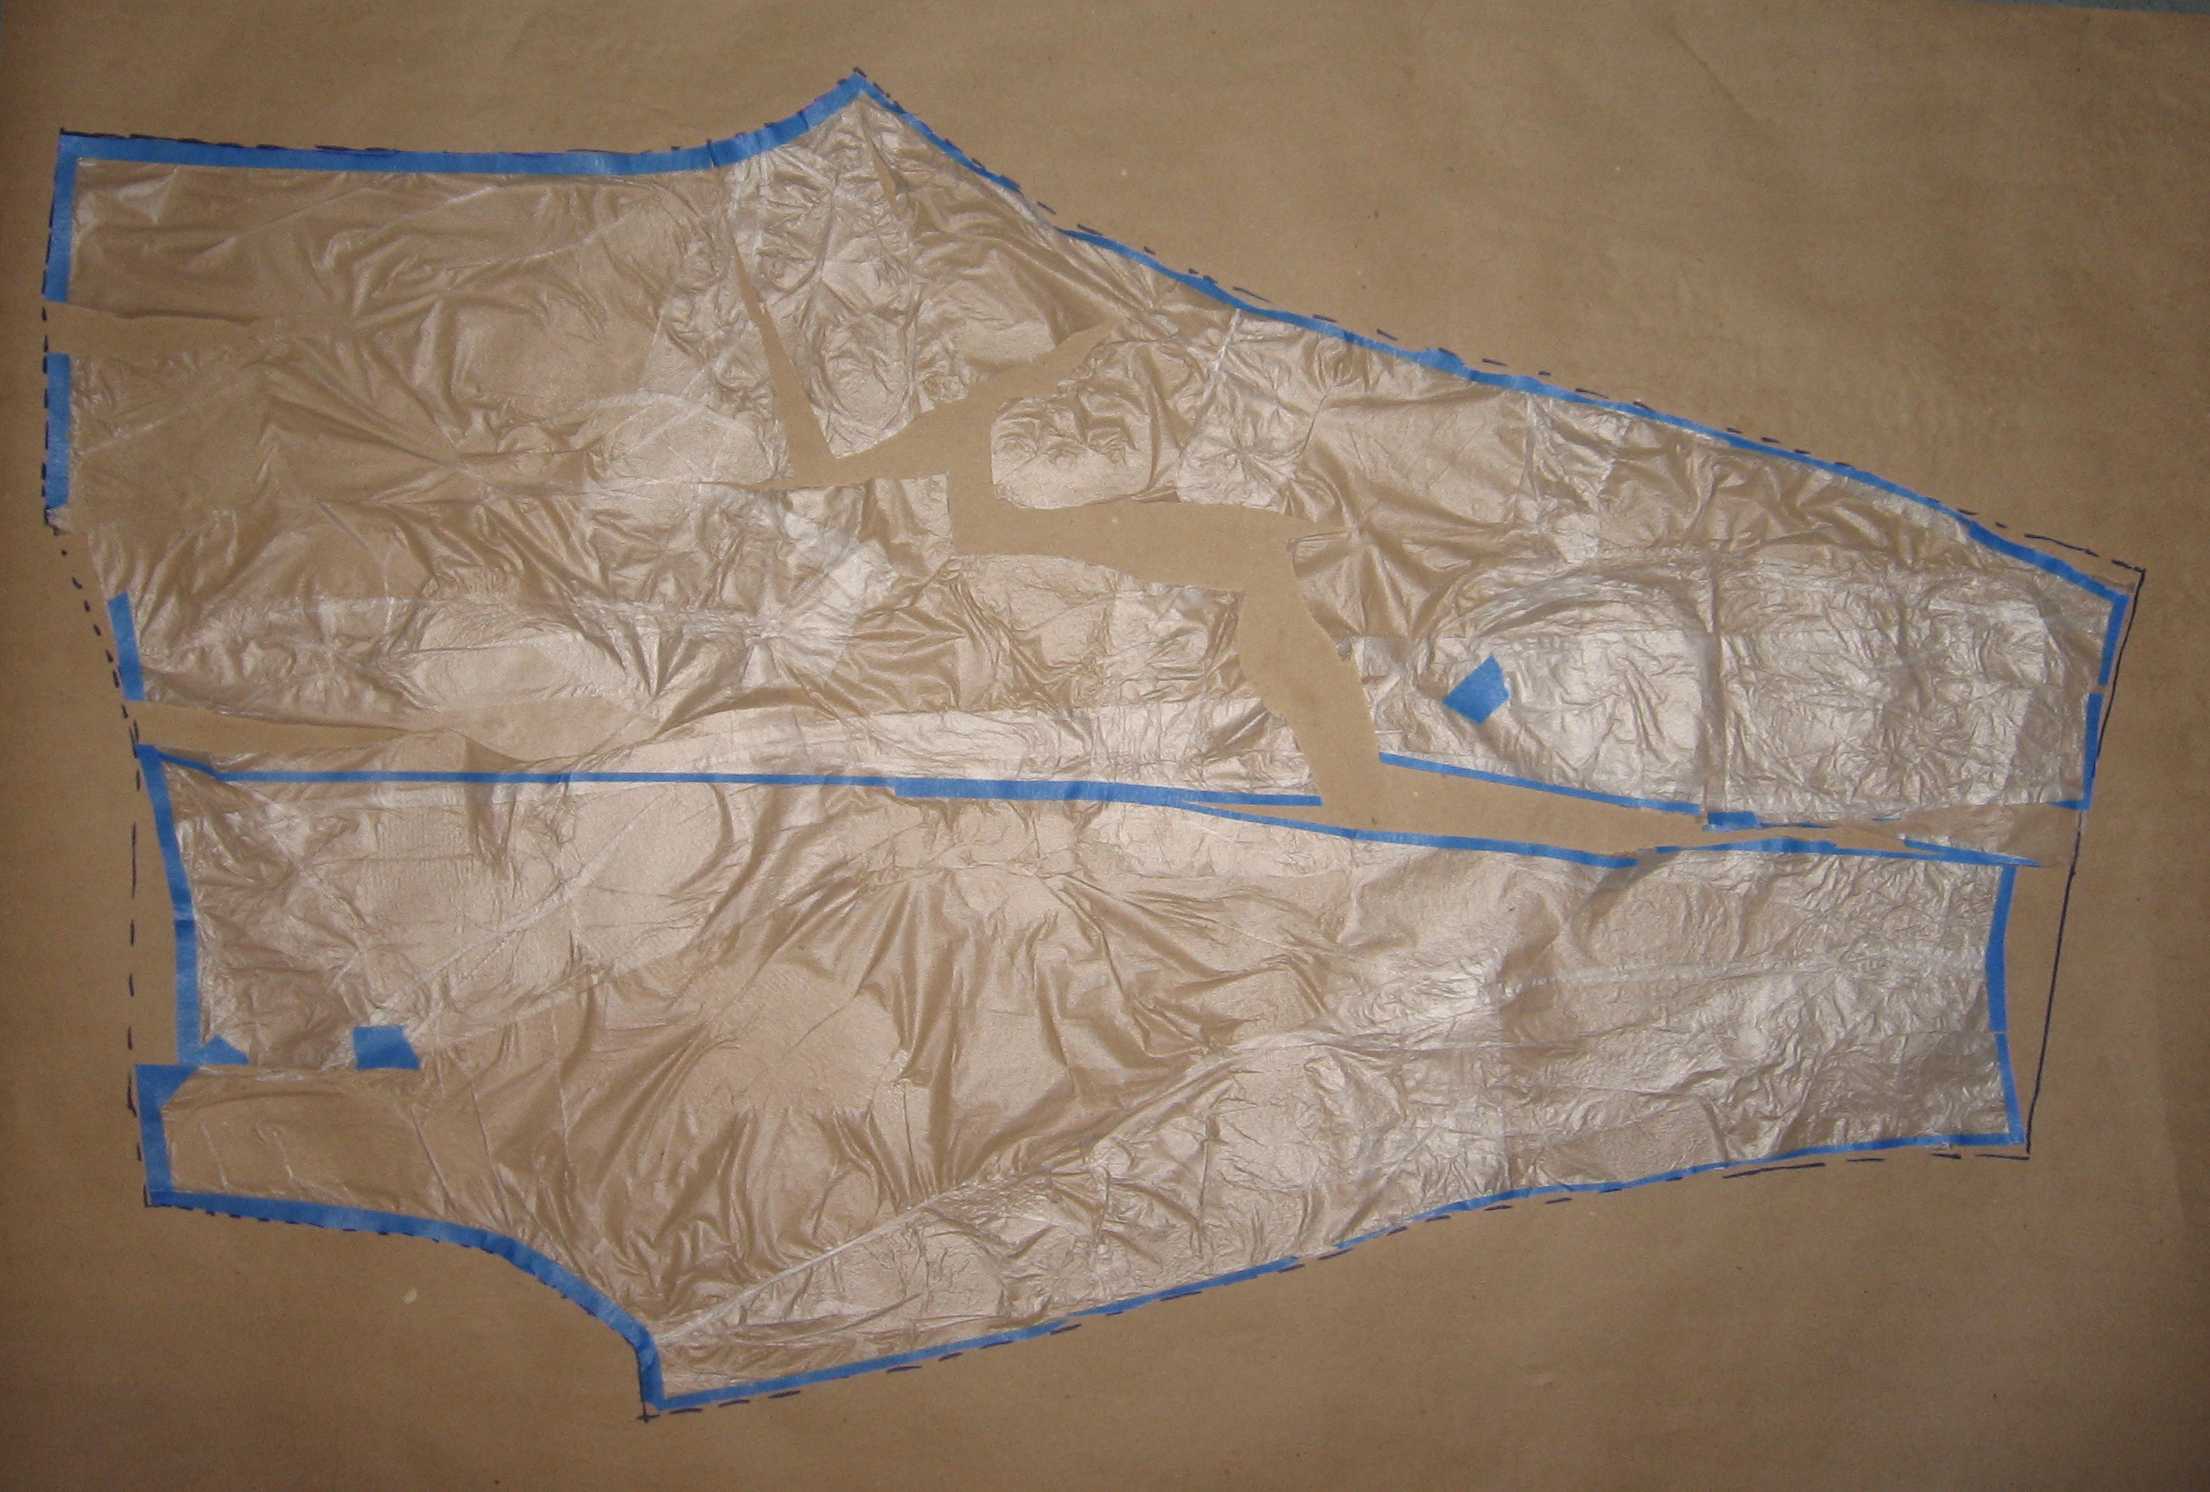
I also made pajama pants to go with the tops. I wanted them to be loose fitting leggings, with zero ease at the hips. Pants drafts based on measurements don’t work for me at all, since they all make assumptions about how much your butt sticks out based on your hip measurement, and I have relatively narrow hips and a round butt, which makes a big difference in how pants fit. I decided I needed to drape a pattern. I basically used the “plastic wrap patternmaking” method. I stuck Glad Press’n Seal on my body and reinforced it with tape, with seams at the inseam, similar to this tights tutorial. I cut it at the inseam, clipped and spread it here and there so it would lie flat, and traced around it. 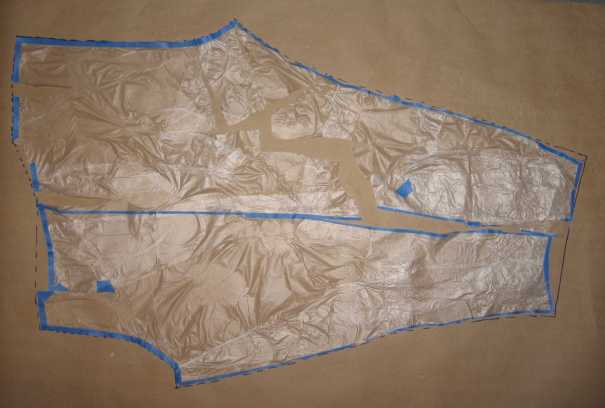
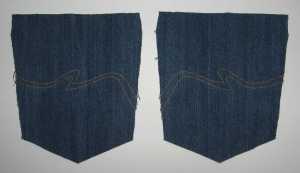
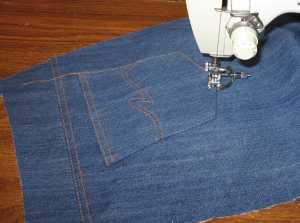
When I sewed up the leggings I realized I needed to take some out of the center back seam from waist to hip, since I’d spread the pattern too much there, but that was easily pinned out in fabric. Here’s what the final pattern looks like: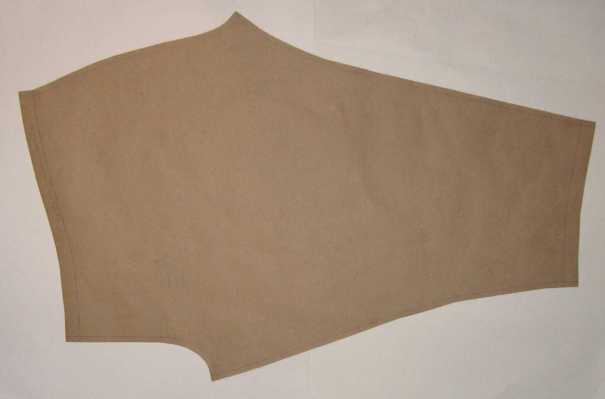
These are sooo warm and comfy. I don’t like being squeezed by tight clothing while I sleep, but neither do I like loose pant legs to get tangled up in, so these are perfect.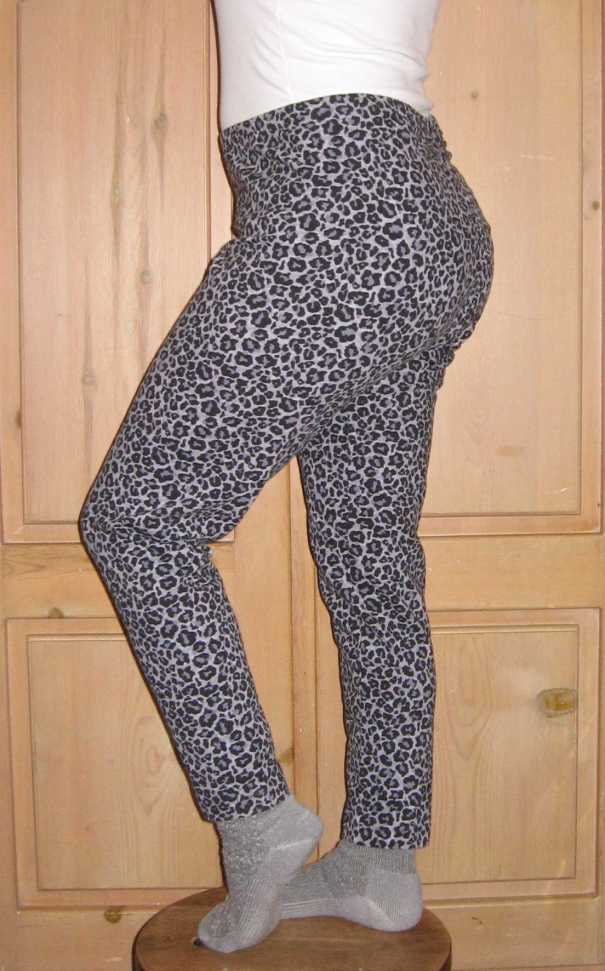
I actually hadn’t planned on sewing animal print this month, but since it’s Jungle January, that worked out pretty well. It’s a good thing I can’t see my pajamas while I’m sleeping, since the print is so loud it just might keep me awake!
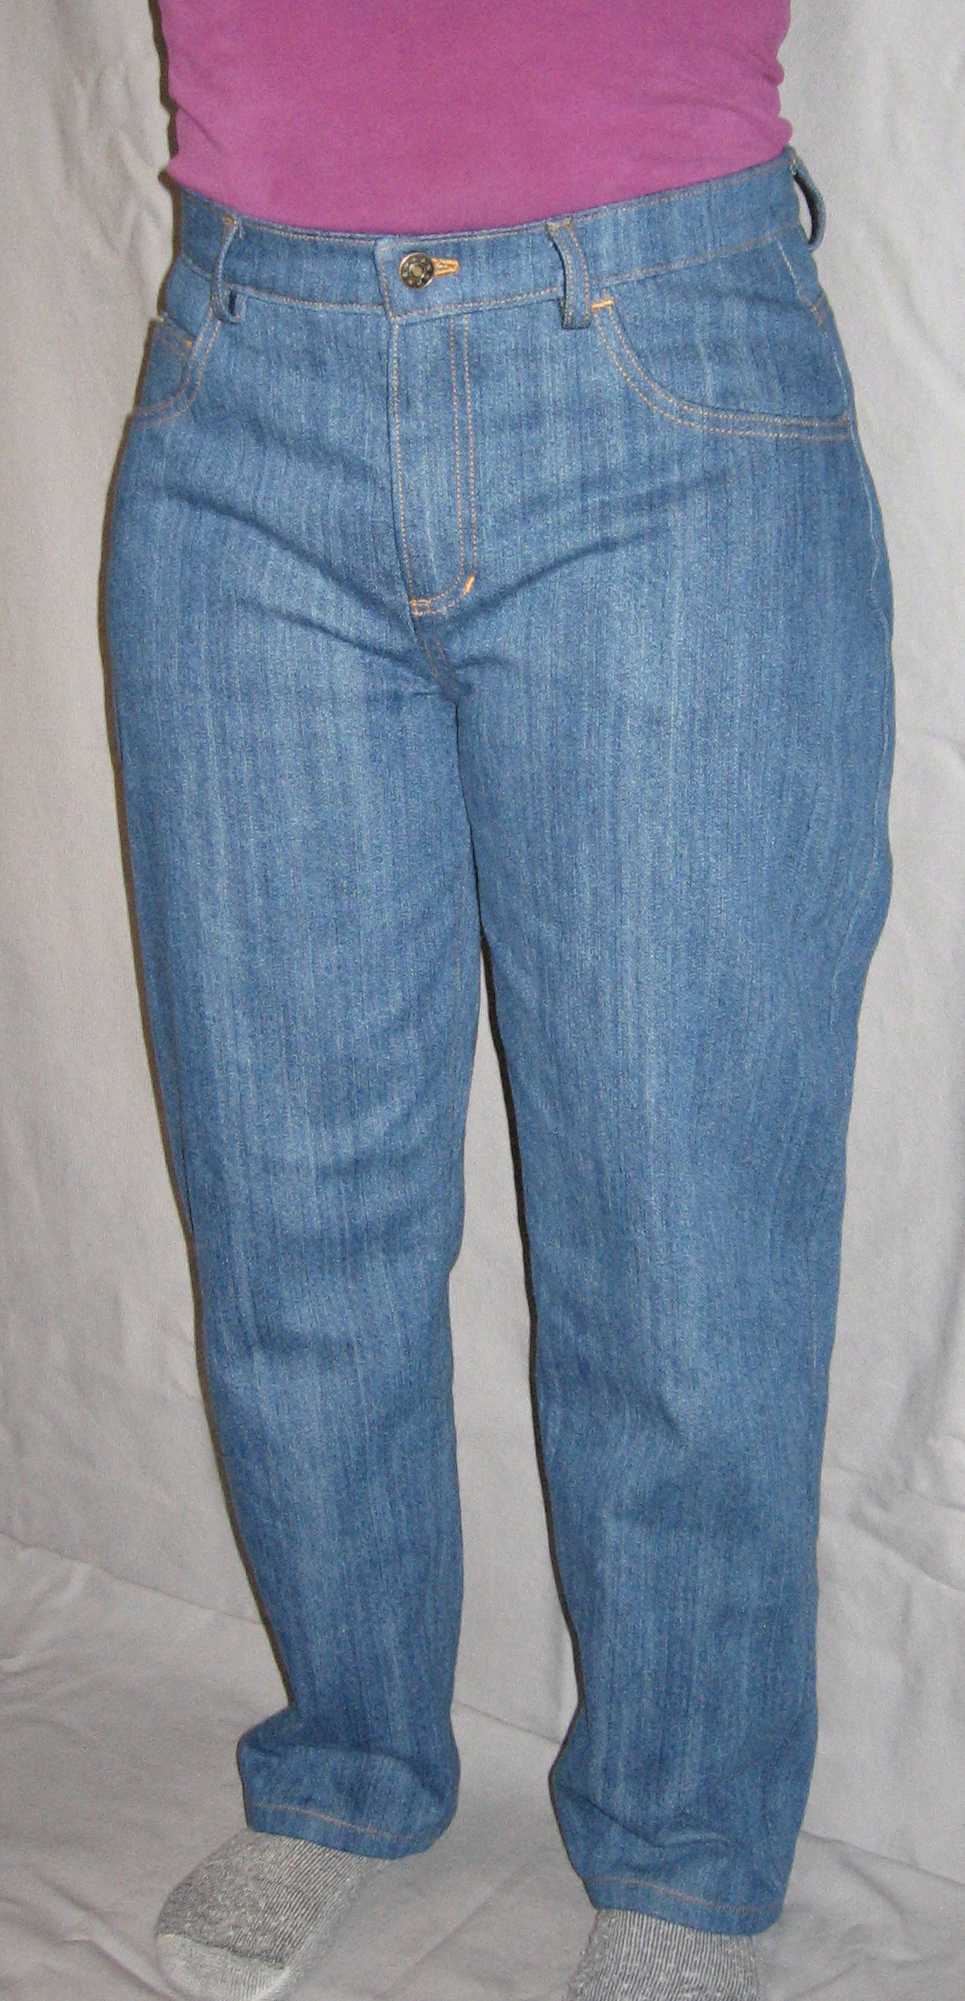
I’ve made a list of the things I want to sew and next on my list is jeans for me. I’m not sure I’m ready for that, though, because I still seem to be burned-out on sewing jeans after the nine pairs in a row I sewed last fall (mostly for my kids). Maybe I’m ready. I might try draping a pattern, because for the life of me, I can’t get the back thigh and crotch area to fit right, and I hate sewing up one muslin after another, only to discover my latest alteration actually made things worse.


 GrowYourOwnClothes Etsy Shop
