
I like my pockets to be as perfect as I can get them, since your eye is always drawn to pockets. Here’s how I make the back pockets on my jeans.
If you like this pocket, you can use my pocket pattern.
-
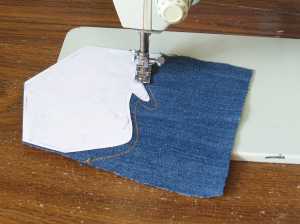
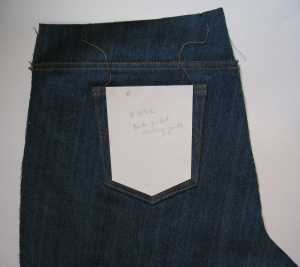
- 1. Cut out templates for the decorative stitching from heavy paper. Use double sided tape to stick them to the pocket. Stitch along the edge of the guide.
-
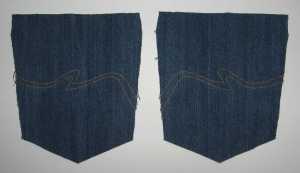
- 2. Finished decorative stitching.
-
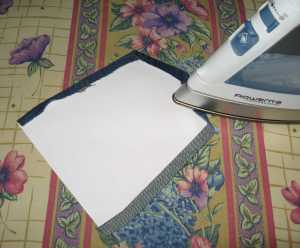
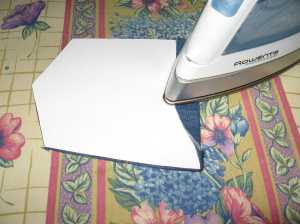
- 3. Press the edges of the pocket over a heavy paper template.
-
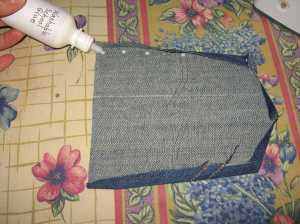
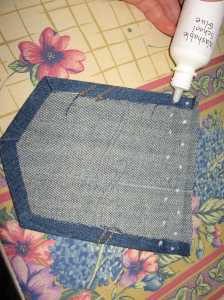
- 4. Use washable school glue (or washable glue stick) to glue down the edges. Press with steam, then without steam to dry the glue. Don’t worry, the glue will wash out.
-
- 5. Press under 1″ (2.5 cm) for the hem. I used another template for that to make sure both pockets ended up the same size.
-
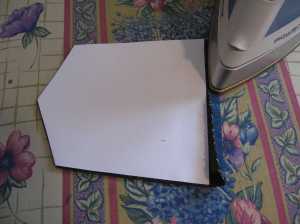
- 6. Press under 1/2″ (1.2 cm) on the edge.
-
- 7. Glue down the hem. Press dry.
-

- 8. If your denim is thick, hammer the top corners to make them easier to sew.
-

- 9. Hem your pocket. I used a blind hem foot and a 1/4″ foot for the hem. Glue the pocket to the jeans. Press the glue dry.
-
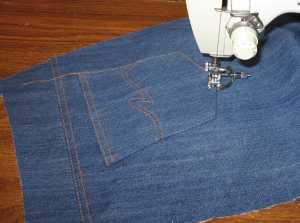
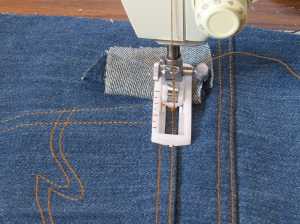
- 10. Use a blind hem foot or other guide to stitch 2.5 mm from the edge.
-
- 11. Use a heavy paper guide, held in place with double-sided tape, for the inner row of stitching. I used a 1/4″ presser foot as a guide on the bottom, since the template never quite lines up perfectly.
-
- 12. Make bar tacks on the top corners. A buttonhole foot is helpful here. Make sure you shim the foot with folded fabric scraps to make it level.
-
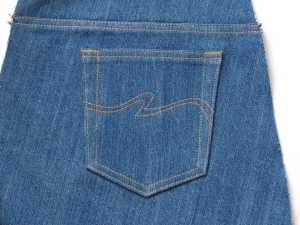
- 13. Finished pocket.
 GrowYourOwnClothes Etsy Shop

Very nice! I’m still working on my jeans,,, a January project!
LikeLike
The use of the buttonholer is genius! Thanks for this post, some really useful ideas for my next pair of jeans.
LikeLike