
I remember reading about someone making a paper tape dress form inside another paper tape form so the body dimensions would be correct, but there were no details on what she did. I decided to test out making a paper tape skirt form inside one made on my body before trying it on a full dress form.
To make a paper tape form you need water activated non-reinforced kraft paper tape. Non-reinforced tape works a lot better than reinforced tape. You can use reinforced tape, but the resulting form isn’t as firm and is too slippery to drape fabric on. Also, reinforced tape is made from two layers of thin paper glued together and it starts to delaminate over time. I did use some reinforced tape on the outer skirt form since I didn’t have much non-reinforced tape left and I wanted to make sure I had enough of the good tape for the inner form.
I haven’t seen any instructions for making paper tape dress forms that give adequate information on how to wet and apply the tape. Here are are some tips I’ve discovered:
• You need to do the taping in a room with the proper humidity. If the air is too dry, the tape will dry out before it can stick down. If that is the case, run a humidifier or do your taping in the bathroom after the shower has been run. I haven’t experienced taping when the humidity is too high, but some people recommend using a hair dryer to help the tape dry. If you have a dehumidifier or air conditioner, you could run it to reduce the humidity.
• Set a cellulose sponge on a dinner plate. Saturate the sponge with water, then press on it lightly to squeeze out a little of the water. Add water to your sponge as needed during taping. If the sponge is completely saturated, your tape will get too wet. If the tape is too wet, the tape may initially look fine, but as it dries it will bubble and peel up around the edges. If the tape isn’t wet enough, it will peel up around the edges, too. Press small pieces of tape briefly onto the sponge. Run long pieces of tape over the sponge while pressing the tape down onto the sponge with your hand. You’ll have to experiment to find the proper speed and pressure. If you go too slowly, you will start to wipe the glue off the tape onto the sponge, and if you go too fast, the tape will not be wet enough.


• Wet a piece of tape, set it aside, then wet another one. Set aside the second piece of tape and apply the first one. Always wet another piece of tape before applying the one that has been sitting. Letting the tape sit for a few seconds lets the glue activate and get really sticky. I’ve always had less trouble with tape peeling up when I do this. Just make sure you don’t let the tape sit so long it starts to dry out.
Here’s how I made the skirt form.
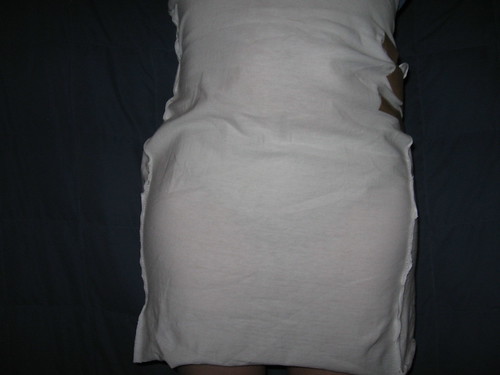
First I sewed a sheath out of knit fabric and put it on.
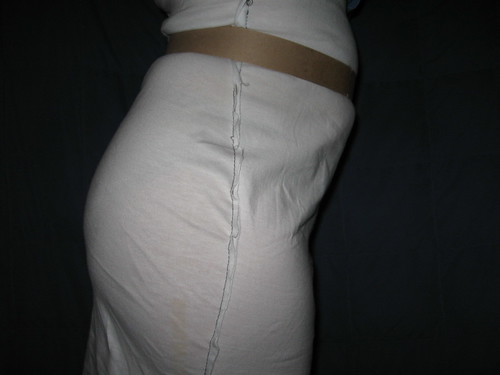
Since I’m short waisted, I can’t bend or breathe if I wear waistbands at my natural waistline. So I cut a strip of paperboard 1 ½” wide and wrapped it around my body where I would want to wear a skirt waistband. I figured it would be impossible to figure out where a waistband should be on the form if I didn’t do this. Also, I’m squishy enough that the waistband changes the shape of my body, so the waistband needs to be part of the skirt form in order to fit a skirt properly. In retrospect, I wish I’d tied a ribbon around my natural waistline to mark that too, so I could reference the waistline on my fitting shell pattern.
I began taping around my body. I colored all over with a permanent marker between layers to keep track of where I’d taped on each layer.
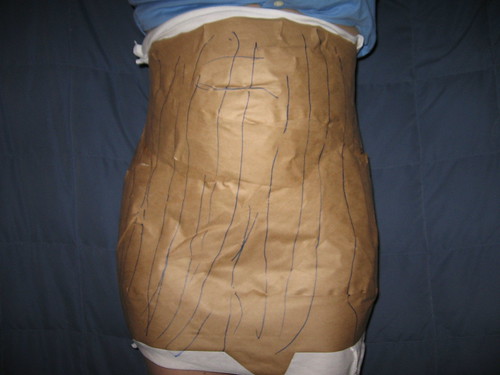
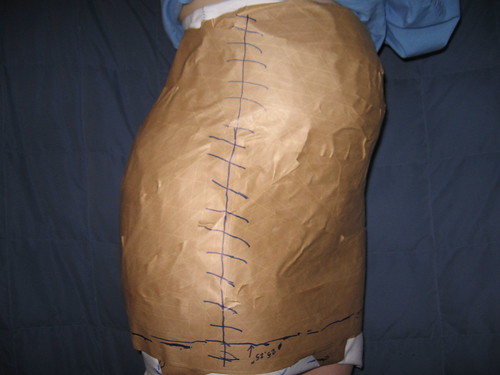
After applying three layers of tape, I drew a level line around the bottom and measured how far it was from the floor. Then I drew a line where I wanted to cut myself out and drew cross-marks on it.
I used scissors to cut the skirt form on the marked line, removed the form, and taped it shut again. I trimmed the edges, and then covered the inside with clear box tape. Next time I do something like this, I think I’ll try rubbing a very thin layer of petroleum jelly over the tape, since it was a little difficult to remove the inner form. It can’t be too slippery, though, since the tape needs to stick while you are applying it, so if you try this, test it before you do it on a full form.
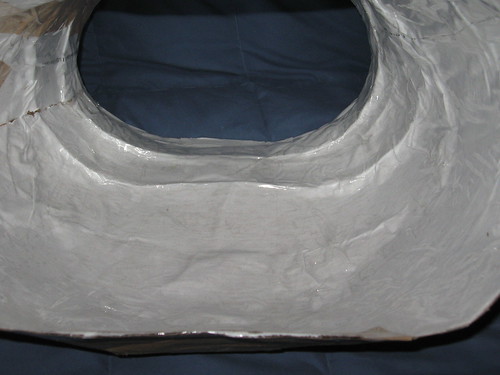
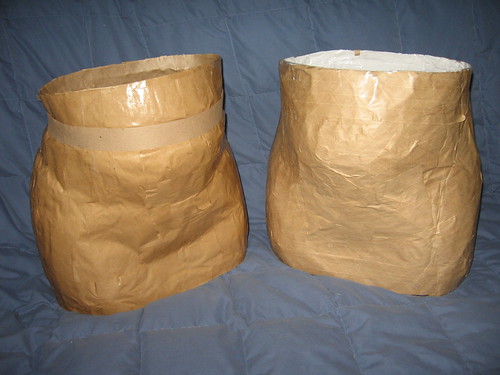
I cut another strip of paperboard and taped it around the inside of the waistband on the skirt form, and then I applied three layers of paper tape to the inside of the skirt form. I carefully cut the outer form using a razor knife and removed it. If I hadn’t been trying to save the outer form to compare it to the inner form, I would have cut it in several places to make removal easier. The inner form buckled in a few places (I wasn’t all that careful about removing the outer form), but I was able to push out the dents and it popped back into shape.
I applied two more layers of tape on the inside of the inner form, and a single layer of tape on the outside. I wrapped tape around the edges to make them smooth.

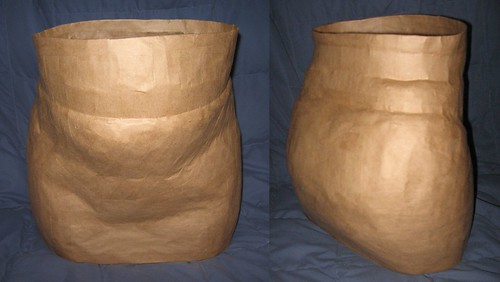
The final skirt form matches my actual waist and hip measurements, and I can clearly see where the waistband should go. (The outer form was 1 ½” too big at the waist and 1″ too big around the hips.) The level of detail is better than I expected for paper tape – you can even see my underwear line! Now I need to go sew some skirts.
 GrowYourOwnClothes Etsy Shop

[…] Paper Tape Skirt Form […]
LikeLike
Thanks for this cool idea!
LikeLike