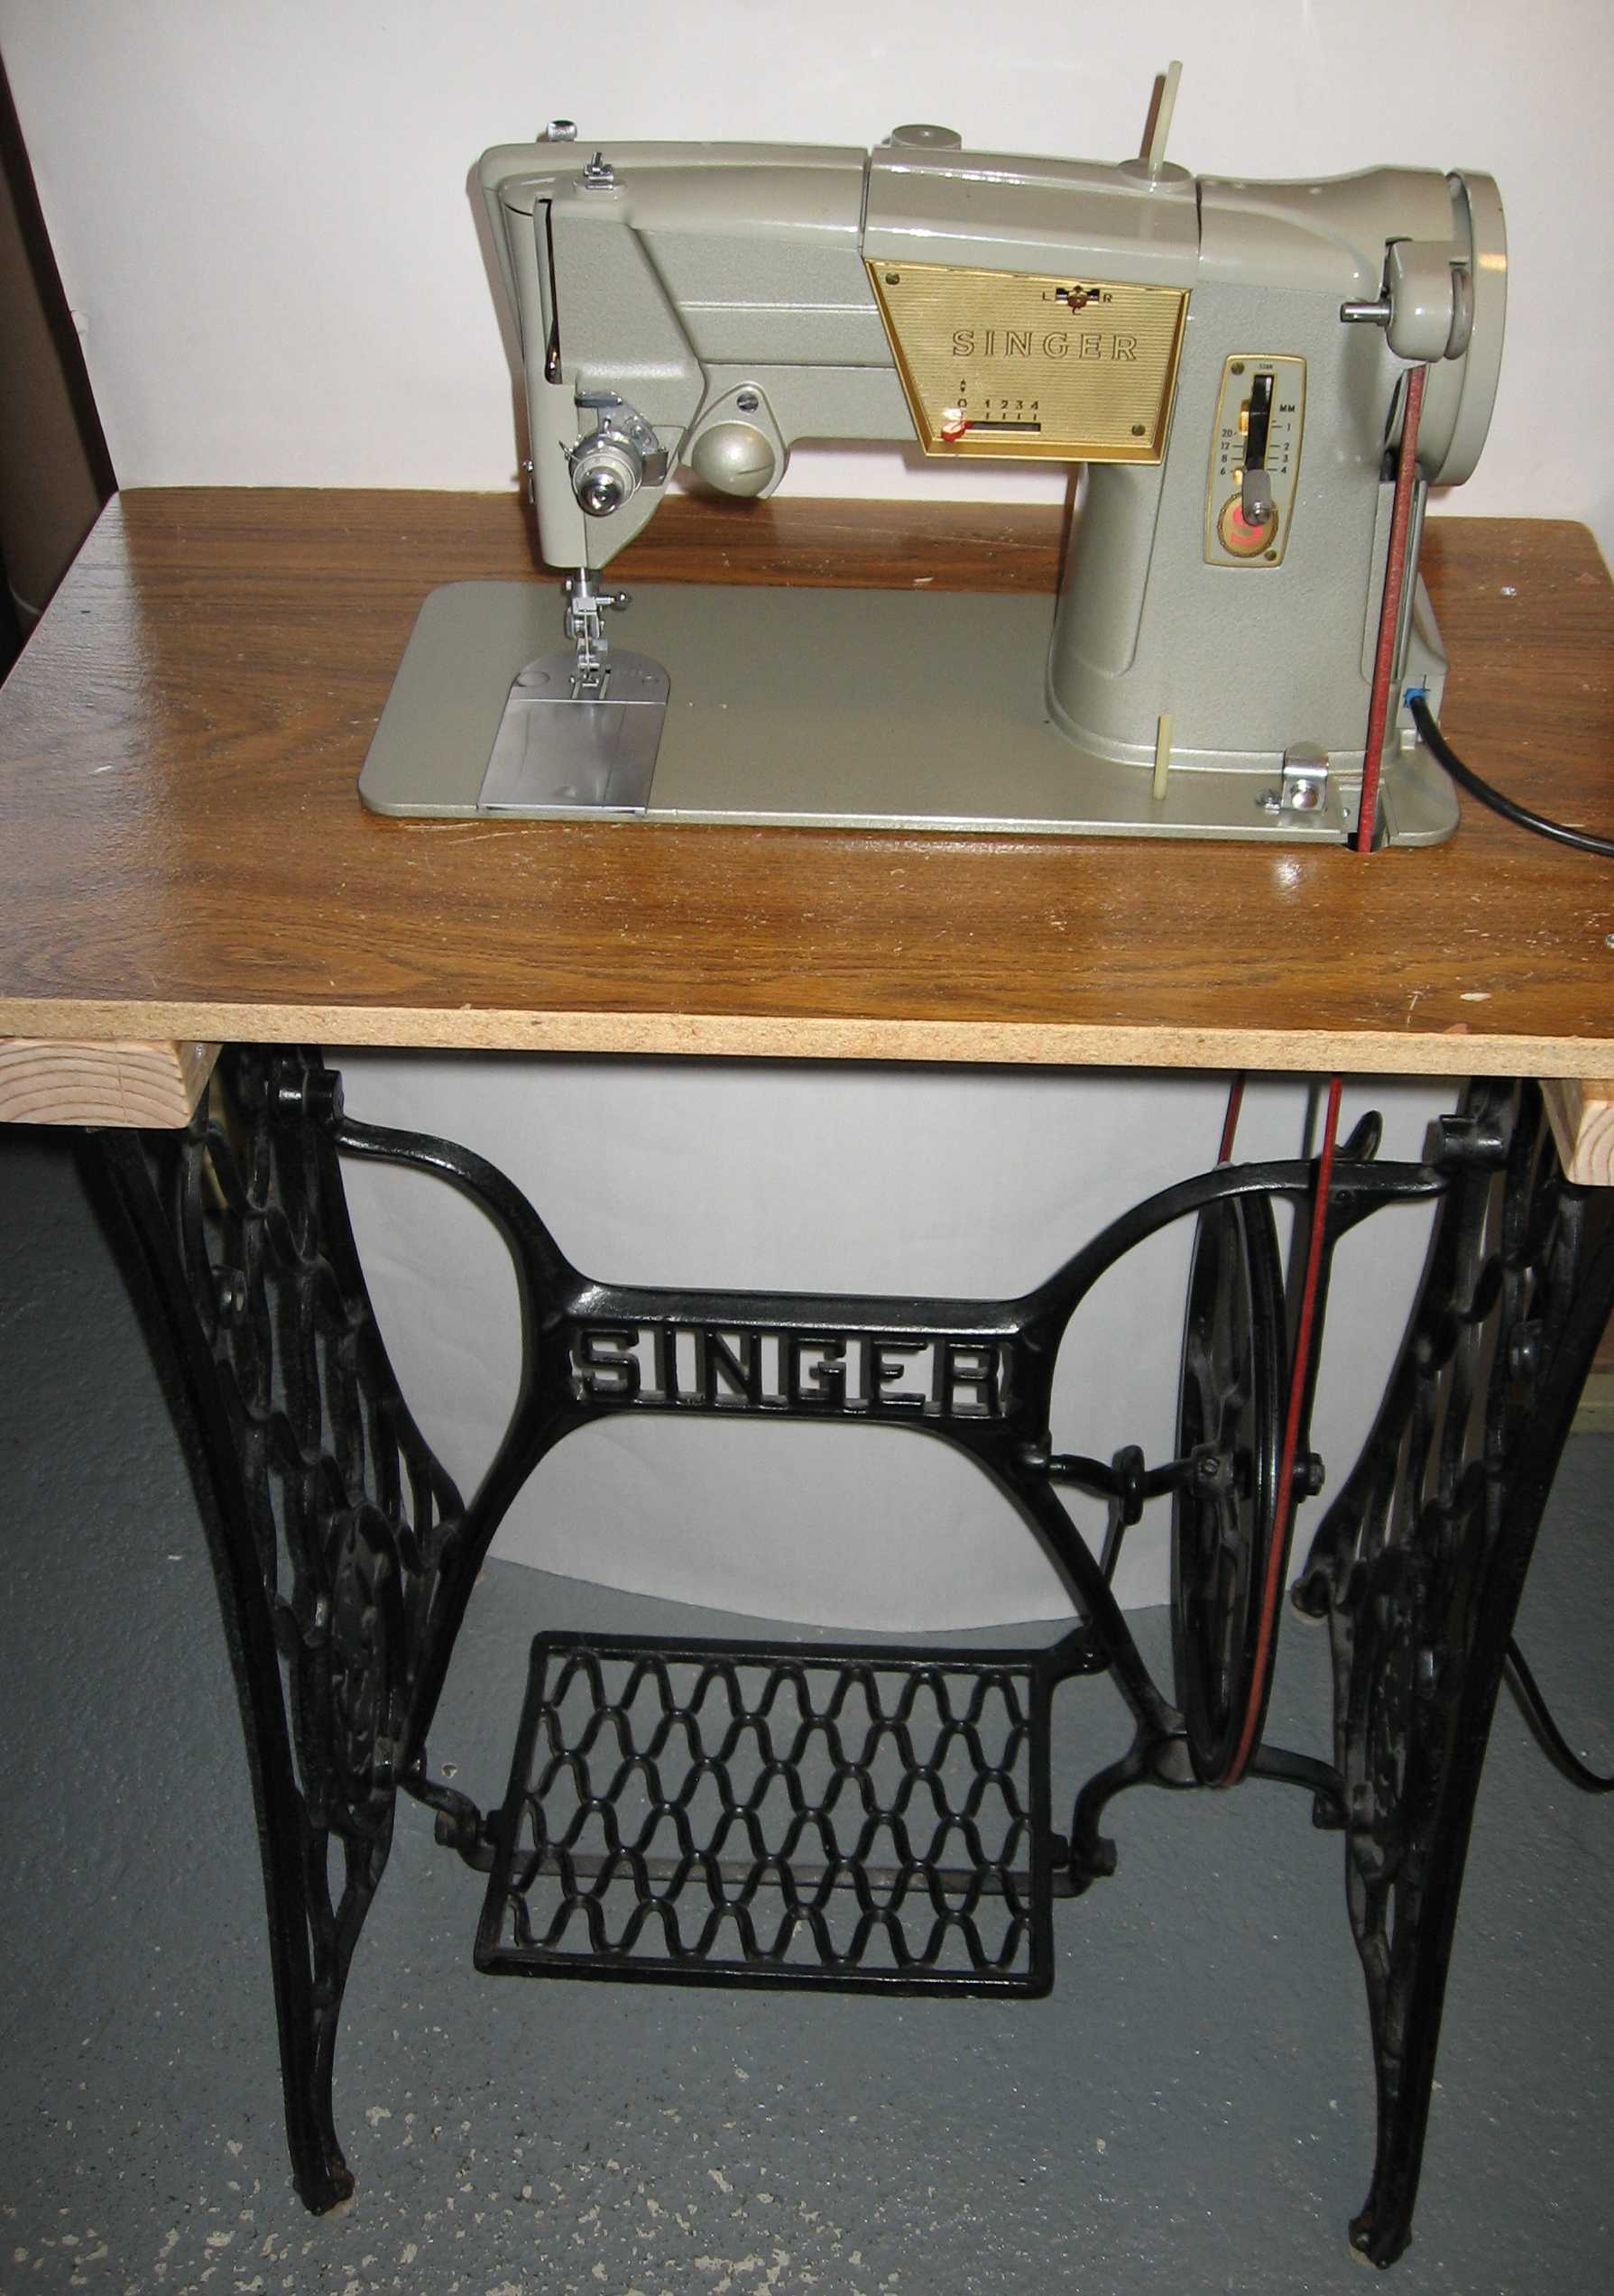
I’ve been looking for a vintage all-metal zig-zag sewing machine to keep in a treadle base ever since I was confronted with my Singer 252’s limited life expectancy. This search led me to the Singer 328K.
My requirements for a sewing machine were:
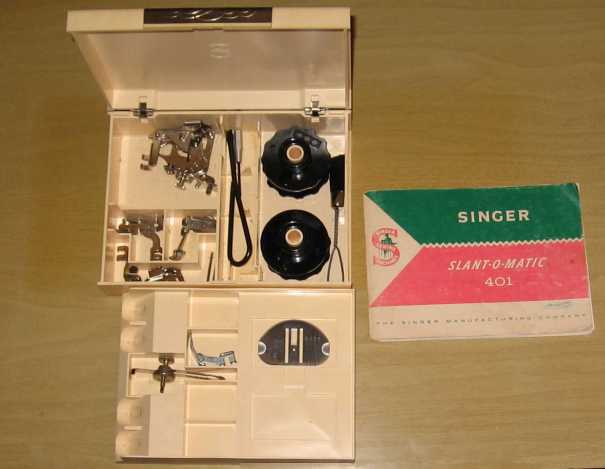
Singer short shank sewing machine so all my attachments and accessories are compatible
All metal gears and no timing belt to break
Takes special stitch cams (fashion discs)
Can be used with a treadle base
Uses regular sewing machine needles
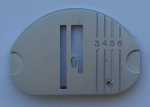
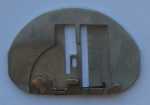
Top-loading drop-in bobbin (they have fewer thread snarls than front or side mounted bobbins)
I wasn’t sure my perfect sewing machine existed, but then I found the Singer 328, and it seemed to meet all of my requirements. The only thing I wish it did that it doesn’t was hold two fashion disks at once so I can switch between zig-zag and 3-step zig-zag easily.

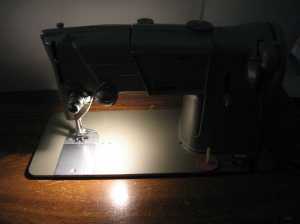
I bought my Singer 328K on ebay. On the auction listing there was a video of the seller putting it through its paces without thread, but the motor worked, the needle went up and down, and the feed dogs moved, so I thought there was a very high chance it was in good working order.
When I got the sewing machine, it had survived shipping. I attribute that more to the shape of the sewing machine and the fact that it was in a case than the limited amount of packaging material. I cleaned and oiled the machine, then put thread in it. As soon as I started to sew, the thread immediately jammed in the bobbin area.
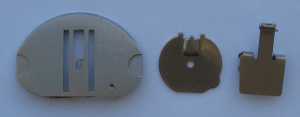
I finally figured out that the spring on the bobbin case was broken off and the bobbin tension screw was missing. Well, I just happen to have a Singer 252 parts machine with a very similar bobbin case, so I took the spring and screw off of its bobbin case and put it on the 328K bobbin case. They fit just fine, and the sewing machine works! Do you know what lesson I took from this? NEVER, EVER get rid of vintage sewing machines or sewing machine parts. Which means I will have to be very careful not to acquire too many sewing machines, or my house will be too crowded to live in.
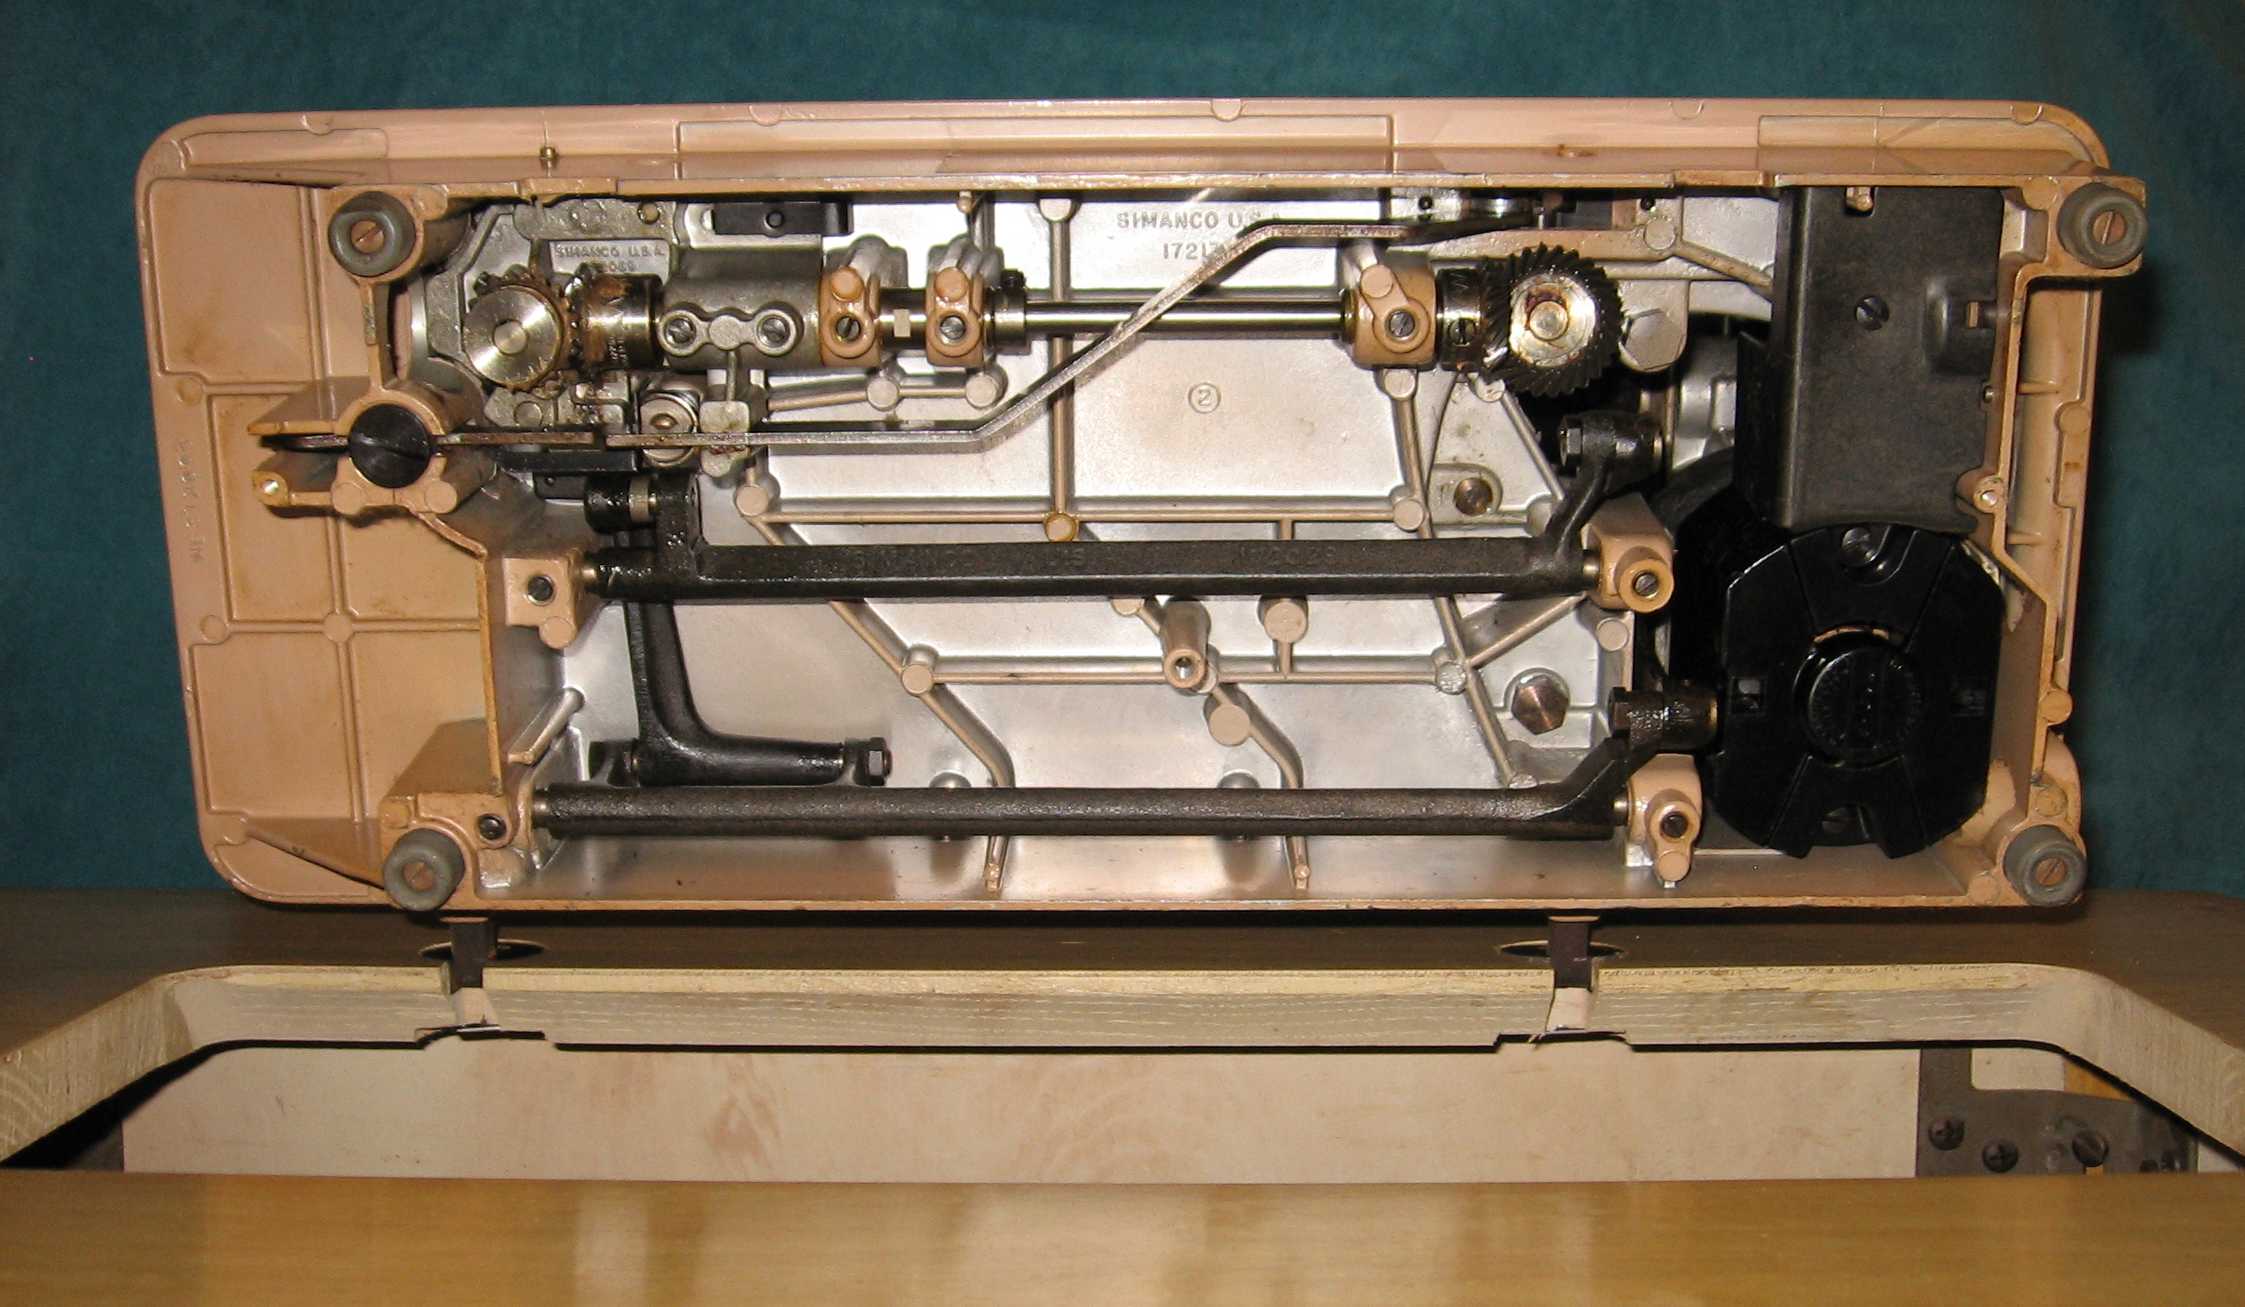
One of the things I noticed about this sewing machine is that the shuttle race oscillates rather than spinning around in a complete circle. I suppose it is cheaper to manufacture an all metal machine this way, since you don’t have to have gears down below the bobbin. Also you don’t have a timing belt that can break. The affect of this design is that the machine vibrates when sewing at high speeds, which is kind of annoying. It’s not quite as bad as my antique vibrating shuttle machine, though. Now that it is on a treadle base, I can’t sew fast enough to have the vibration be an issue.
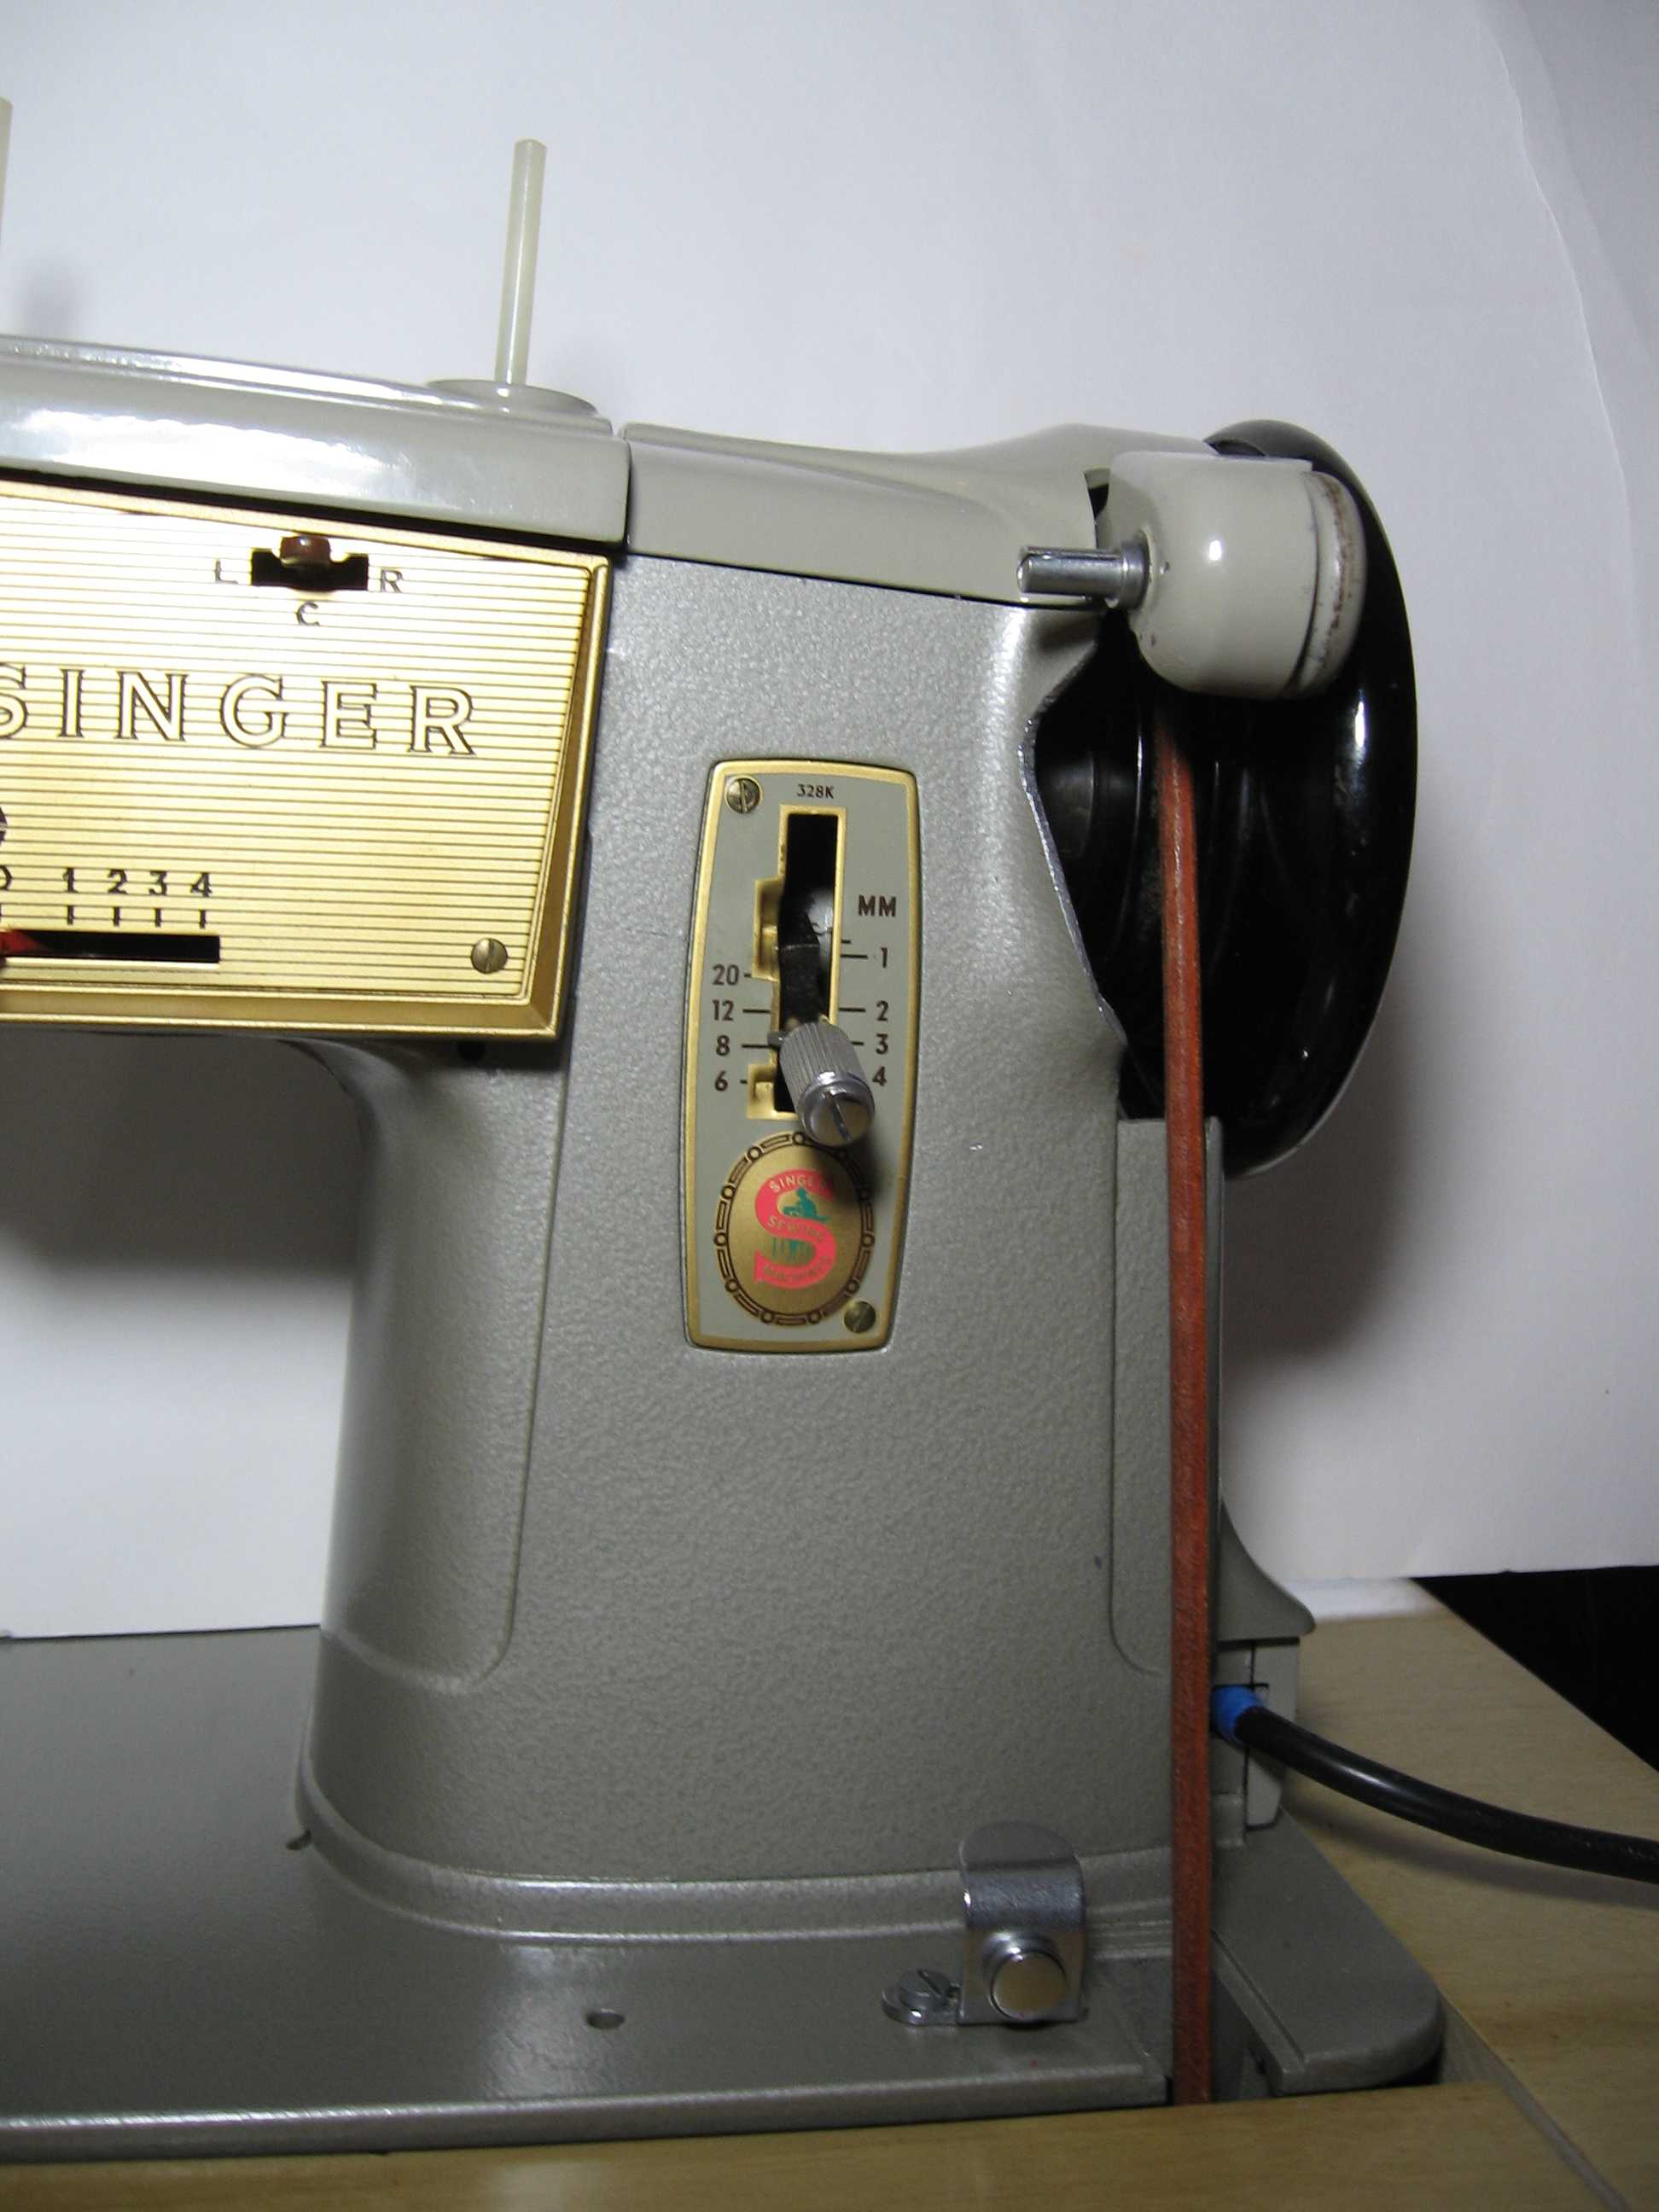
 If I hadn’t read that the Singer 328 can be put in a treadle base, I never would have guessed that it would work. On the bottom right of the sewing machine bed there is a plastic plug that unscrews to reveal a notch for the treadle belt to go through.
After removing the plug, the motor belt needed to come off. I found this blog post that helped me figure out how to get the motor belt off.
I have two treadle bases; one is a Singer base from the early 1900’s and the other is a German treadle with a larger wheel. There is so little clearance for a treadle belt I figured the Singer base would be the only one that would work.
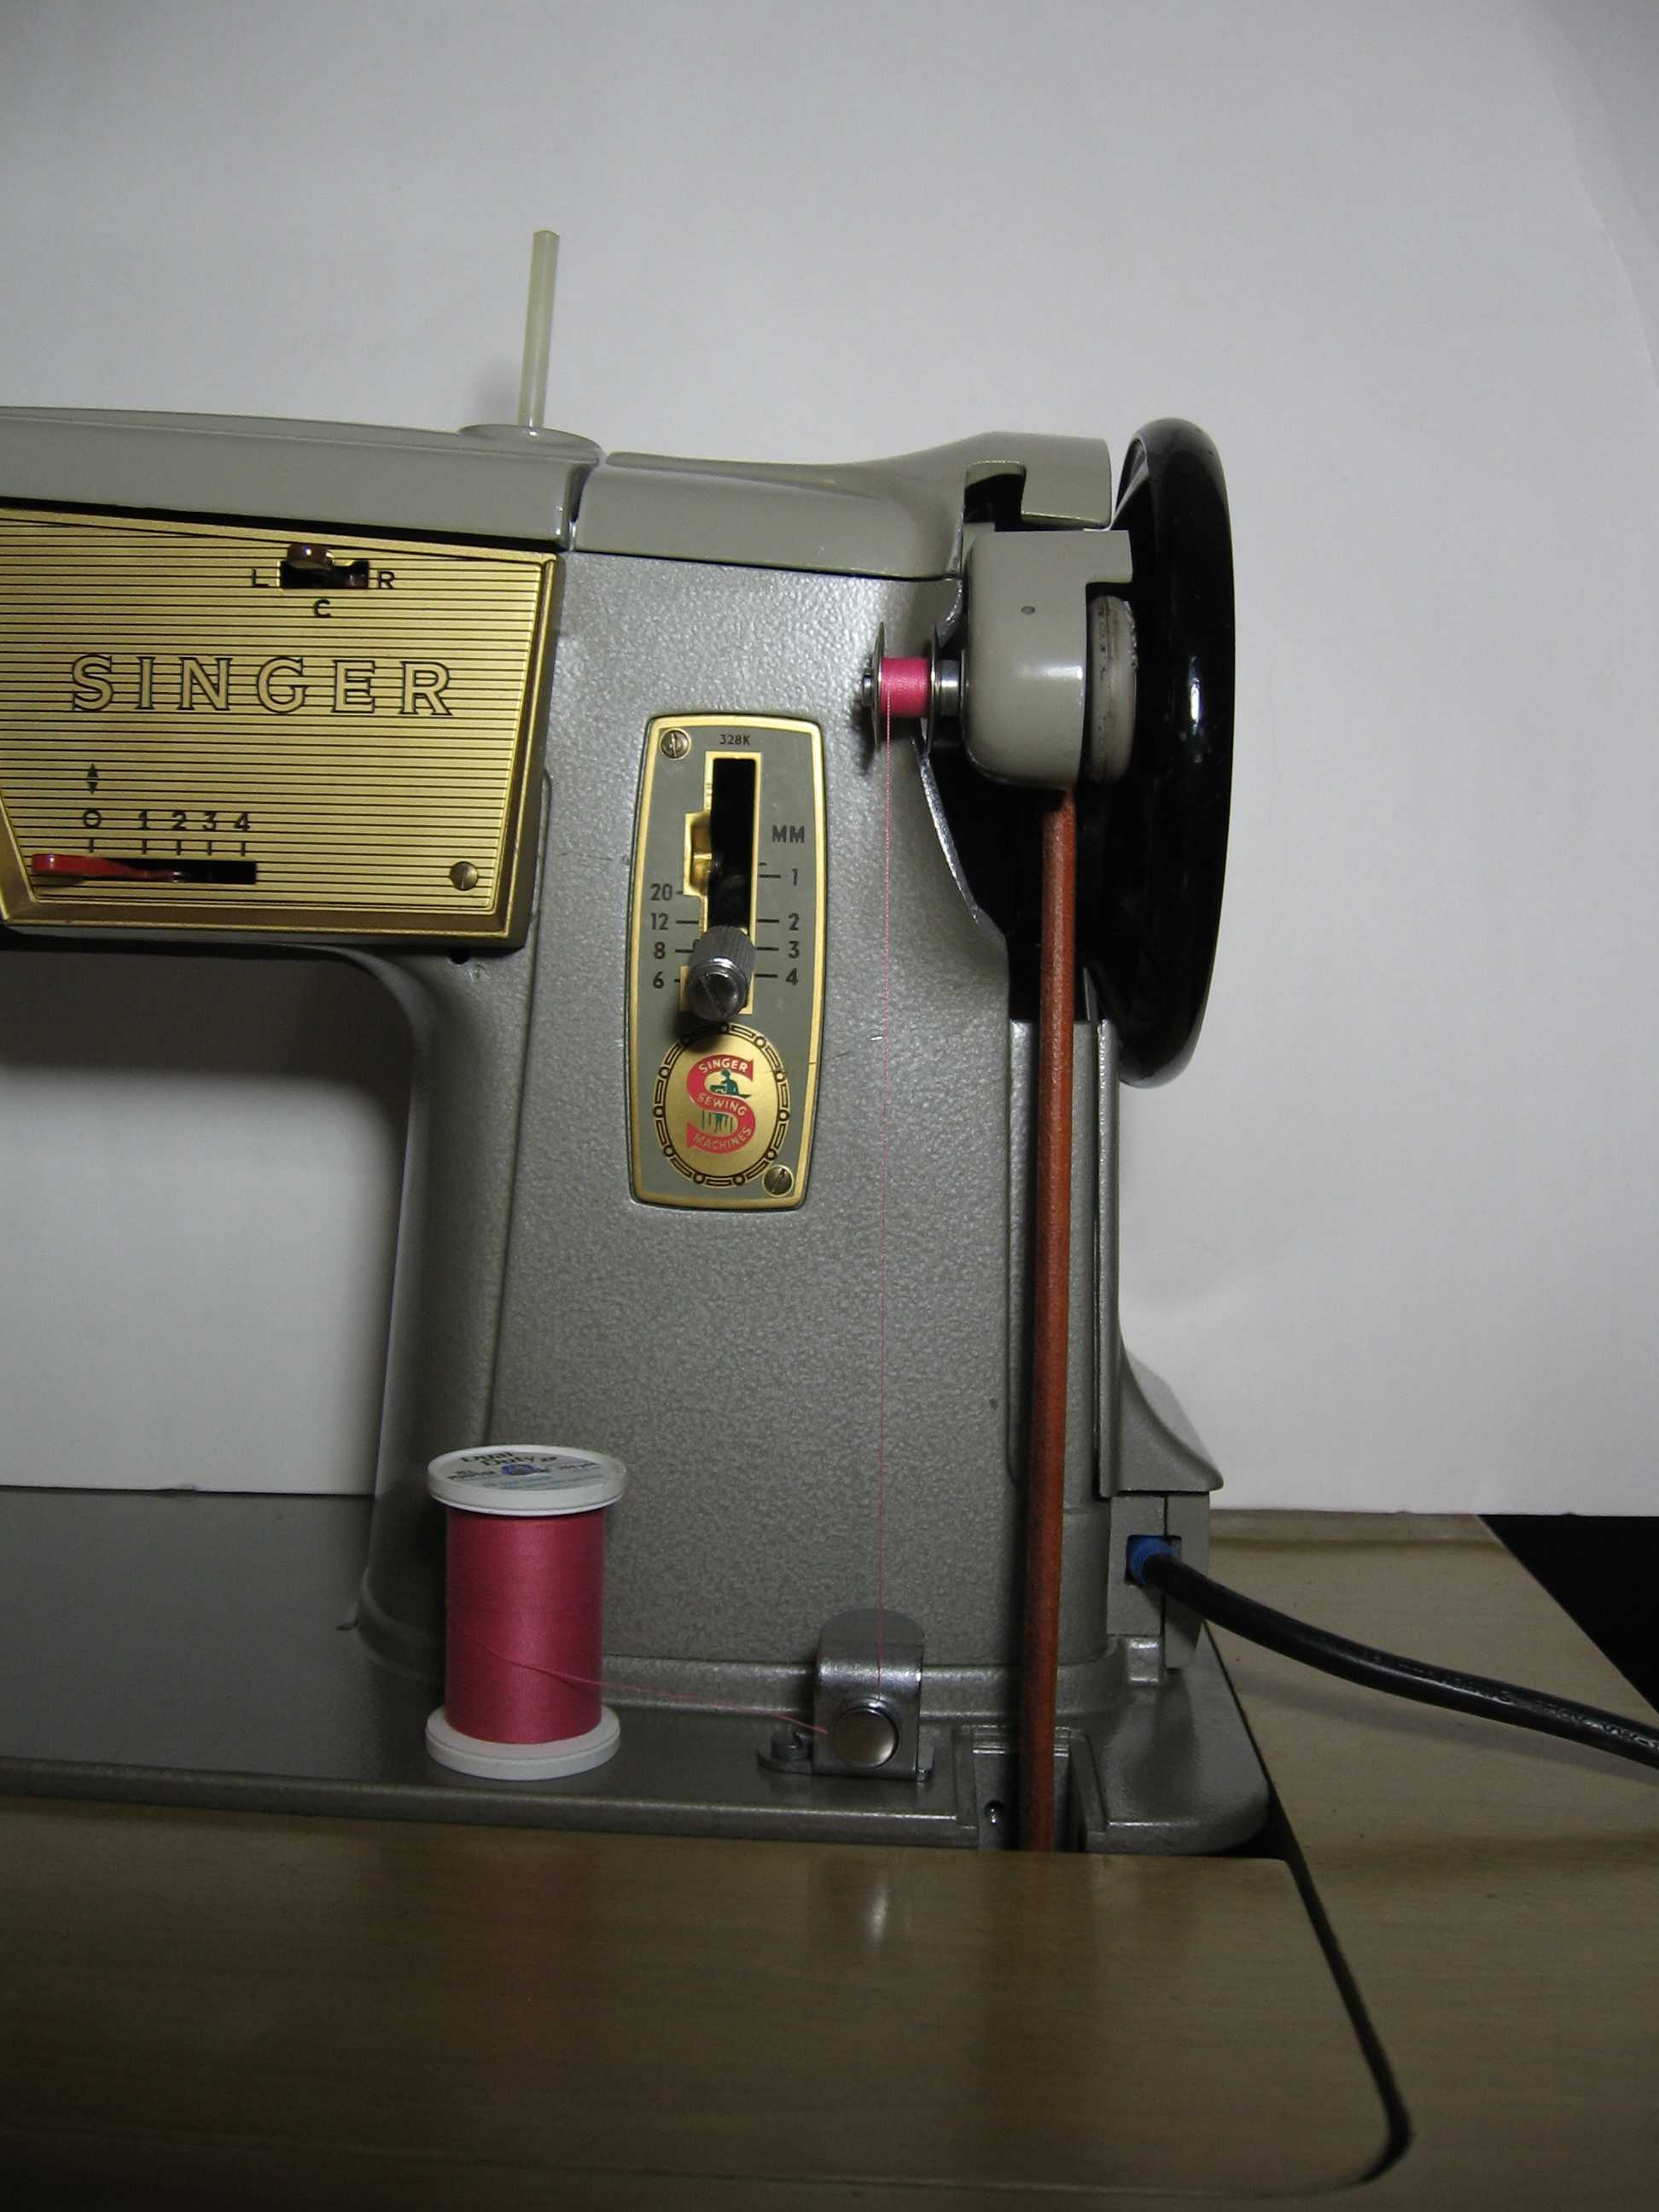
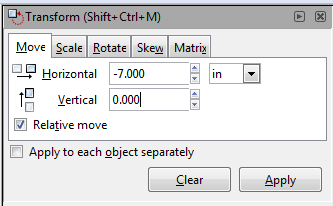
 I made my own table top with a custom hole (nothing fancy – it’s made from scrap wood) so I could position the sewing machine exactly in the right spot to get the best clearance for the treadle belt. I quickly realized that no matter how I positioned the machine, the treadle belt would rub on the front of the sewing machine frame just below the bobbin winder. I think you are supposed to replace the handwheel with one with a smaller pulley before hooking it up to a treadle, but I don’t have one that fits. I’ve seen pictures of a Singer 401G (which has a similar shape to allow for a treadle belt) with leather shavings all over the machine from the belt rubbing. Yeah, that wasn’t going to work for me. Some of the sewing machine frame had to come off.
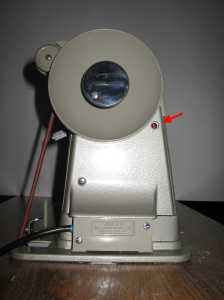
I’ve marked below the part I cut off. The frame is aluminum, so it wasn’t too hard. I drilled holes along the cut line, then filed down the edge. A Dremel would probably be good for this, but I don’t have one. For anyone else doing this, learn from my mistakes – mask off the end of the machine so it doesn’t get metal shavings all over inside and put tape on the front of the machine so you don’t scratch it when your drill bit or file slips.
I could have just left the original wiring in place, but the old cord was getting a little stiff and I didn’t want to have the foot controller in the way, so I put in a new power cord to the light only. Since the machine is metal, my electrician husband suggested grounding the machine to avoid the possibility of electrocution if there is an electrical fault. Sounds like a good idea to me! There are moving parts in there right next to live wires, so I could see the possibility of something bad happening.
-
-
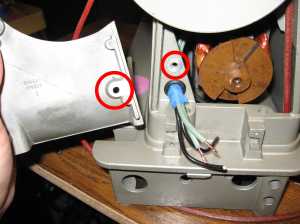
I filed off the paint where the red circles are so I could connect the grounding wire there
-
-
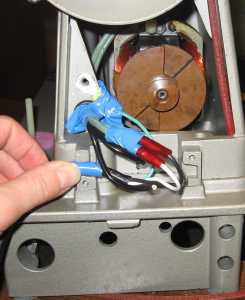
New wires connected
-
-
I had to put washers on the screw so the grounding cord connector would be pressed in tightly
-
-
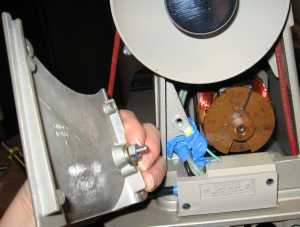
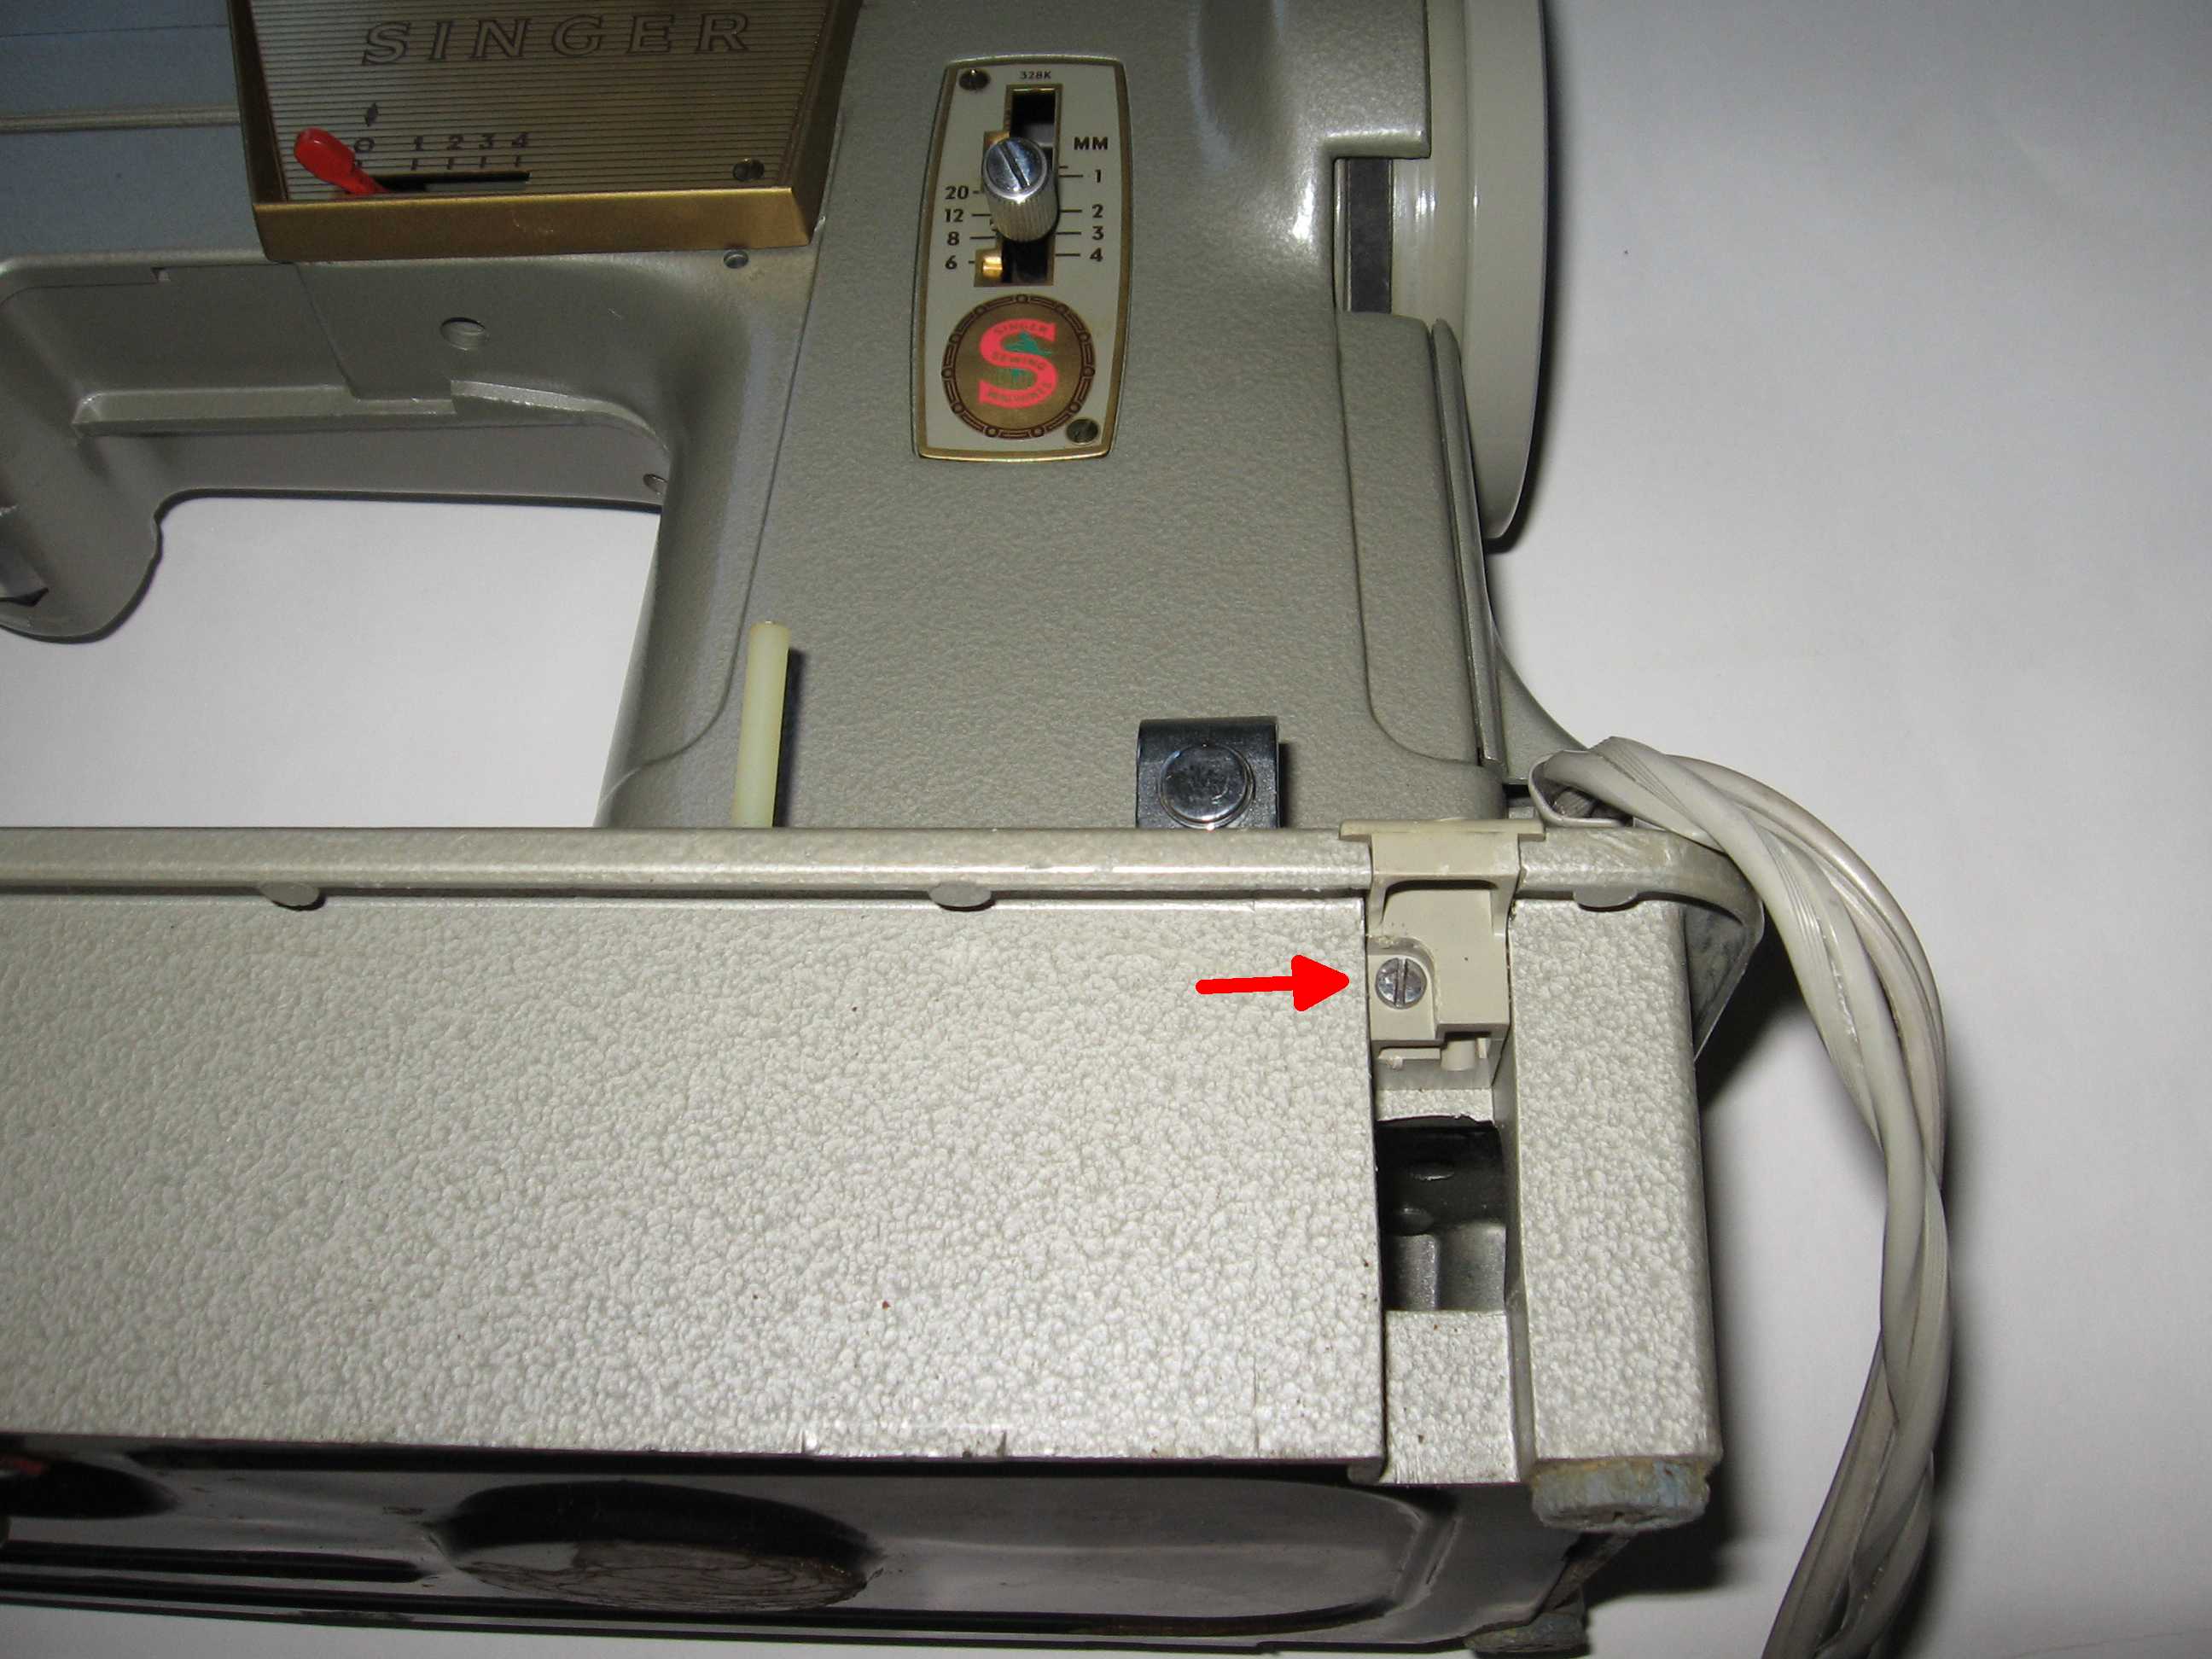
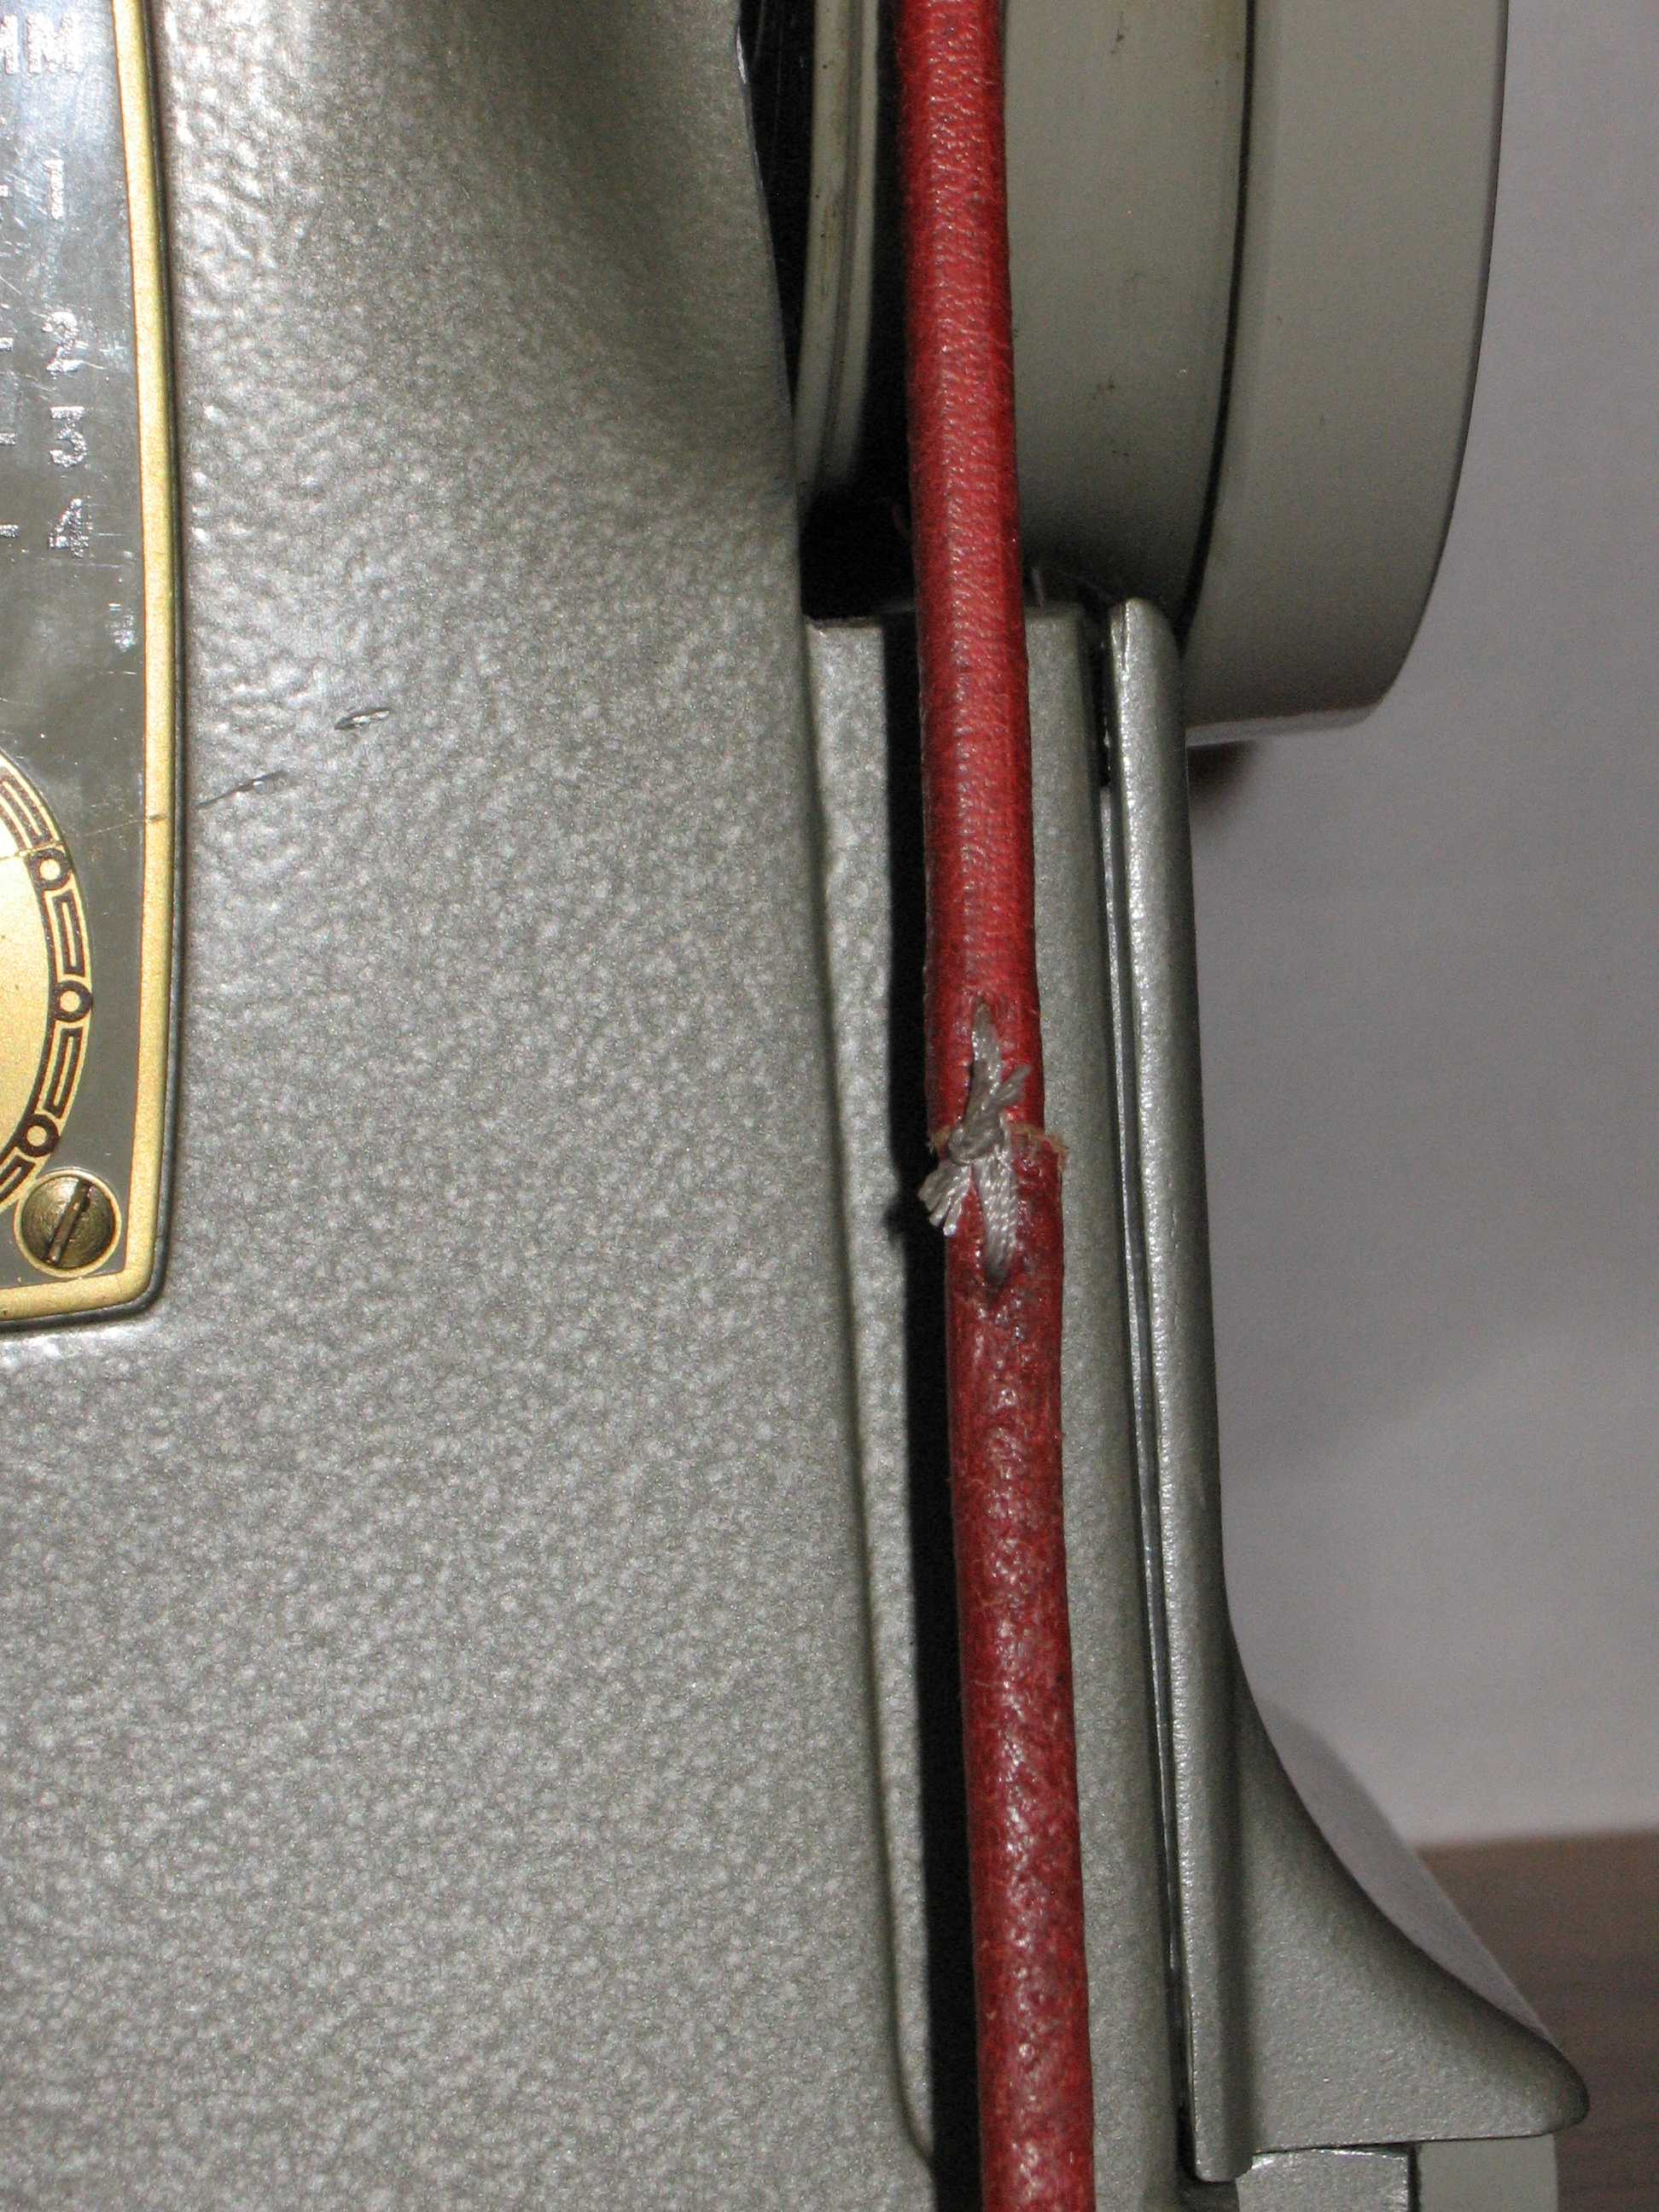
I couldn’t put the upper screw on the side cover back on, since it would hit the treadle belt. You can see the belt through the hole.
-
-
The light works!
 Since there is so little clearance for the treadle belt, I didn’t want to use a metal staple to connect the ends of the belt. I figured it would scrape on the inside of the sewing machine. Instead I connected the belt ends with upholstery thread and put Fray Check all over the thread. We’ll see how it holds up.
I would not describe the Singer 328K as “treadle ready”. It took a lot of work to get it set up, and even now there is barely room for the treadle belt. Maybe someday I’ll get a replacement handwheel that works better for this machine.
Would I recommend this machine for treadling? Not really. It’s not terrible, but it takes some modifications to make it work and it sews slowly since the pulley on the handwheel is so large. It should be a good machine for teaching young kids to sew on, though, since it treadles slowly and easily. I just happen to have a couple of kids I’m teaching to sew, so maybe this isn’t a bad thing.
Update 11/5/2015:
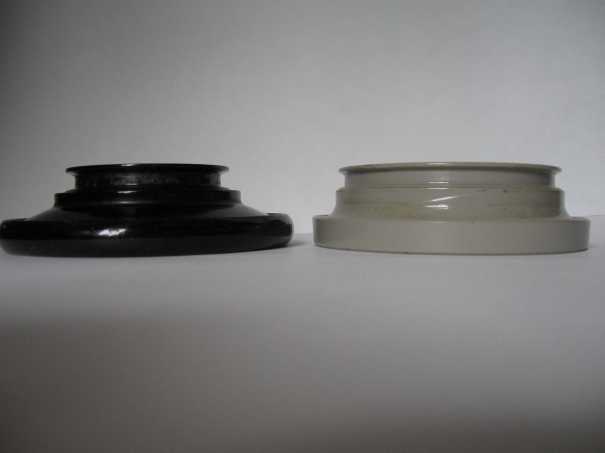
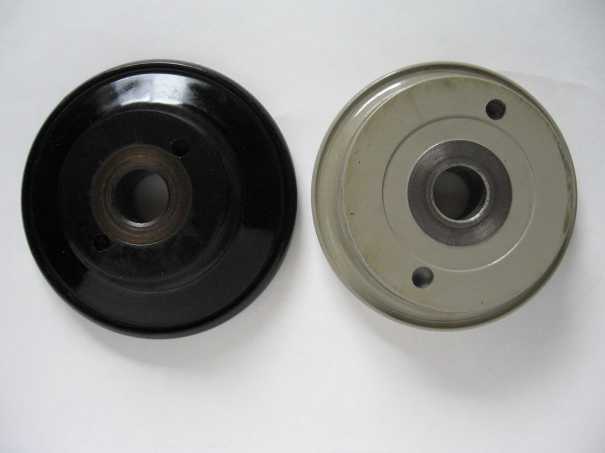
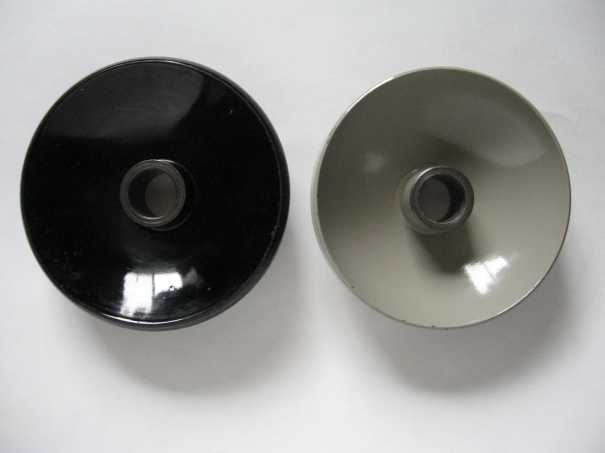
I found a handwheel that sort of fits on this machine and lets me sew much faster. Spoked handwheels are too thick around the edge, so they hit the cover on the side of the machine and won’t go on all the way. You might be able to use one with the cover off, but I didn’t want to do that, since then I’d have exposed wiring and and ugly gaping hole.
The handwheel I used is a solid black one from a motorized Singer 128. Unlike most solid handwheels, this one has the same diameter at the belt groove as the spoked handwheels.
I put the new handwheel on and moved this sewing machine to a different treadle base that has a slightly larger wheel than Singer treadle bases, so now I’m getting 6 stitches per treadle instead of 3. About 5 stitches per treadle is typical for a Singer treadle sewing machine. Sewing faster means treadling is a little harder, but it’s still reasonable.
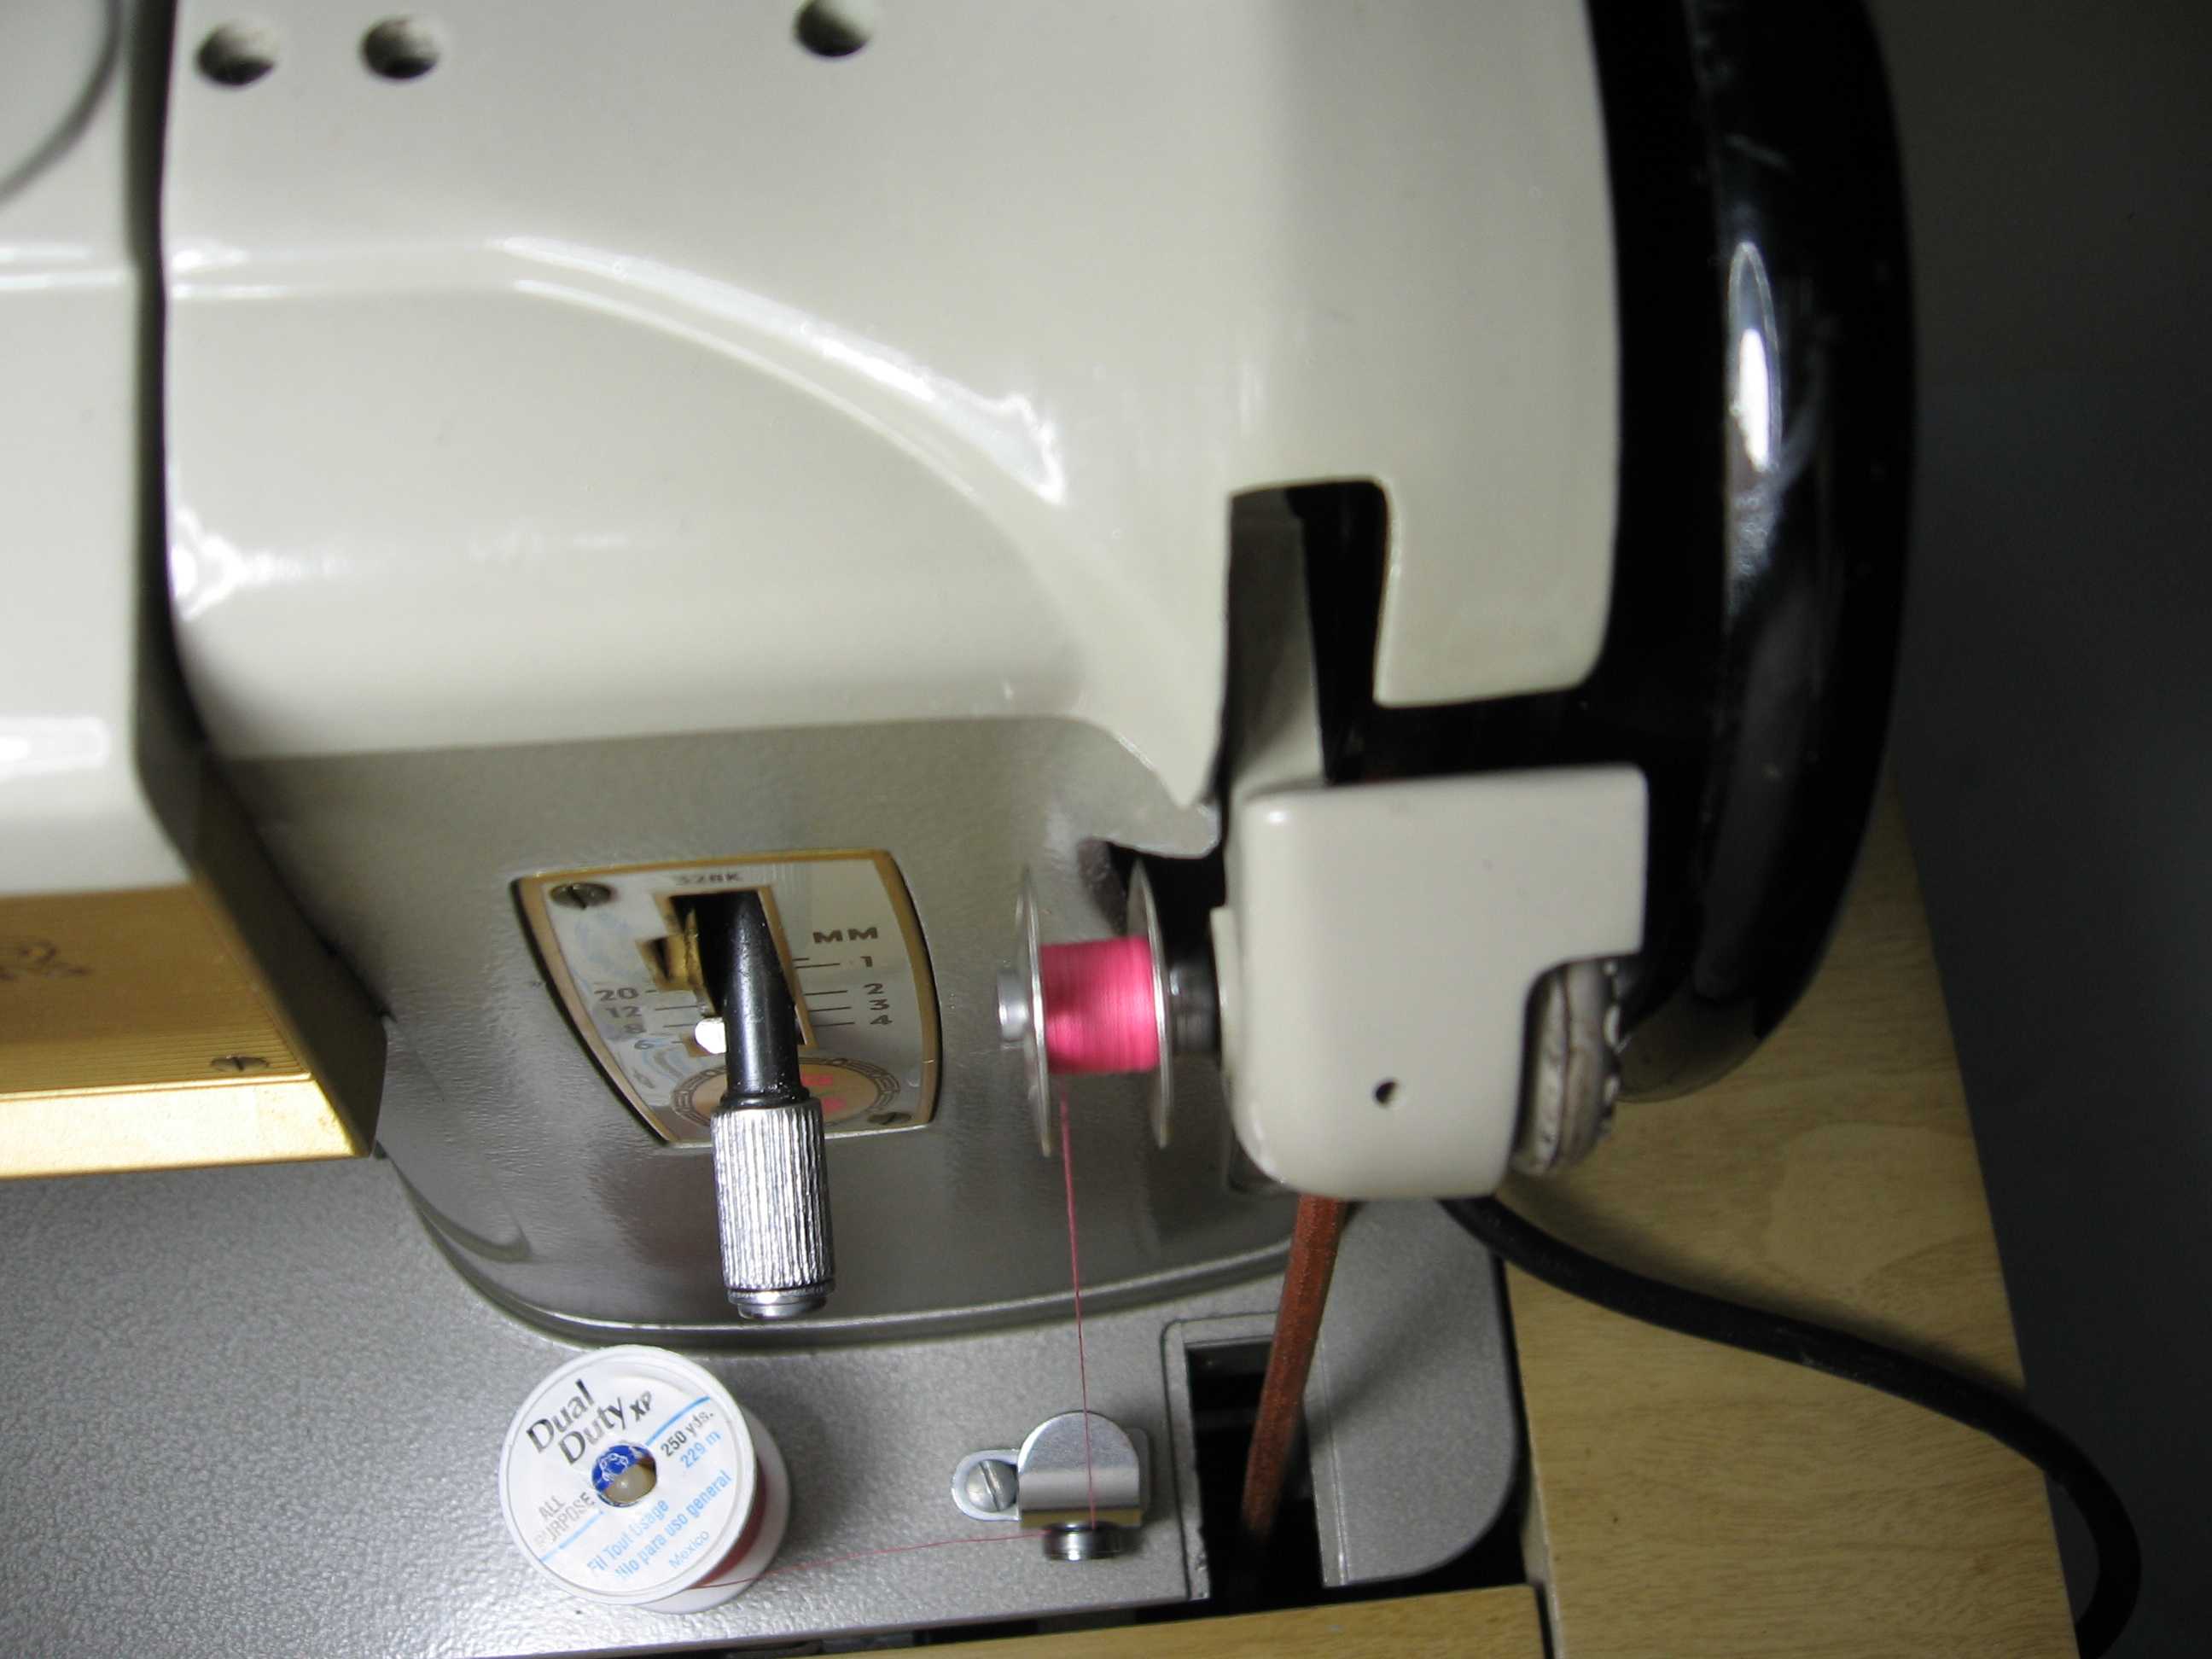
The only problem with this handwheel is that I couldn’t use the bobbin winder because the ridge that the bobbin winder makes contact with is in further. I really wanted to be able to use the bobbin winder on this machine since it winds really nice bobbins, so I cut and filed off some more of the aluminum sewing machine frame so the bobbin winder could make contact with the handwheel. I kept filing off a little more, then a little more. I was getting worried it wasn’t going to work and I would have hacked up my sewing machine for nothing, but eventually I got enough taken off, and the bobbin winder works.


I was trying to use the 328k as my main sewing machine, since I know the plastic gear deep inside my Singer 252 is likely to break at some point in the next few years. I just don’t enjoy sewing on the 328k, though. It doesn’t have a lot of harp space, doesn’t have the extra-high presser foot lift feature most machines have, and I have to make extreme adjustments to the tension when using various stitches. Also I just think it looks like an ugly alien grasshopper, so it’s hard to fall in love with. I just got a straight stitch only Singer 201 to use as my main treadle sewing machine. I’m happy enough with the 328k to use it a secondary machine when I need to use zig-zag or other utility stitches. So I think I’m finally set for life with sewing machines.

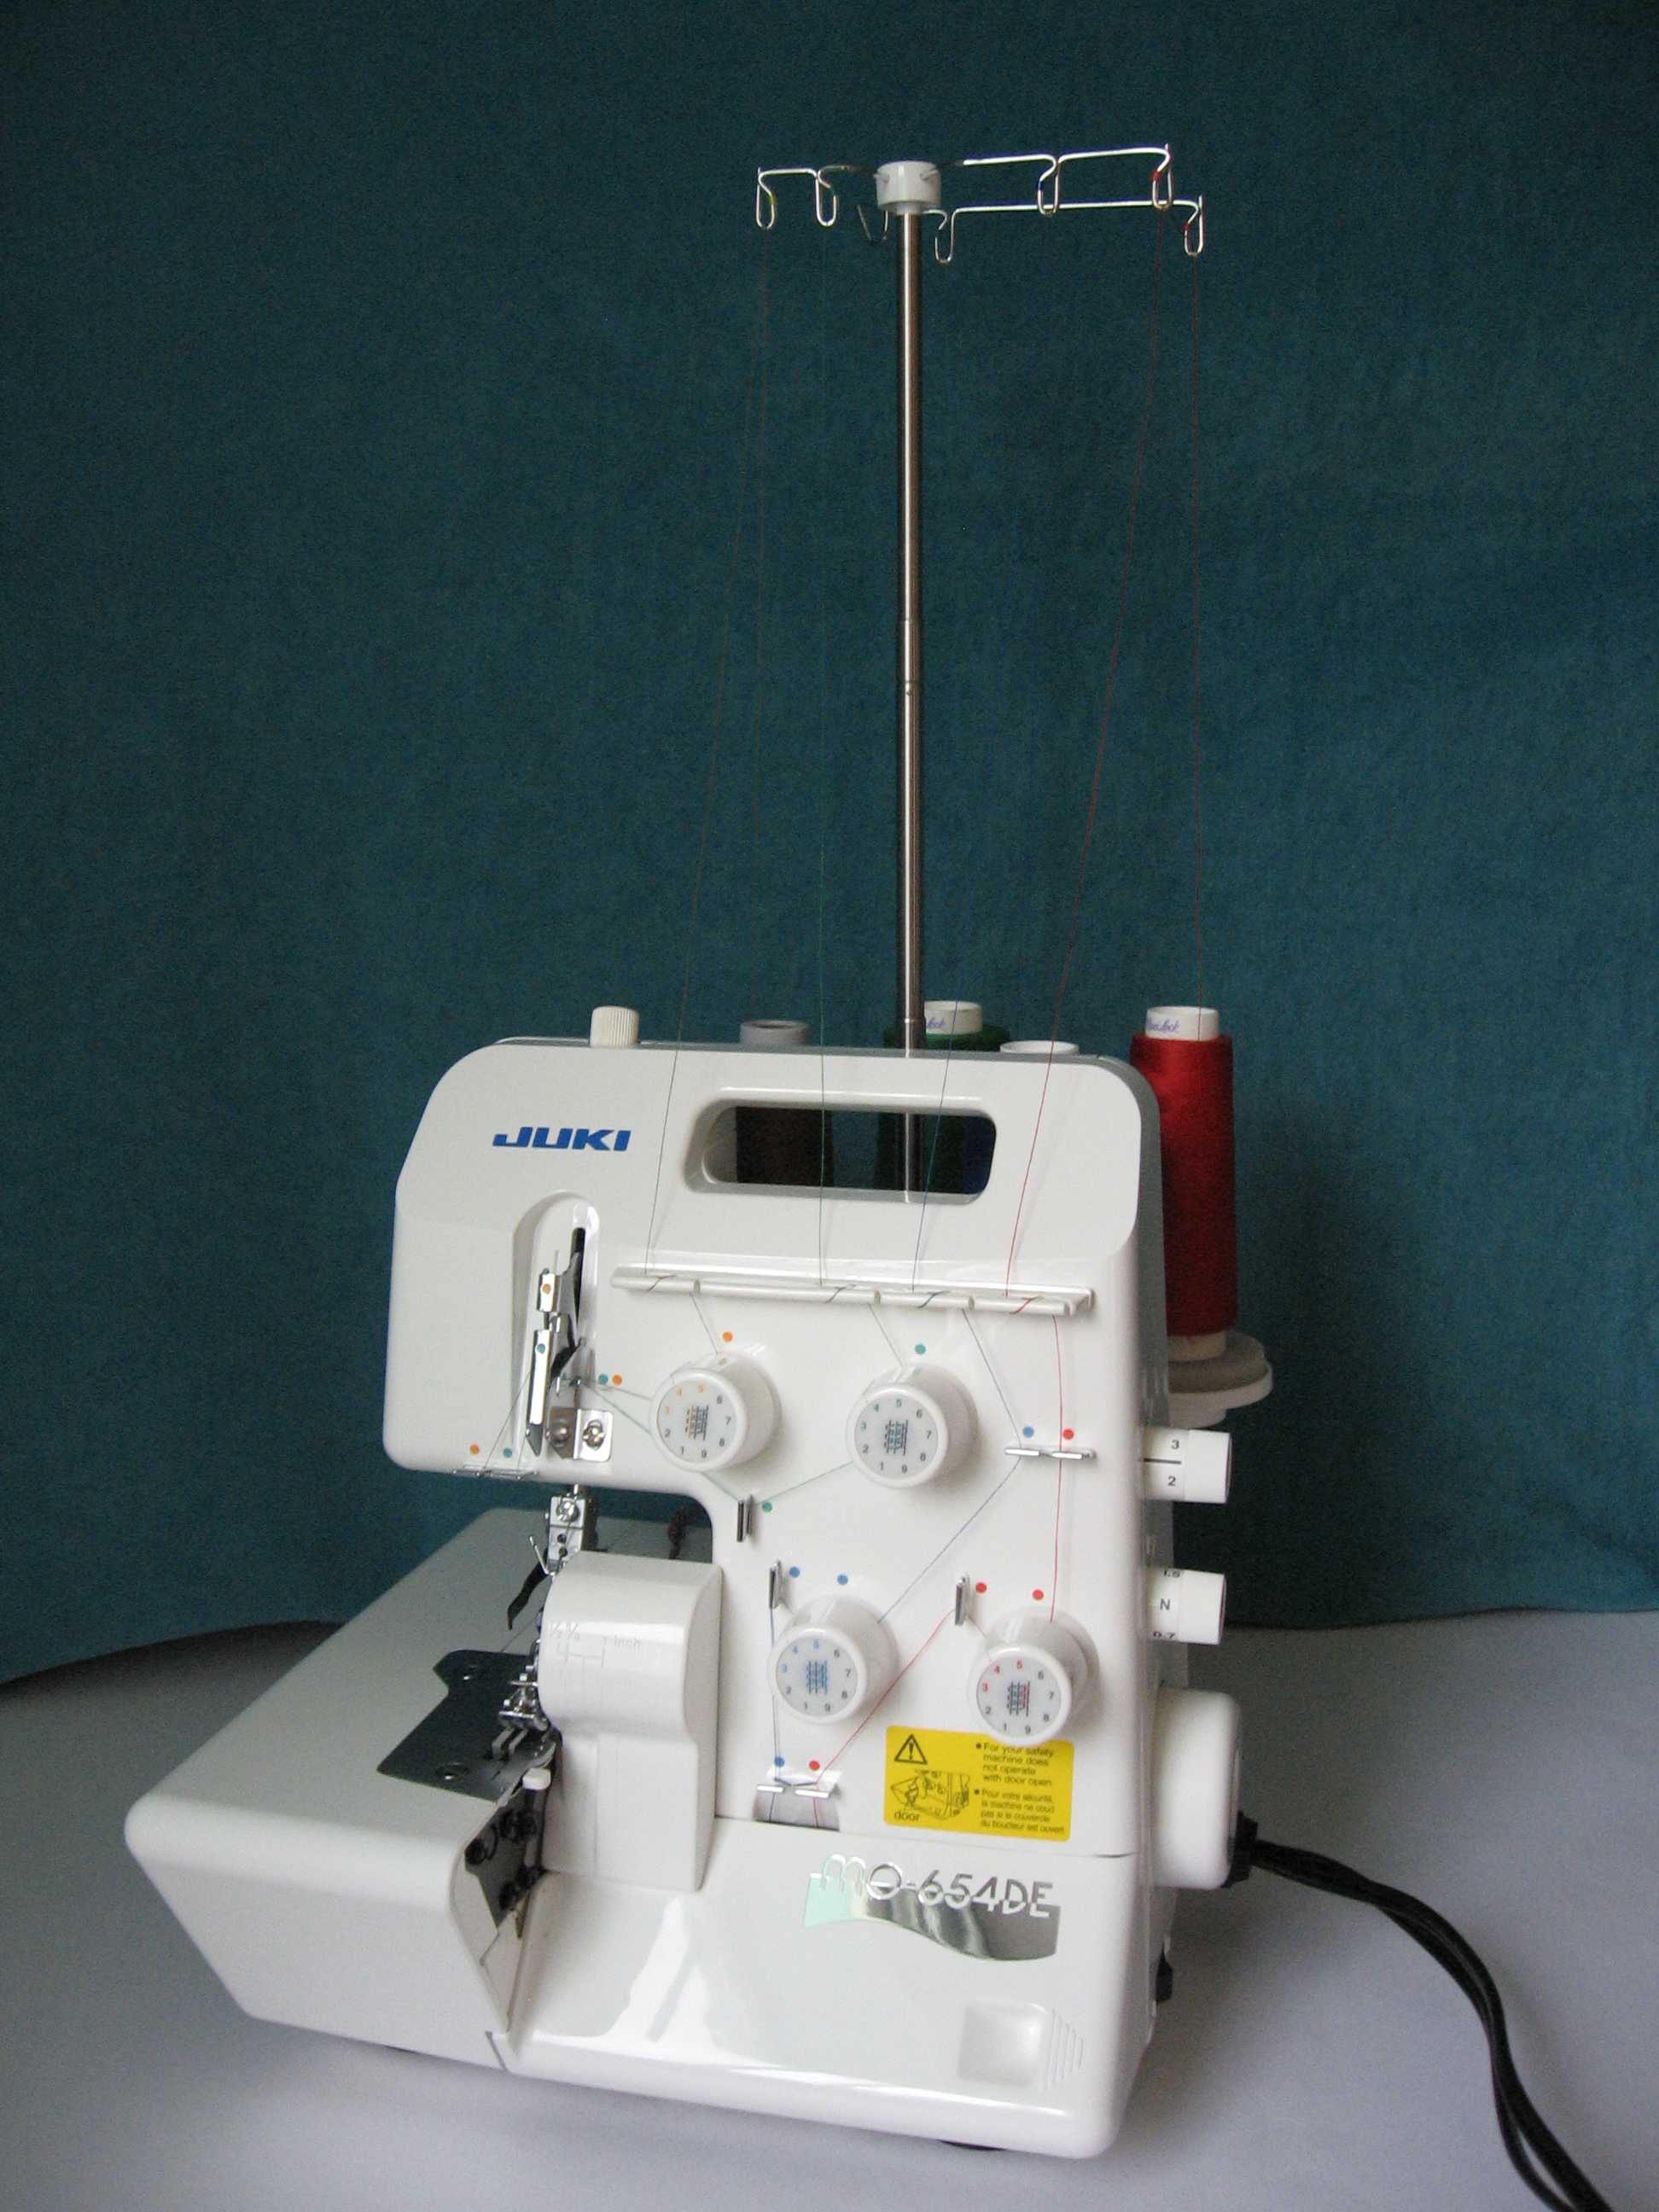 I finally got a new serger! To everyone who purchased my half-scale dress form patterns, thank you! I wouldn’t have had a new serger in my budget otherwise. It’s been pretty fun having my sewing turning into a self-supporting hobby.


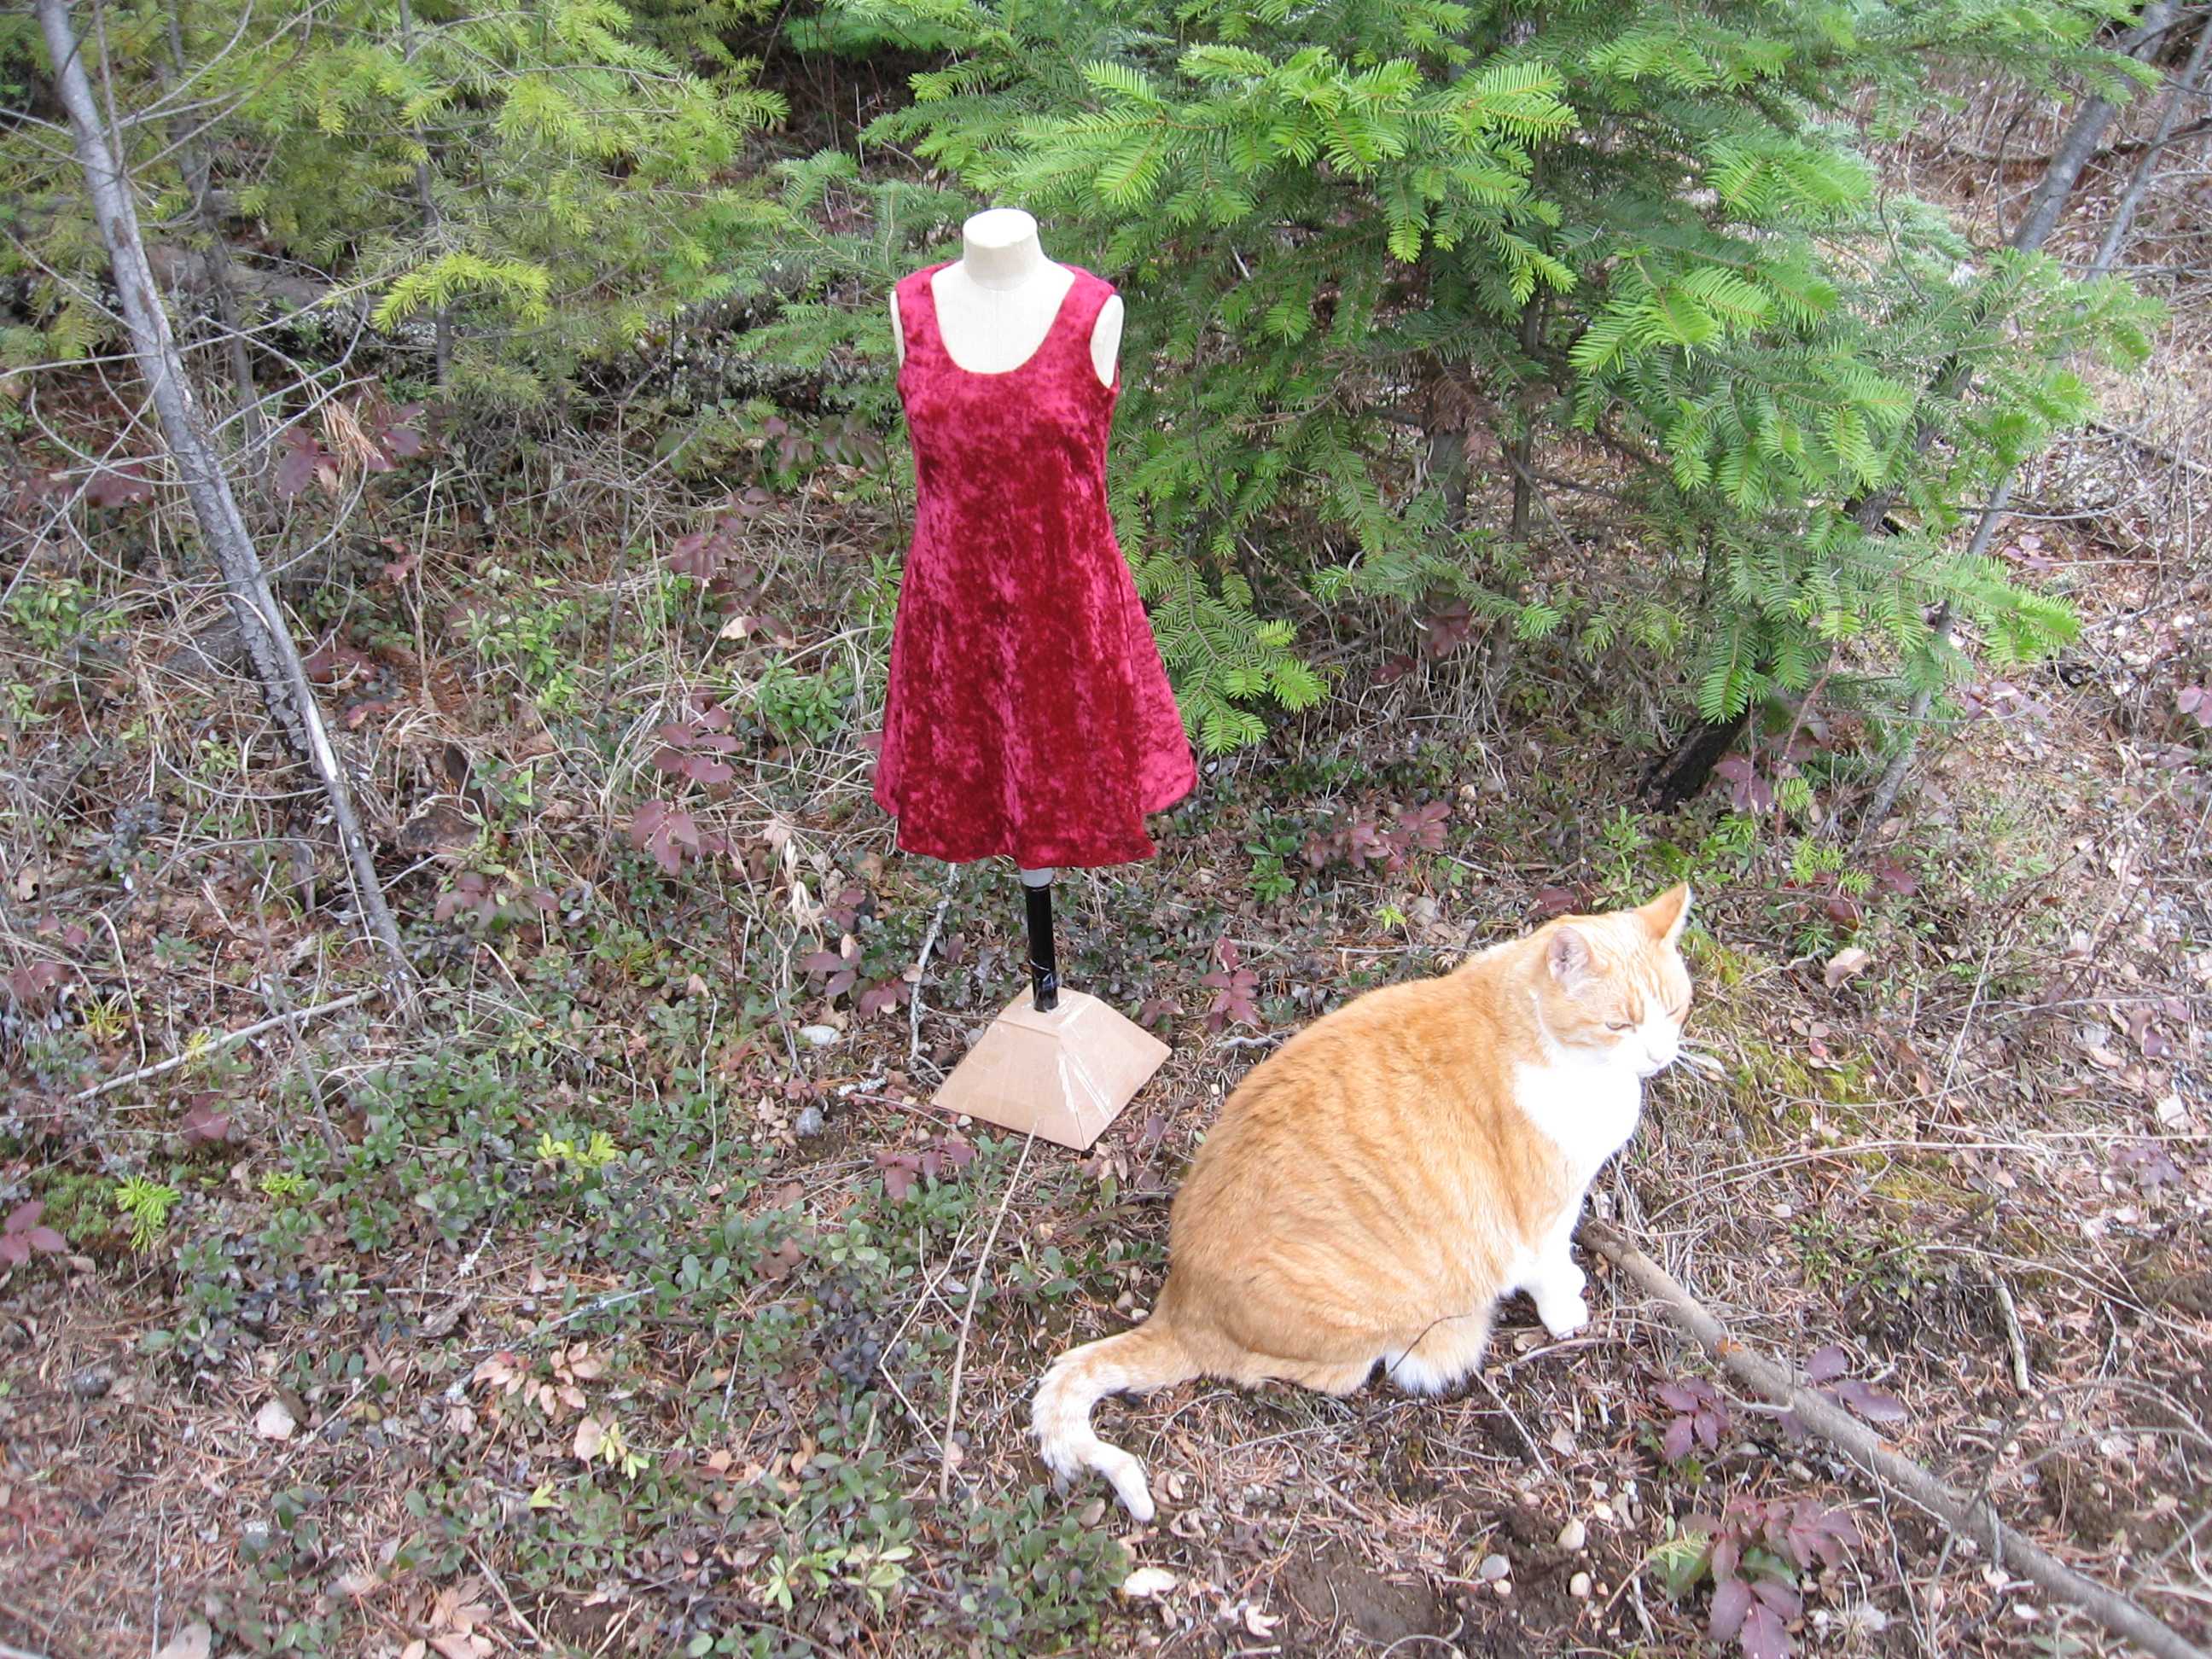


 GrowYourOwnClothes Etsy Shop
