
I got the crazy idea to make a spinning wheel. I wanted a spinning wheel with a large drive ratio for spinning fine yarn, and my Columbine spinning wheel is best for bulky yarn. Also, the Columbine double drive wheel just wouldn’t spin well. It probably needed a new drive band, but even when it was new I could never get the hang of it and I was constantly adjusting the tension.
Before I embarked on the adventure of making a spinning wheel, I decided to try to modify the Columbine, to see if maybe converting it to scotch tension would improve it enough that I could get that crazy idea of making a spinning wheel out of my head.
Well, converting the Columbine wheel to scotch tension did fix it. It works great, actually. All I had to do is replace the double drive band with a single drive band, and then rig up an adjustable tension band to go over the bobbin.


I have an earlier model without the adjustable yarn guides, so I cut the hooks off of one side and attached some small D-hooks to ID badge clips to use as yarn guides.

The Columbine wheel now spins reliably after being converted to scotch tension, but it’s kind of slow for fine yarn. So I proceeded with my crazy idea.
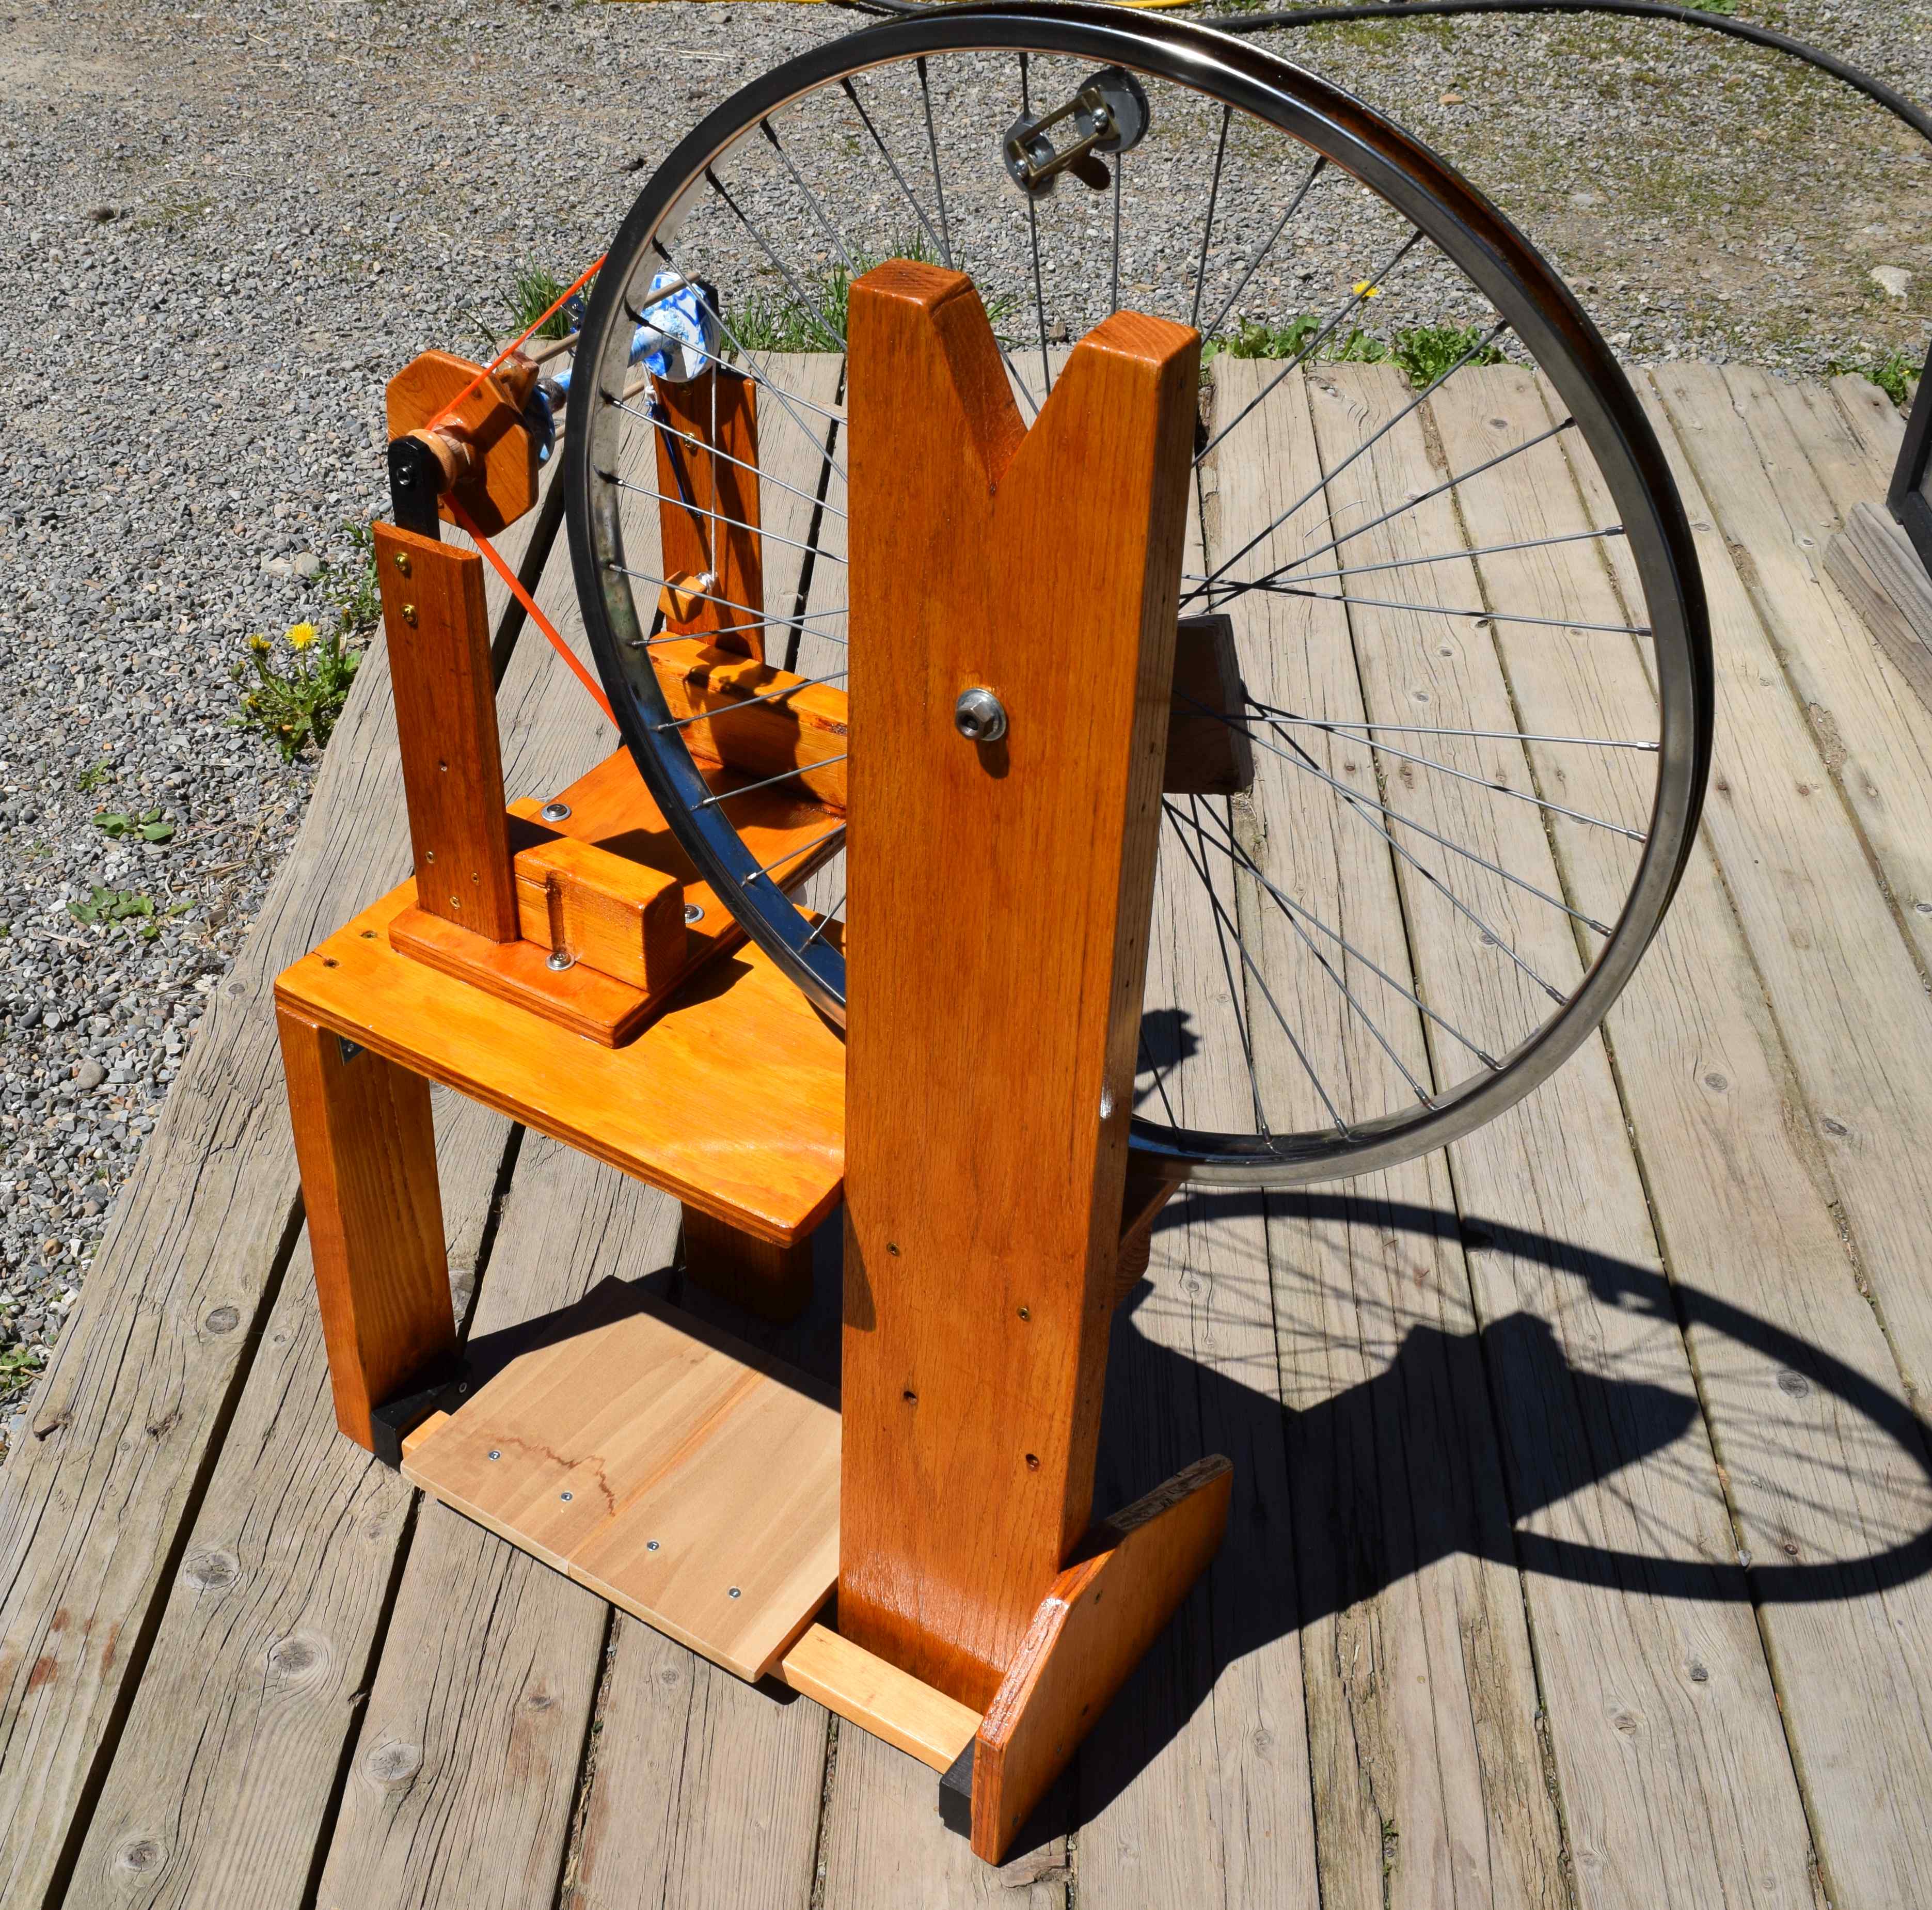
I discovered the Thrifty Fox spindle wheel pattern on Etsy. I sort of used the plans to make the main part of the wheel. I changed almost every part just a little and made things up as I went along to fit the wood scraps I was using. I also had to use a rear bicycle wheel, since the front wheel on my scrap bike was mangled. I couldn’t figure out how to get the freewheel off of the rear wheel, but then I remembered you can find instructions for just about anything on YouTube. I discovered after I mounted the bike wheel on the spinning wheel frame that the rear wheel was a little bent, too. But after all that work to mount it I decided it would probably still work (and it did).
I’ve gotten into recycling high density polyethylene (HDPE) at home, sort of by accident, so I decided to use HDPE for all of the bearings in my spinning wheel. I mentioned to my brother that I was collecting HDPE, and he gave me a bunch of black HDPE scraps left over from cutting parts out of large one inch thick sheets, so I didn’t actually use recycled plastic for most of it, just scraps of virgin plastic.
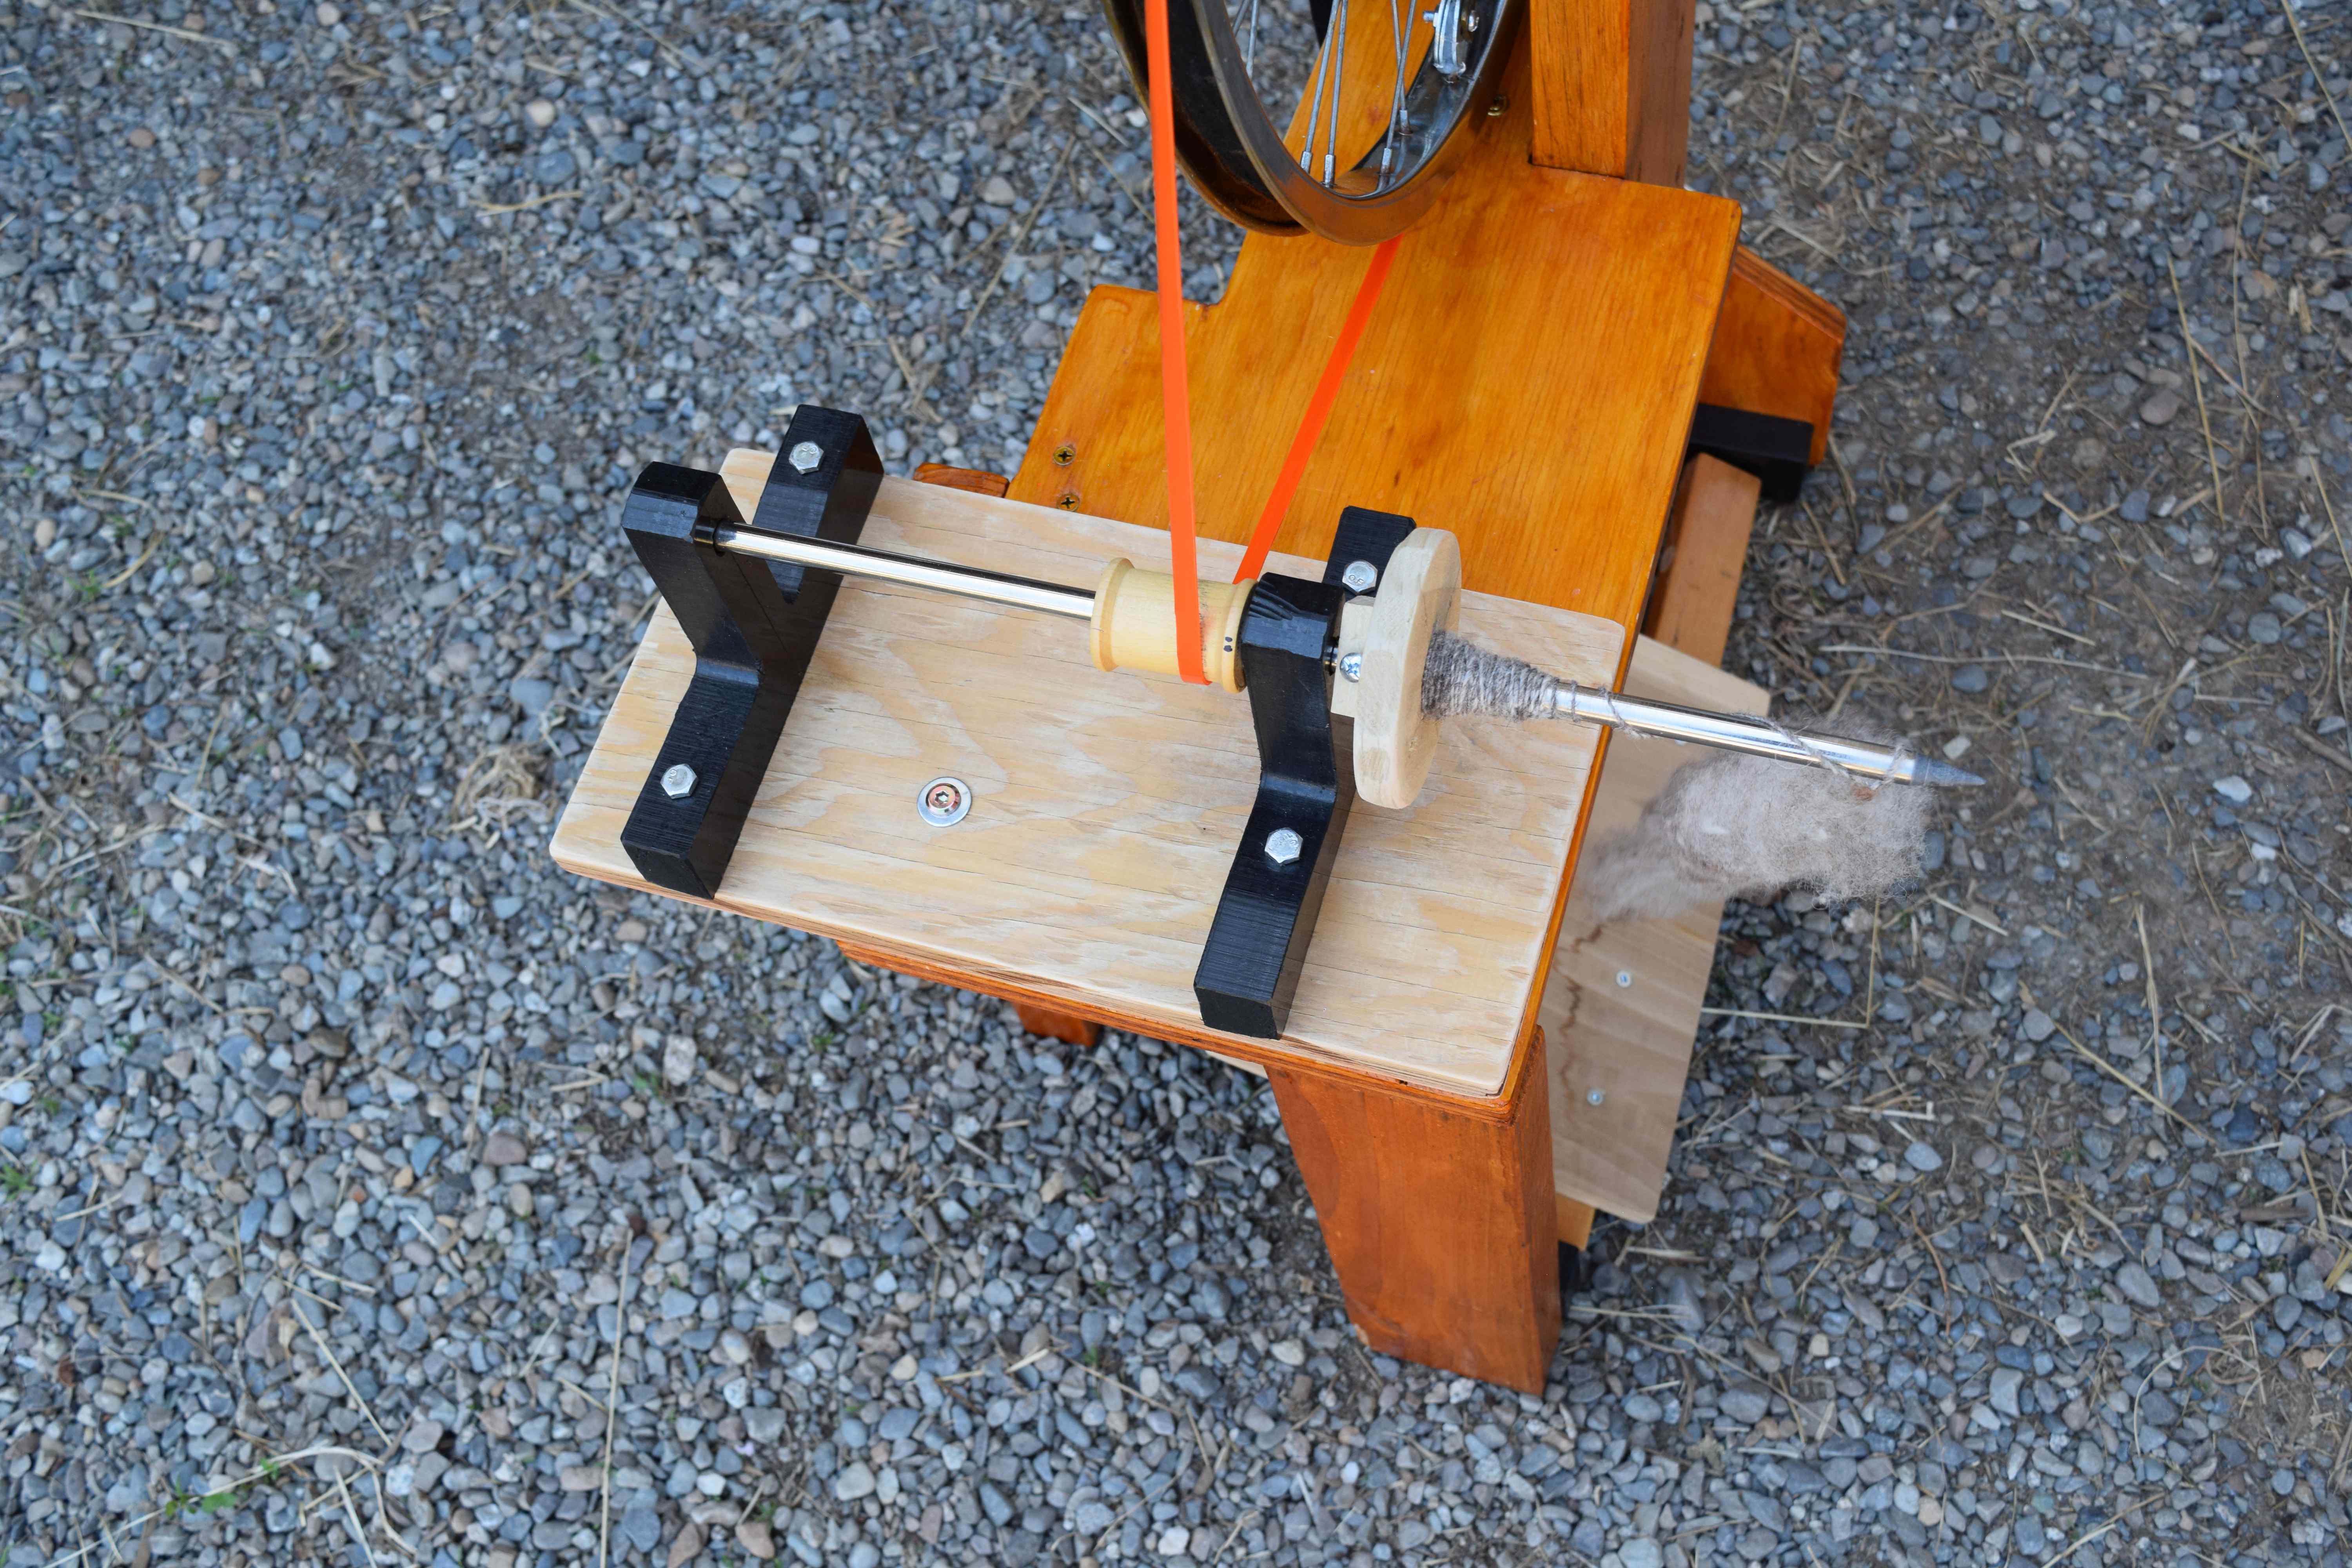
At first I tried making a spindle wheel. I used a different design than the Thrifty Fox plans call for.
The cat was feeling camera shy, but I managed to get him in one blurry shot.

Here’s the spindle wheel in action:
But a spindle wheel is slow, and it’s harder to spin yarn with an even thickness. So I went on with the idea of making it into a scotch tension wheel.
Links in this post identified by an asterisk (*) are affiliate links. If you click through and make a purchase, I will earn a commission (at no additional cost to you).
I thought about just buying an Ashford single drive flyer*, but in the end I decided to try to make my own. I figured I could always buy a flyer and bobbin if my efforts failed.
I decided to make the bobbin out of HDPE. I started with stuff like this:

I melted the HDPE and made it into the end caps and tube to make the bobbin out of. If you are interested in HDPE recycling yourself, I would suggest starting with this video from Brothers Make, or maybe this one. The second one was made earlier, though, and they’ve improved their methods since then. (For example, you need to let HDPE cool slowly under pressure, not dip it in water!) I found a little panini press for melting plastic*. It was hard to find one with a flat surface and adjustable temperature. It’s way faster than melting HDPE in an oven, even though it’s a small press.
I used a metal measuring cup as a mold, and clamped down circles of wood into it to apply pressure as the plastic cooled. HDPE has to cool under pressure.

I made a thin sheet of melted HDPE, and wrapped it around a dowel covered with parchment paper (silicone-covered baking paper).

Then I looked in the garage for an old drill to rig up a lathe from. I found this Sears Craftsman beast, and attached it horizontally onto a board. If you are wondering what that white stuff is, it’s thermoplastic*, which I’d purchased for another project I never got around to. Luckily this old drill has a massive fan and doesn’t get hot enough to melt the thermoplastic. I used my makeshift lathe to even out the tube for the bobbin, and to make a groove for the brake band on one end of the bobbin.

I spent about as much on lathe chisels* as I would have on an Ashford flyer, so that was an incentive to keep going with the project. There were many days when I wondered what the heck I’d gotten myself into. In retrospect, I probably could have just sanded the pieces to shape with sandpaper rather than use chisels, but now I have the chisels for other projects.
I worked on this project on and off for months, and didn’t take many construction photos, so I don’t have details on how I made the bobbin and flyer. I heated up the end caps for the bobbin with a variable temperature heat gun* to melt them onto the tube, but this was difficult to manage, since they have to be pressed into place as they cool, or the plastic won’t stick together.
I studied how my Columbine flyer and bobbin were made, and looked at a picture of an Ashford jumbo flyer* with measurements. I used 3/8″ metal tube* for the shaft. Its’ walls were a bit thin. I would use a tube with thicker walls if I had to do it again.
In the end, it would have been cheaper and a lot easier to buy a flyer, but now I have some more tools and skills to make other things.
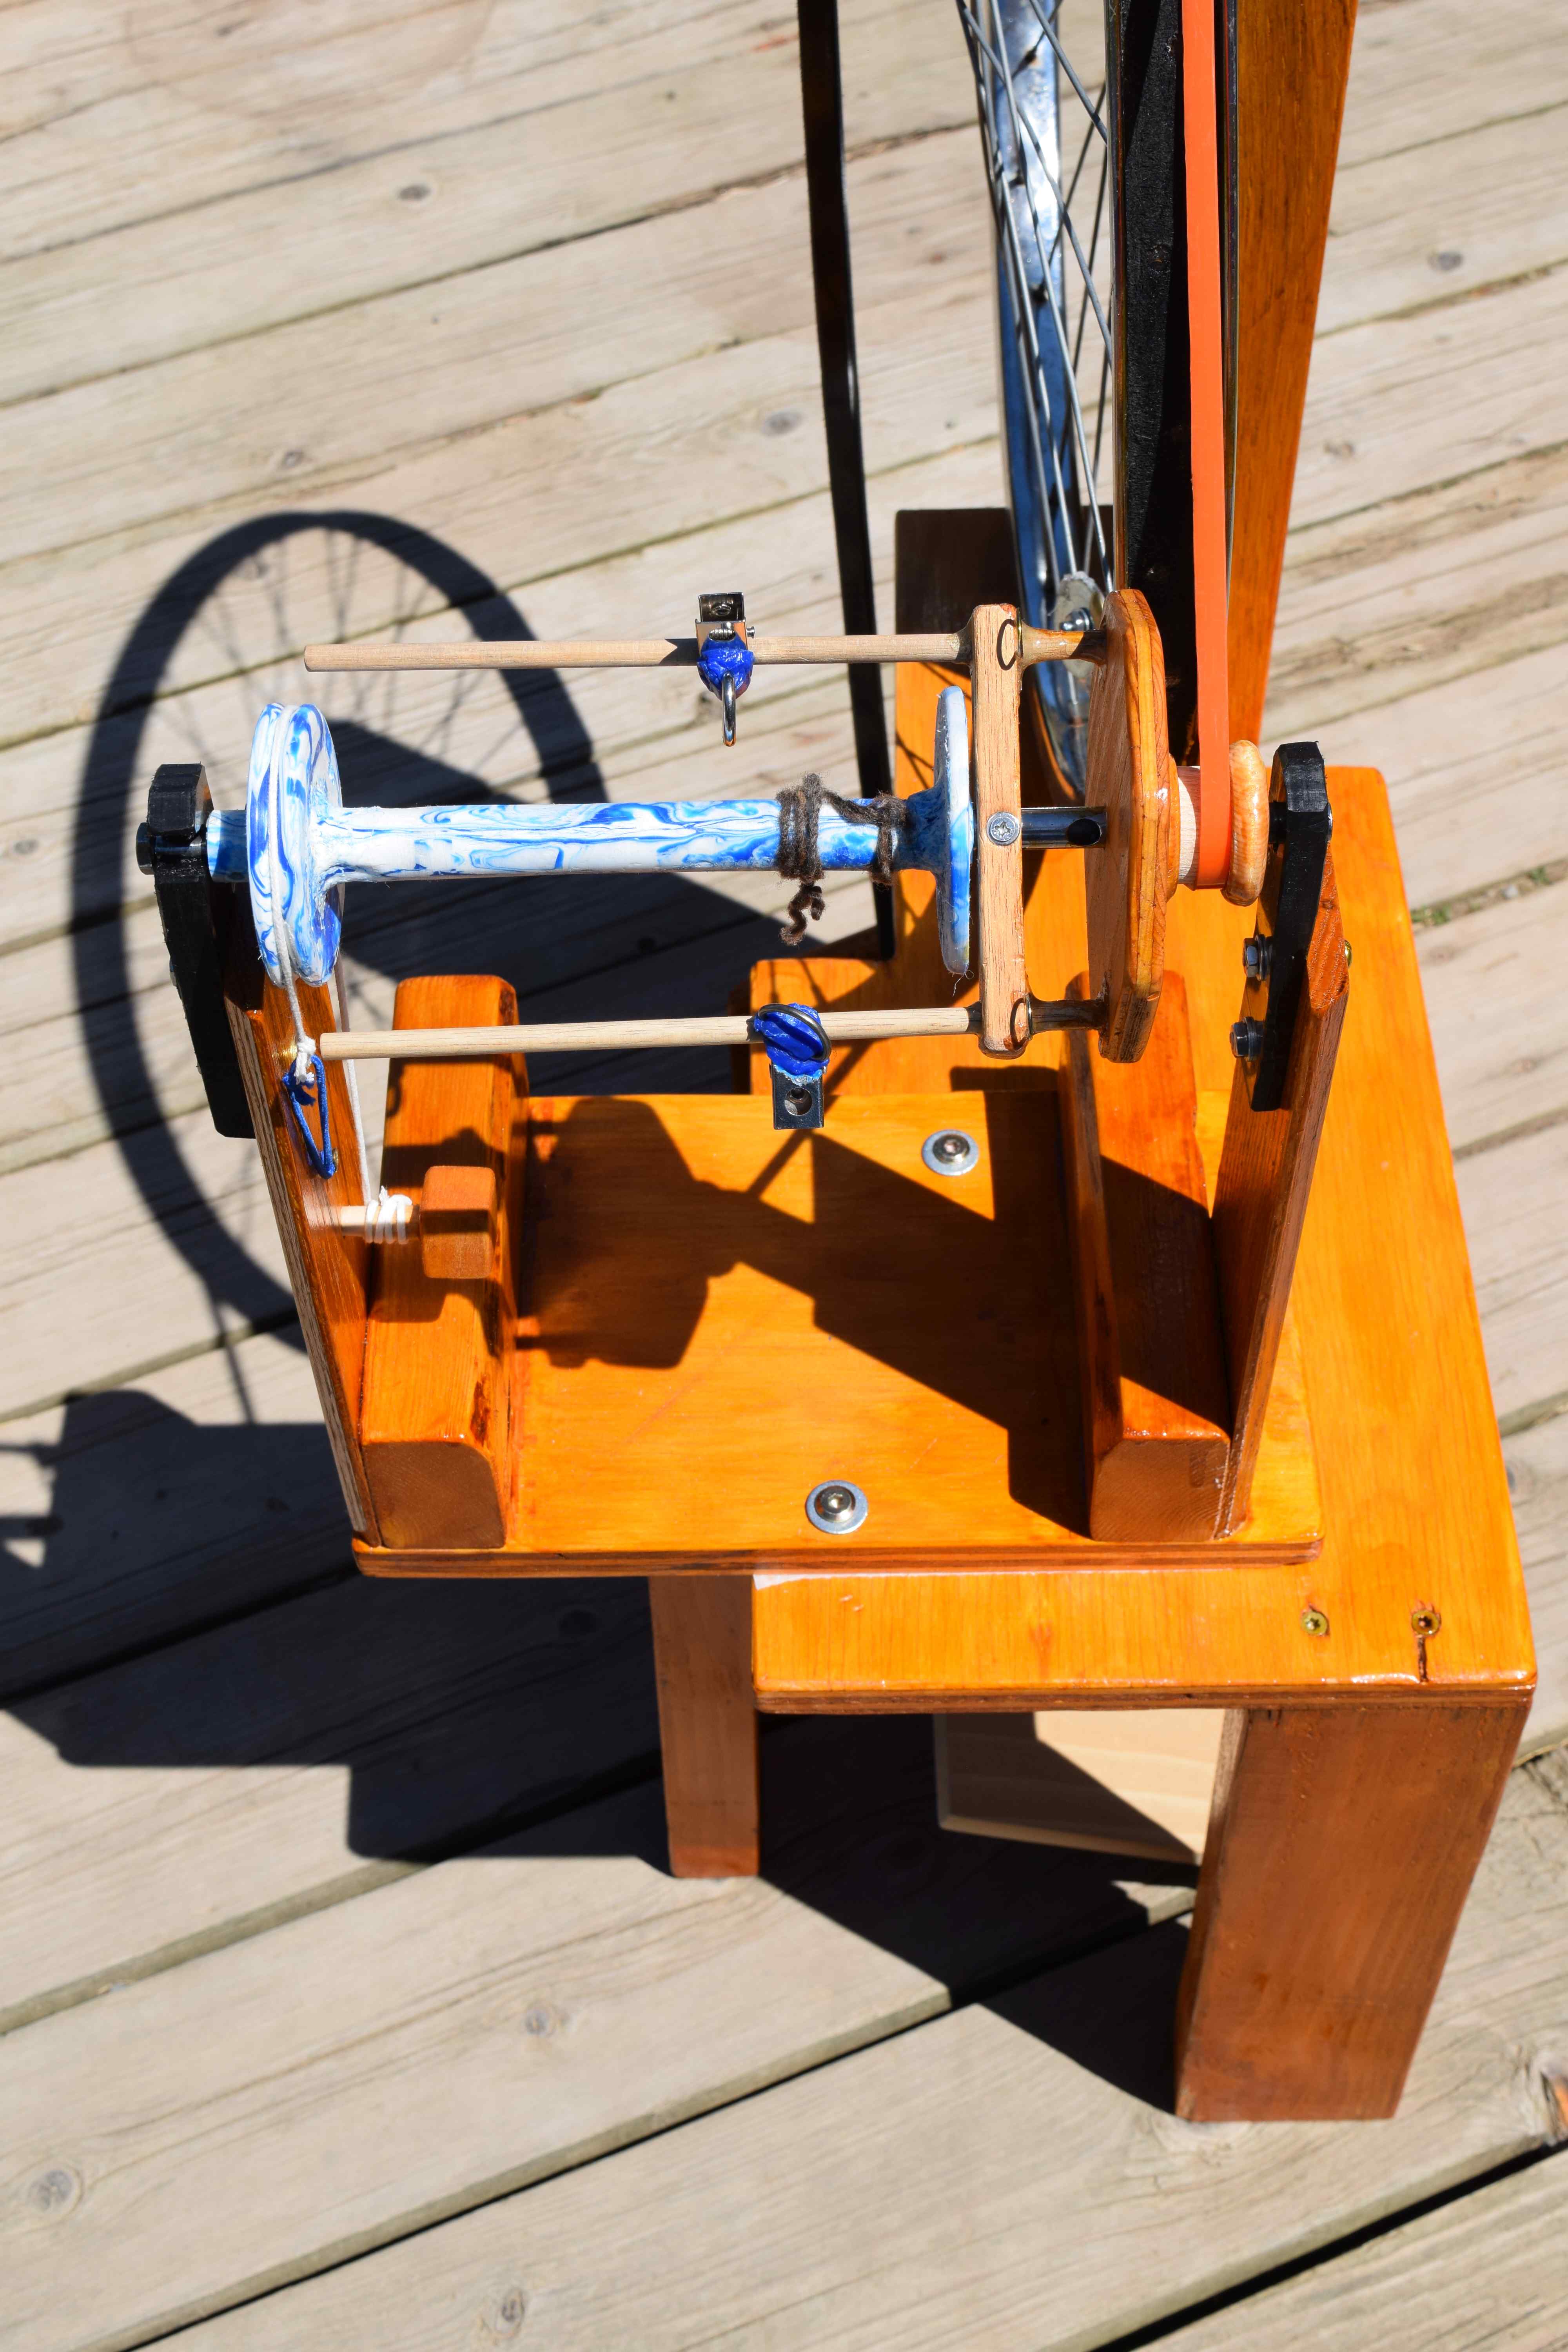


The back is a bit ugly. I used hot glue and screws to attach wood to the wheel, then used a blob of epoxy to around the base of the bolt that attaches to the pitman rod to keep it from wobbling. It seems to be holding up.

Despite the fact that it all looks a bit wobbly, this wheel spins fantastically. HDPE lubricated with 30 weight motor oil makes excellent bearings. I prefer this wheel to my Columbine even when I’m not spinning super-thin yarn. After getting used to the speed of this wheel, I just can’t go back to slow spinning.
This wheel is so fast, and I find spinning so addictive, that I was just going to spin a little as a demonstration for the video I made, but a few hours later, I had spun all of this!


Links in this post identified by an asterisk (*) are affiliate links. If you click through and make a purchase, I will earn a commission (at no additional cost to you).
As an Amazon Associate I earn from qualifying purchases.
 GrowYourOwnClothes Etsy Shop

Just found your blog, by searching for information on a (new to me) singer 411g (it was my great grandmothers!). I spin, knit, sew, and intend to weave, and I love a diy. Awesome content and effort here 🙂 thank you!! 🙂
LikeLike
Things sure have been quiet around here. You coming back?
LikeLike