
I’ve been experimenting with some different patternmaking methods that involve measuring body width or marking center points, and I wanted a better pair of calipers than I made a few years ago. Those ended up being too wobbly.
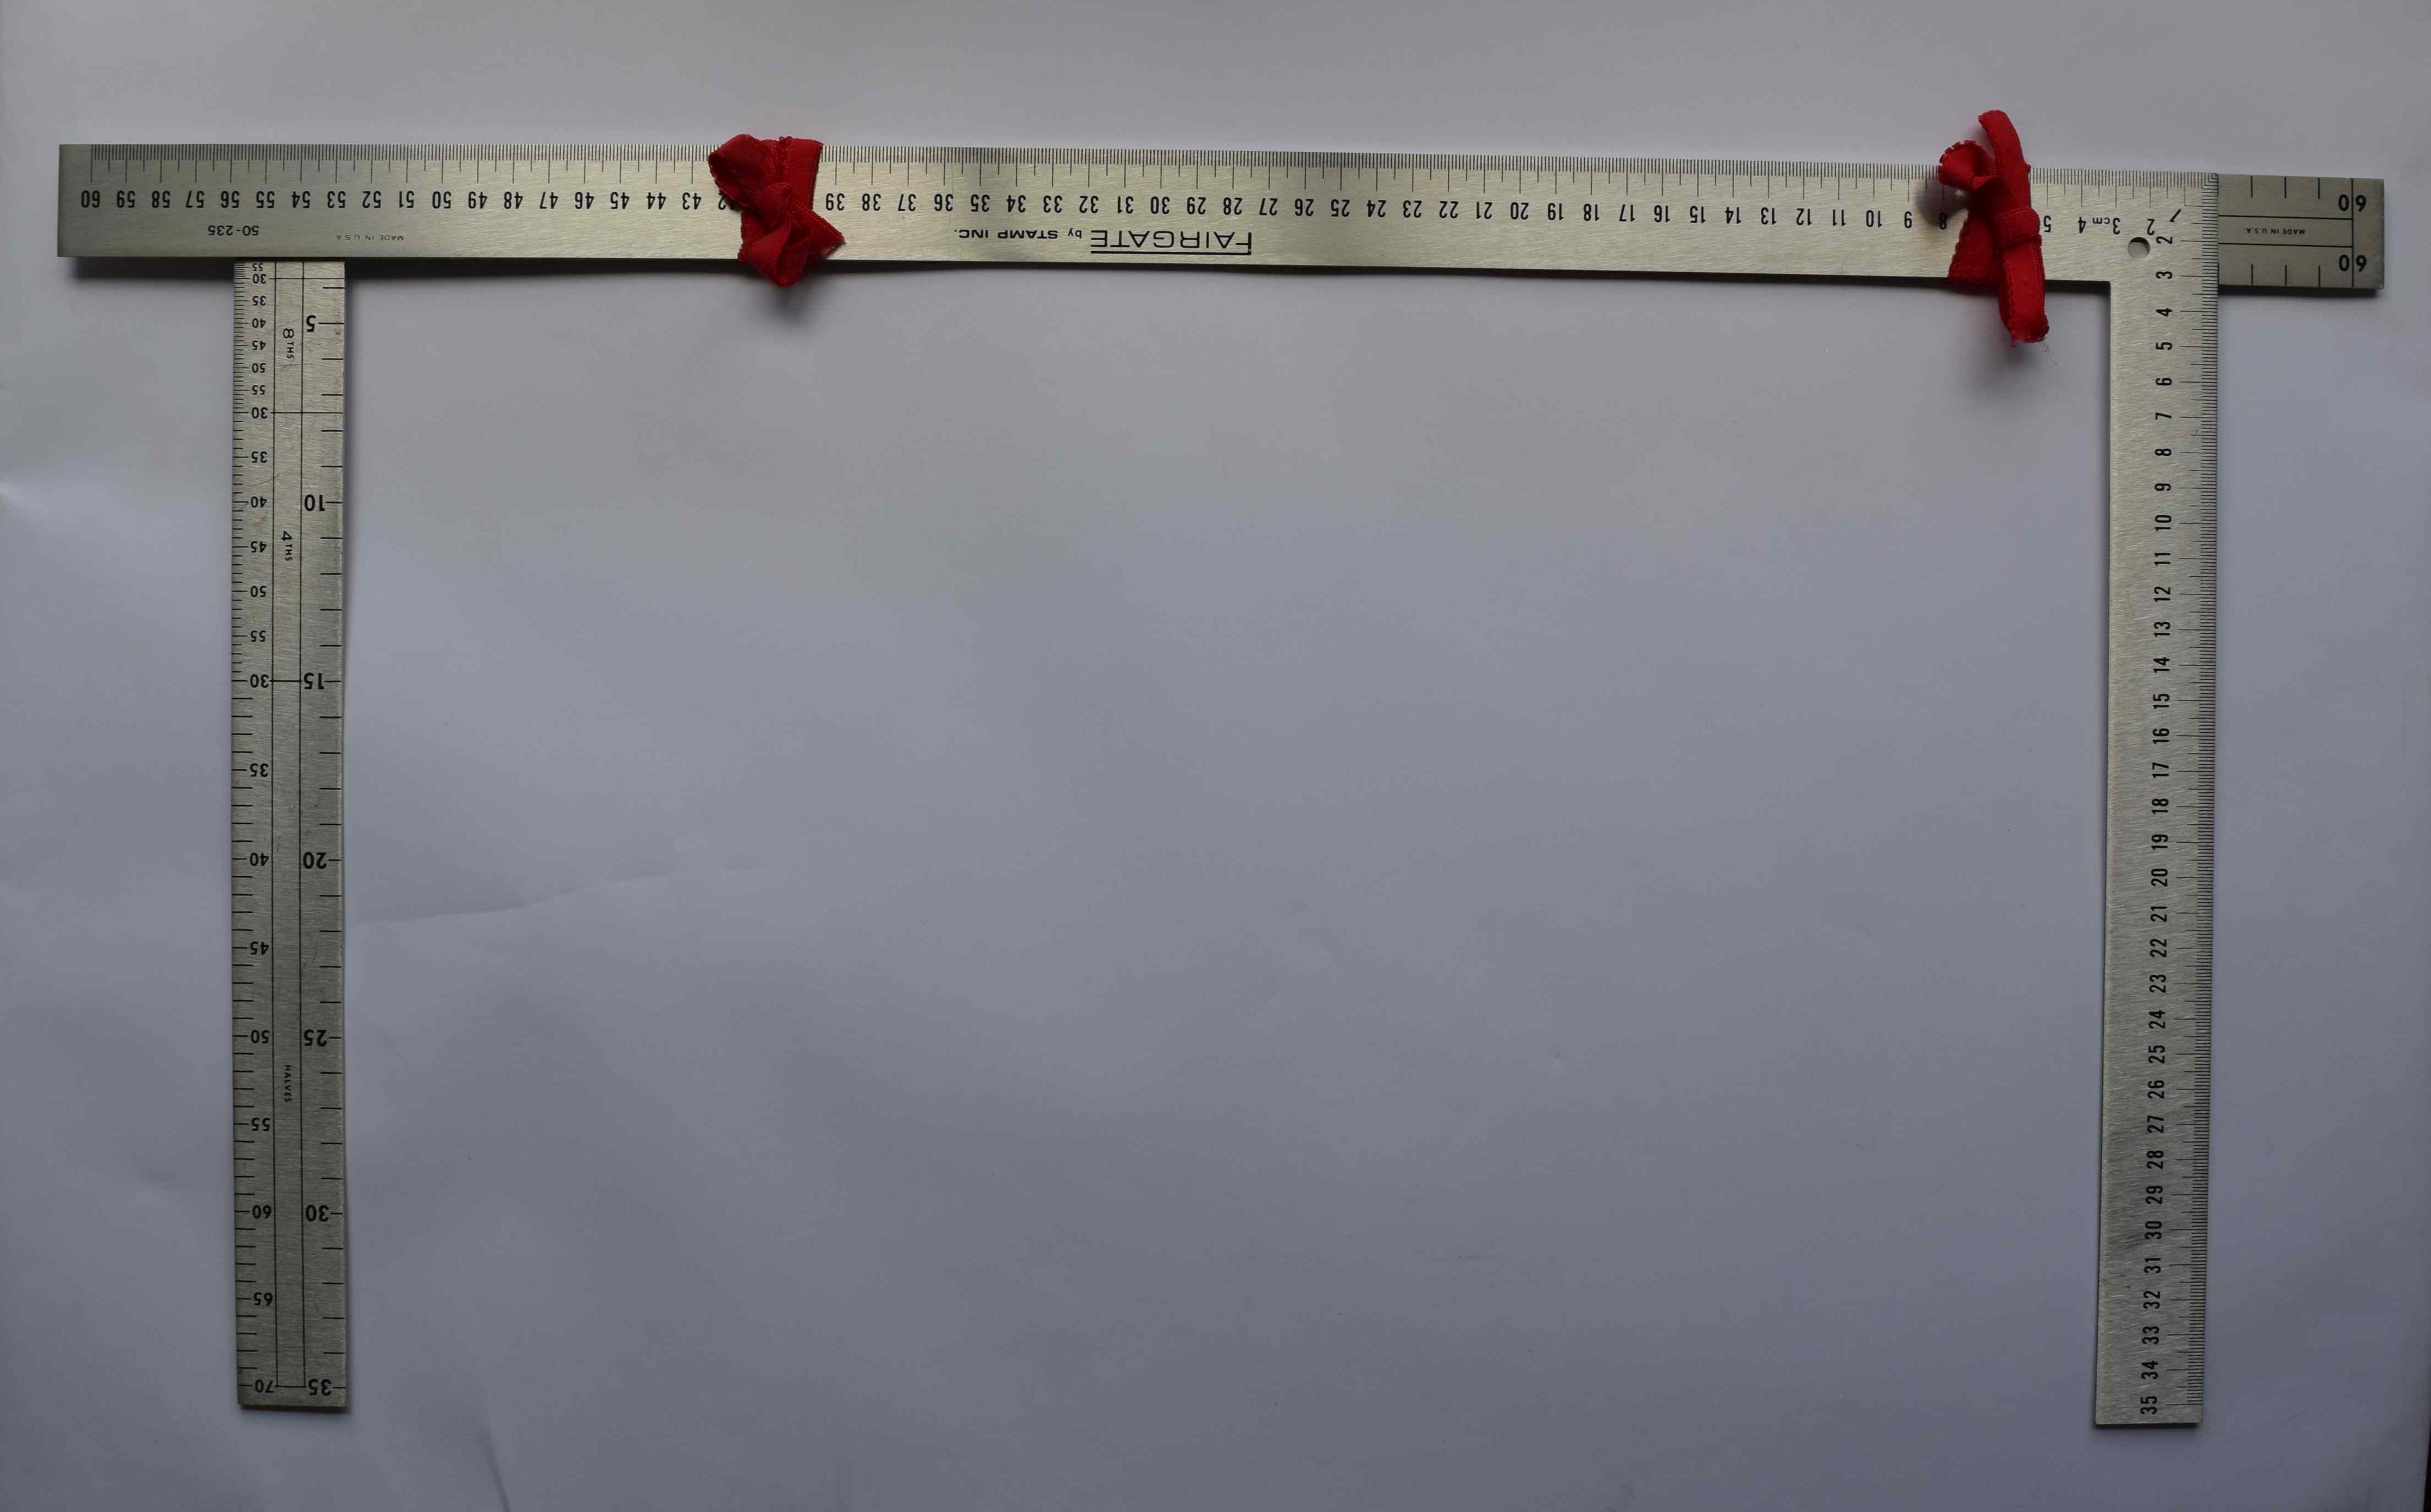
One method of making body calipers is to put two matching L-squares together with elastic or hair bands. I had been reluctant to get a second L-square, but I finally got one. So I do have that option now. But after getting the width, you have to measure the distance between the L-squares with another ruler. And while this works well on larger areas like the waist or hip, I also wanted something smaller and lighter for arms or legs. Plus I wanted a scale on the calipers that would make it easy to find the center of the measured width.
I’ve been trying to figure out a way to make DIY measuring and center-finding calipers that would be quick and easy to make, but still reasonably accurate. I had all these crazy ideas floating around in my head, but they were all too complicated or required a lot of woodworking. Finally I realized I was overthinking it, and there is an easy solution.

Links in this post identified by an asterisk (*) are affiliate links. If you click through and make a purchase, I will earn a commission (at no additional cost to you).
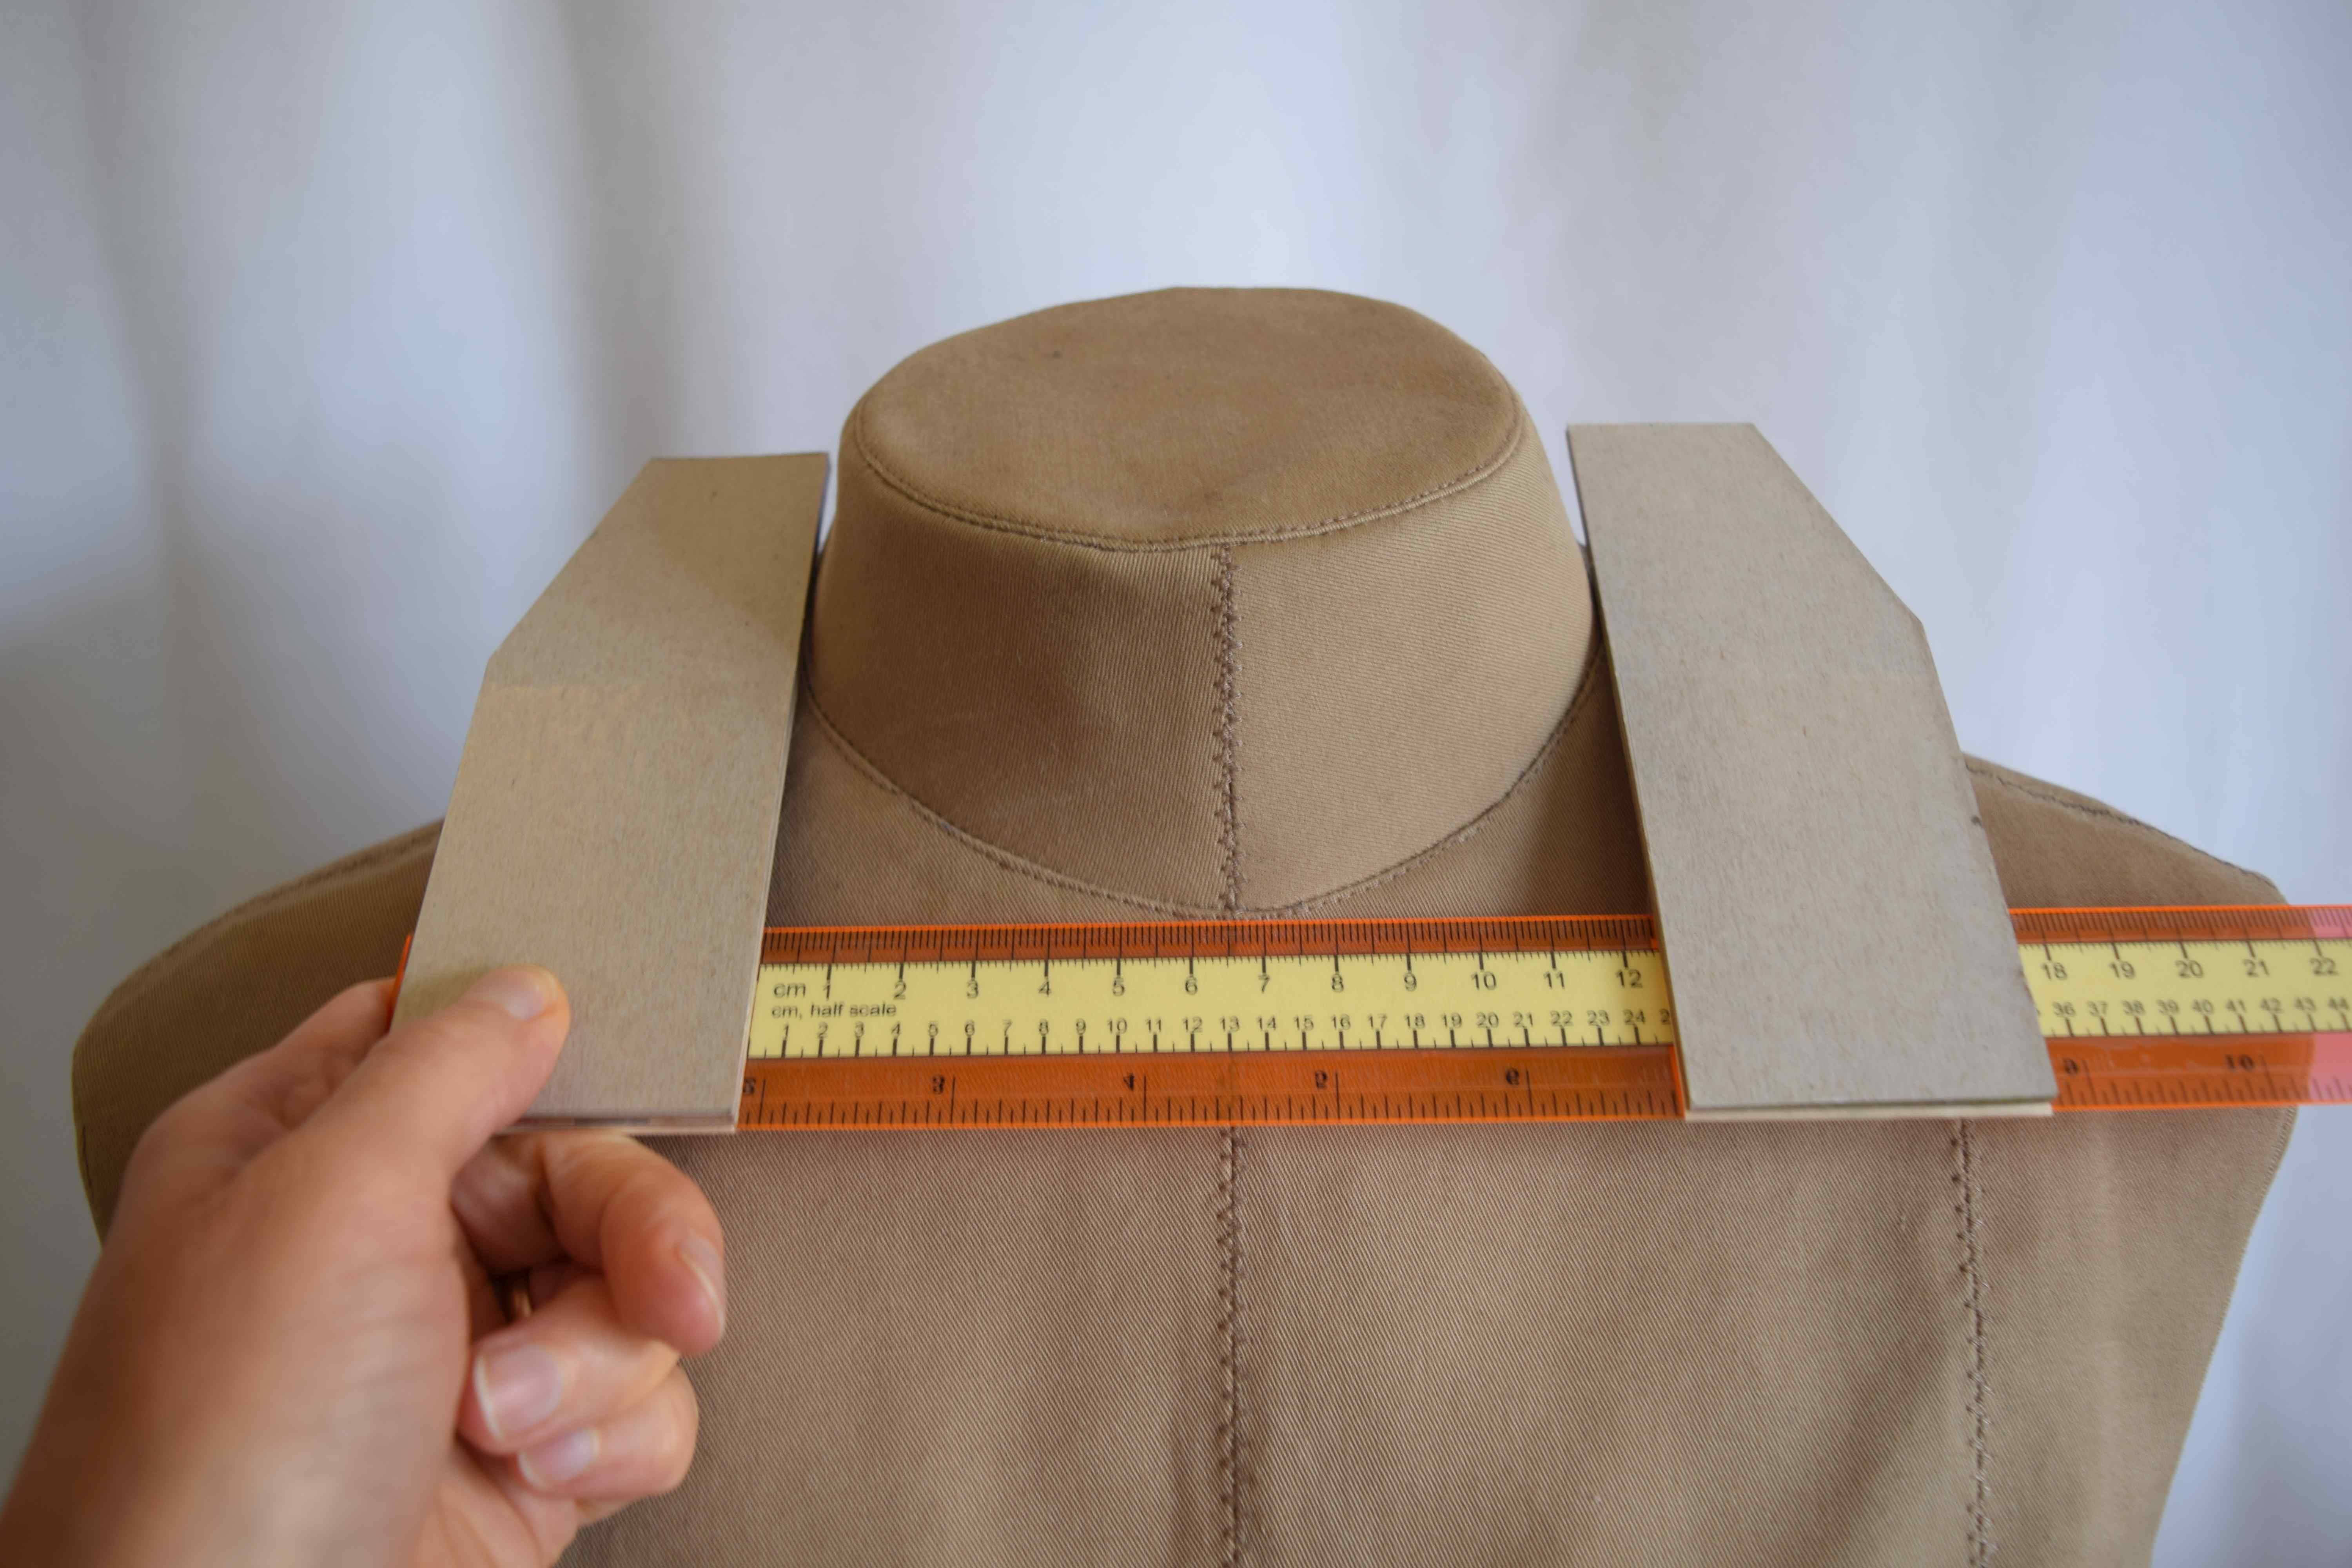
I put together a tutorial on how to make these body calipers, so you can make your own if you want to. I made a pdf that includes patterns for large and small jaws, plus a measuring tape that you can tape to your ruler that can be used for both measuring and center-finding.
To use the center-finding feature, you look at the measurement in centimeters, then find the corresponding measurement on the opposite half-scale side. This way you can find the center point without doing any math.
You will need:
- The pdf pattern, printed out. Be sure to print from a pdf reader such as Adobe Acrobat Reader (not a web browser) and print at “actual size” or 100% or “no scaling”. Check the measurements to make sure they printed to scale. Some printers distort the scale on fast draft setting, for example, so try different settings if the scale is not right.
- 12″ (30 cm) ruler for small calipers, or a yard/meter stick* for large calipers. At least one side should be flat, not rounded or fluted. You could also use a tailor’s L-square, and make only one sliding jaw.
- Your choice of either corrugated cardboard, foam core board*, 1/8″ (3 mm) thick plywood, book board*, or paperboard (such as from the back of a notepad or cereal boxes)
- Paper scissors
- Utility knife* with a new razor blade
- Metal ruler or straight edge to use with the utility knife
- Manila file folder or other similar cardstock weight paper
- Glue. I suggest craft glue* and rubber cement* (or low-tack spray glue instead of rubber cement)
- Clear packaging tape*
- A square. A quilter’s ruler* works well, but a piece of printer paper will do in a pinch.
*** If you are using a wooden yard/meter stick, place it on edge on a table to make sure it is not warped. If it looks warped, flip it over and check the other side to see if it bows the other way, to make sure it isn’t your table that is bowed. Only use a perfectly straight ruler.

Print out the pdf pattern and cut out the patterns for the size of calipers you are using (the large jaws are on page 2). The ruler/center-finder strip is optional. If you are using it, carefully cut out the ruler strips. Cut it so the ends will butt together, not overlap.

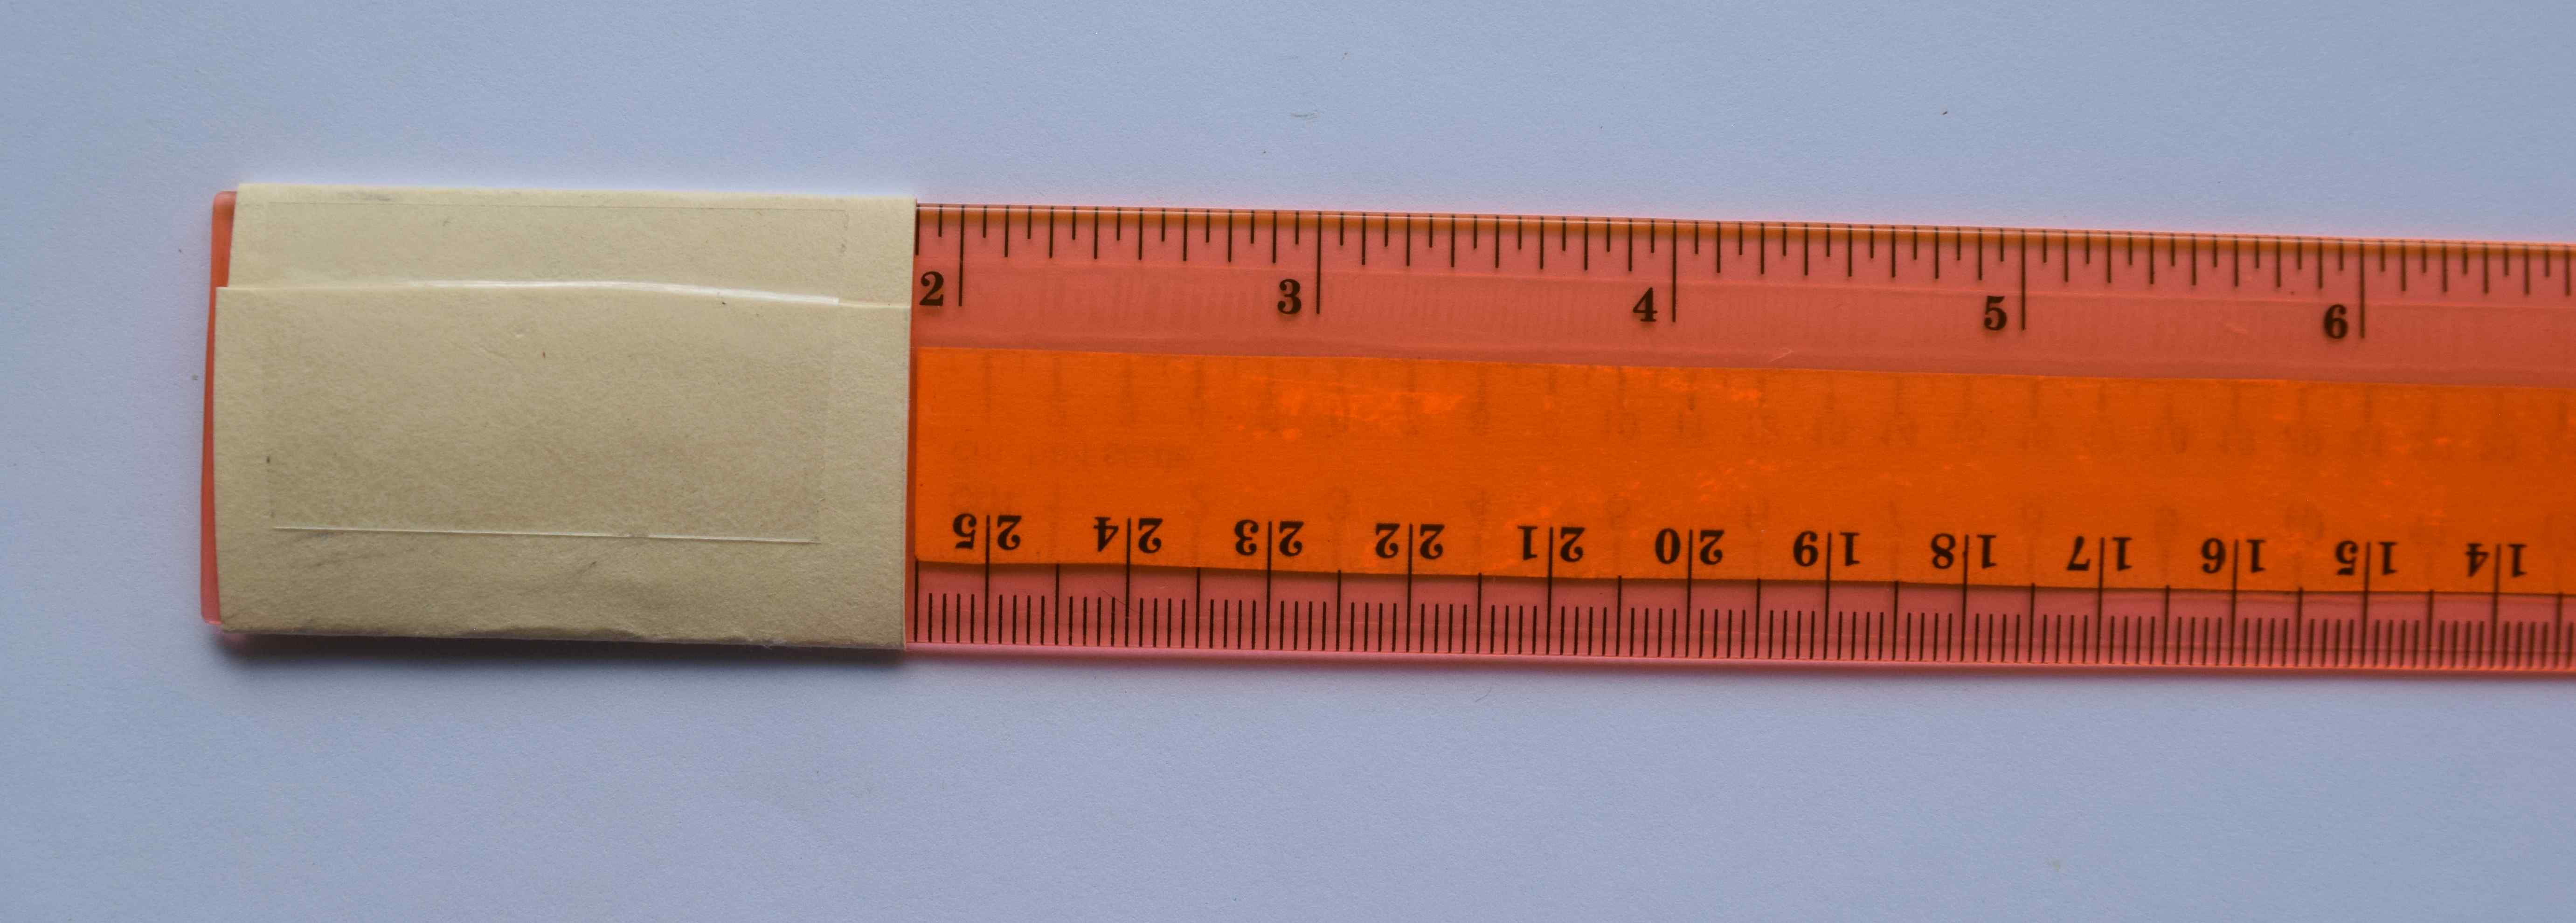
Brush a thin layer of rubber cement onto the back of the first ruler strip, and quickly apply it to your ruler. If your ruler is curved on the top, put the paper strip on the flat back side. Don’t put it right up to the edge of the ruler—keep it about 3/16″ (4 to 5 mm) from the edge. Place the zero mark the width of the caliper jaw from the left end of the ruler, as shown below. For the smaller calipers, you will only need the first ruler strip. For the larger ones, use rubber cement to apply the rest of the strips, butting the ends together. Check the measurements with a separate ruler to make sure they are positioned correctly.

Cut a piece of clear packaging tape as long as your ruler and just a little narrower than your ruler. To make the lengthwise cut, I stuck a long piece of tape on my cutting mat (you could use cardboard if you don’t have a mat), then I put another piece of tape on top of it with the end folded under. I cut it lengthwise with a razor knife, then peeled off the strip on top.

Place the clear tape over the paper ruler strip to hold it in place and protect it.
Using the printed pattern as a template, cut out the jaws for the calipers in your choice of material (see materials list above). Consider the size of the people you will be measuring. You may want to make the jaws longer for large people. If you make them longer, though, I would suggest making them out of something lightweight like foam core board or corrugated cardboard.
I found that 1/8″ (3 mm) plywood can be cut with a utility knife, so don’t worry if you don’t have a saw and want to use plywood. Bookboard, plywood, etc. requires a fair amount of effort to cut with a utility knife. Use a fresh razor, and be careful. It’s safer to make more passes than to press really hard. It took me about 10-15 slices to get through each cut.
- If you are using corrugated cardboard, glue two or three layers together, alternating the direction of the ribs. Press the cardboard flat under some books or something while the glue dries.
- If you are using paperboard, such as from cereal boxes, brush glue onto each piece and layer them together, one at a time. Use enough pieces to make a stack about 1/8″ (3 mm) thick. For best results, clamp the stack together between blocks of wood and let it dry overnight, or at least set something flat and heavy on top. If you don’t want to cut the thick layers with a razor knife, pre-cut each piece to size before gluing, and line up the longest edge carefully as you glue them together.

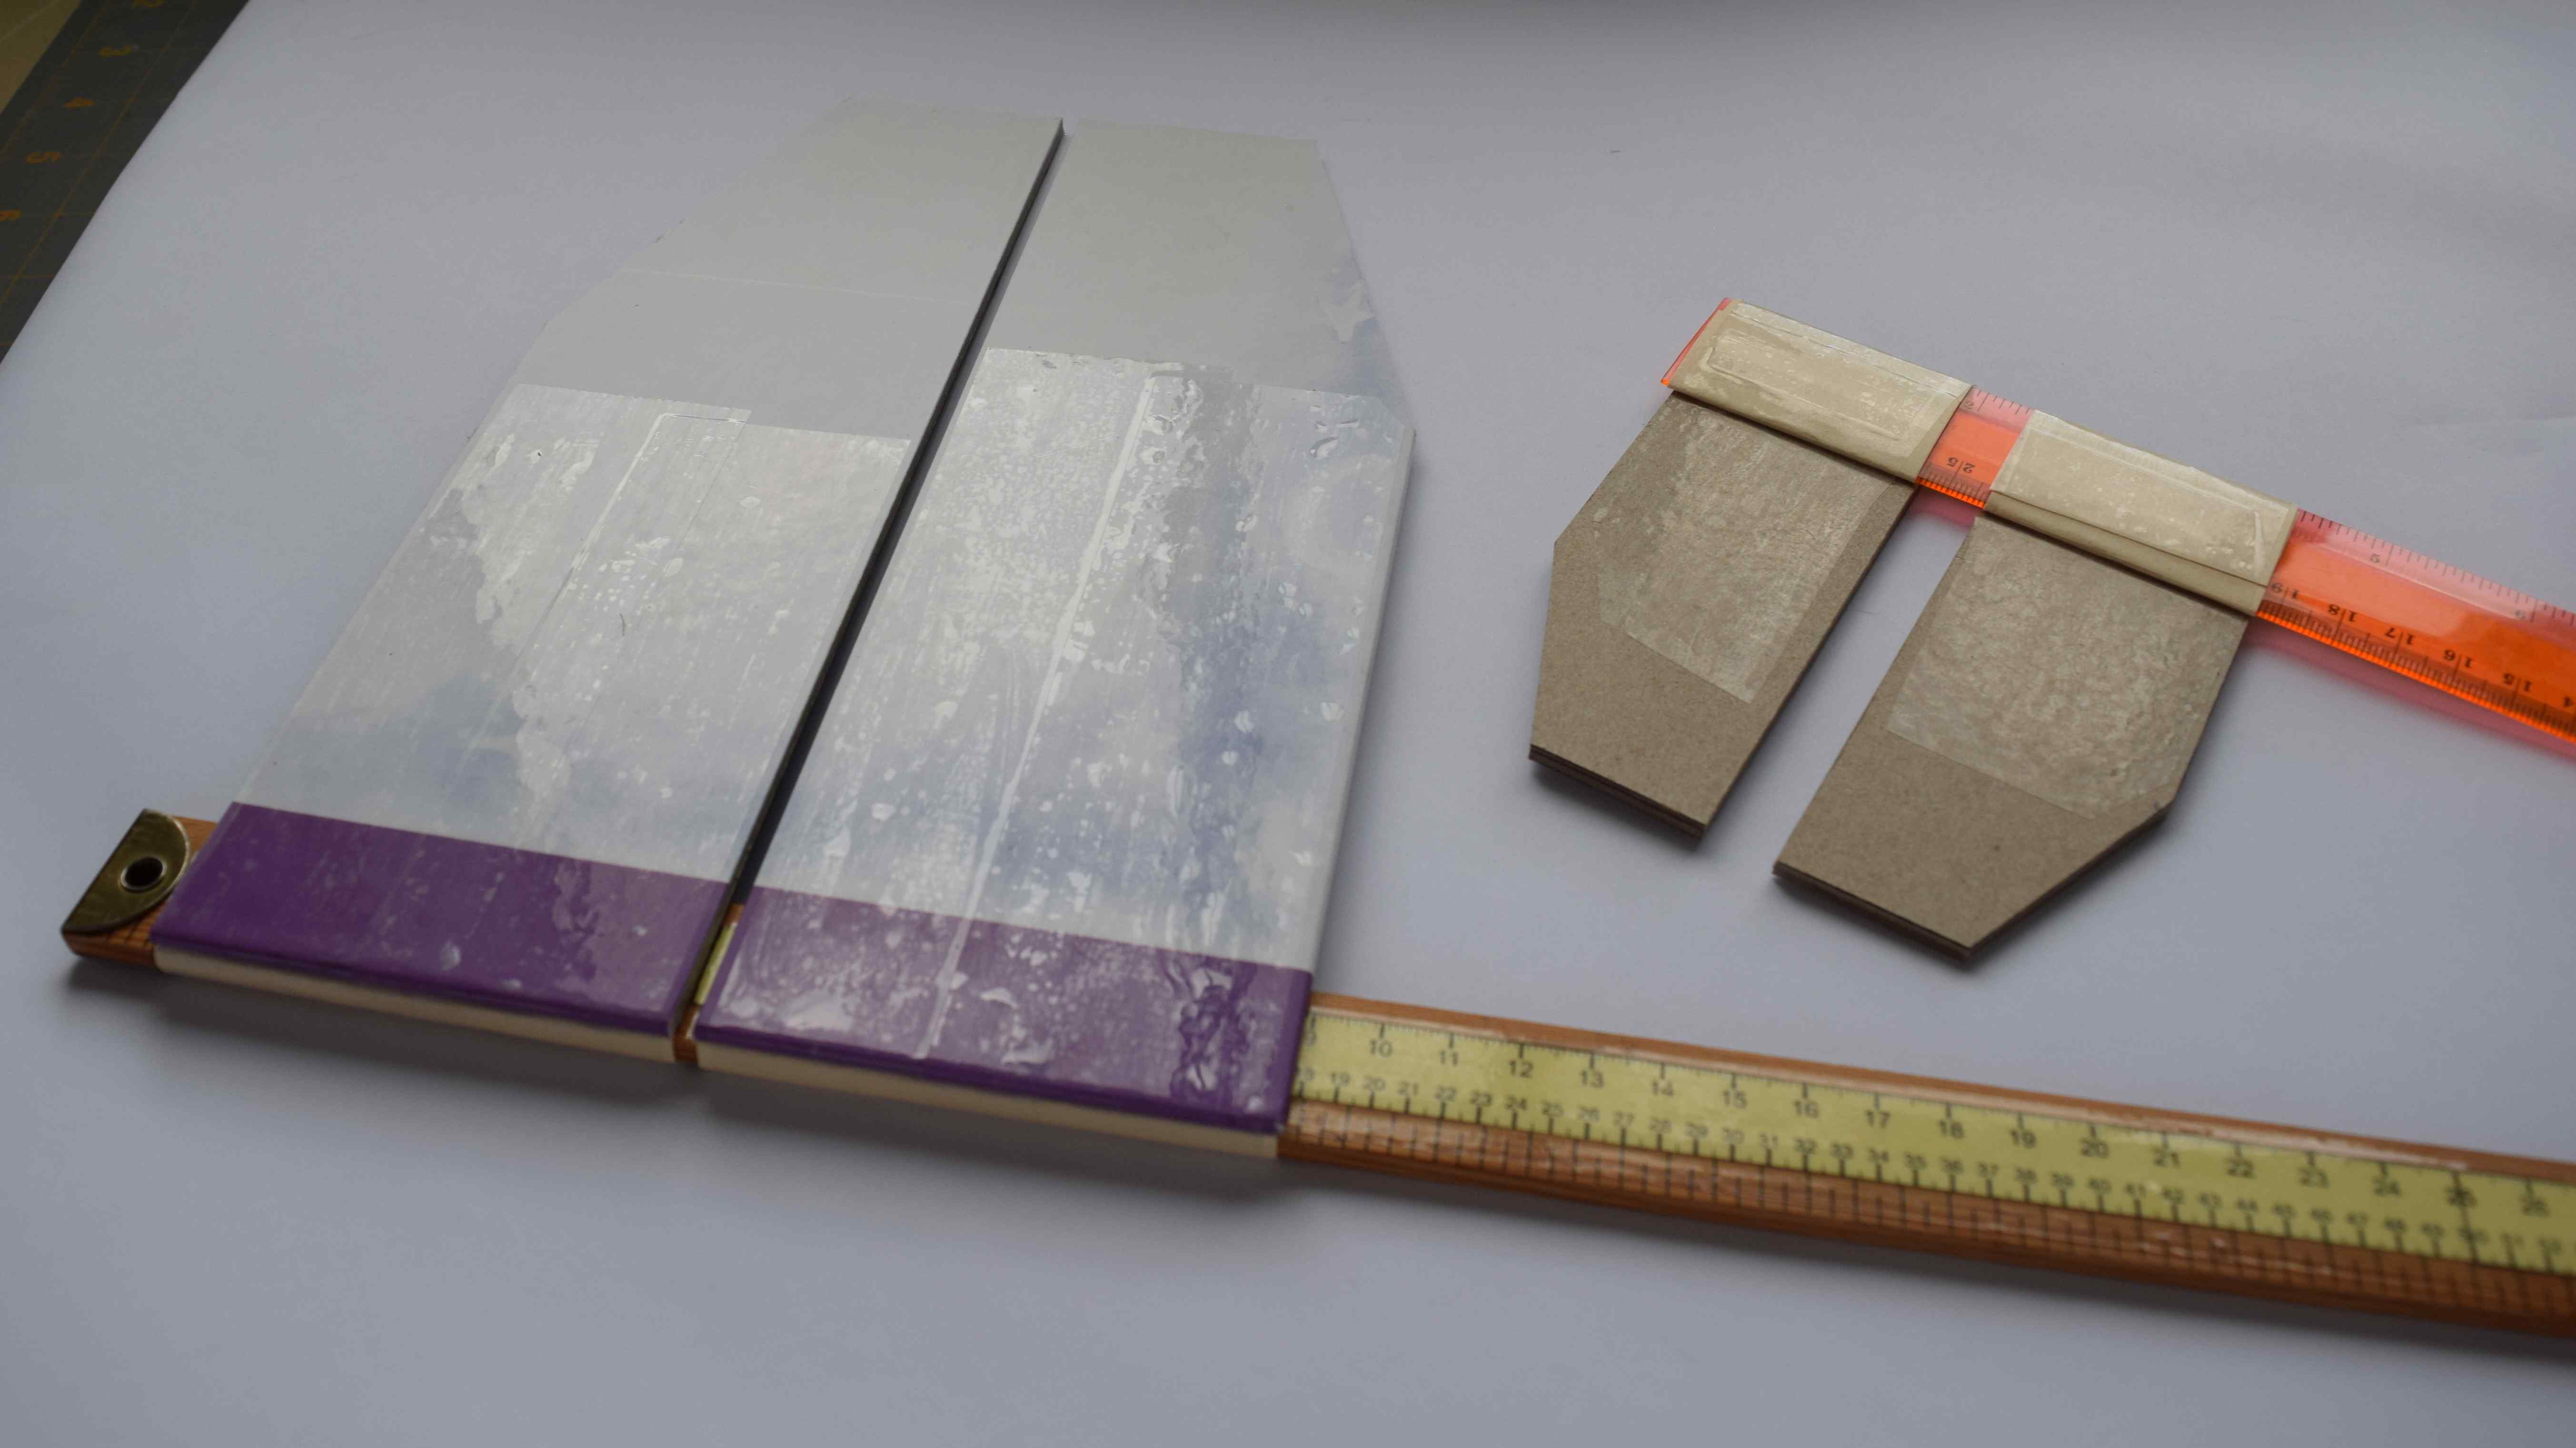
Cut two rectangles from the manila folder, the same width as the jaw, and long enough to wrap around your ruler a couple of times.
Wrap the first rectangle around your ruler tightly, slightly to the left of the zero mark. Place the cut ends on the back (the side without the ruler strip glued onto it). If you want your caliper jaws to be removable so you can still use the ruler, make the paper sleeve just loose enough that you can slip it off. If you want it to not be removable, stick it to your ruler with a piece of tape on the first edge as you start to wrap it around the ruler, and wrap it really tightly. Overlap the ends of the paper on the back of the ruler, trim off any extra length, and glue and tape the ends of the paper in place.

Wrap the second paper rectangle around the ruler, but place a strip of heavy paper under it as a spacer so it will not be quite as tight. Secure the ends as you did for the first one, and remove the scrap paper. This second paper sleeve should fit snugly around the ruler, while still allowing it to slide fairly easily along the ruler. If it is too loose, your caliper jaw will be wobbly and you won’t get accurate measurements.

Put some craft glue on the left paper sleeve, and glue the corresponding jaw onto it. Make sure it is at a 90 degree angle to the ruler, then clamp it in place. If you don’t have any clamps, turn it over so the jaw is on the underside, and set something heavy on top until the glue sets.

Slide the movable sleeve over to touch the left jaw. Glue the right jaw onto it, making sure it is butted right up against the left jaw, and clamp it in place or put weights on it while the glue sets.


After the glue is dry, wrap some packaging tape around from the front of the jaw to the back around the paper sleeve. This is to further secure the jaw to the paper sleeve, and to reinforce the paper sleeve.
These calipers work great initially, and are surprisingly stable and accurate, but I just made them and I’m not sure how well the paper parts will hold up with use. You can make new paper/cardboard parts pretty easily if they do wear out, though. Body calipers are not a tool I use frequently, so I figured they would be sturdy enough for my purposes.
*Links in this post identified by an asterisk (*) are affiliate links. If you click through and make a purchase, I will earn a commission (at no additional cost to you).
As an Amazon Associate I earn from qualifying purchases.
 GrowYourOwnClothes Etsy Shop

Leave a comment