

Here’s my tutorial and free patterns for making pressing hams of various sizes. And as a bonus, you get my gluten-free waffle recipe.
I’ve been meaning to get an actual pressing ham forever, but instead I’ve just made do with my sleeve roll that has a rounded end. Finally I decided it was time to get a real tailor’s ham.
Links in this post identified by an asterisk (*) are affiliate links. If you click through and make a purchase, I will earn a commission (at no additional cost to you).
After reading reviews of commercially made hams, like the Dritz Tailor’s Ham*, I realized the “wool” side is usually some type of synthetic fabric, or a blend containing a small amount of wool, and it can melt if you are not careful to use low heat on that side. They just don’t make them like they used to.
I’d seen tutorials for making your own ham, so I decided that was the way to go.
The trick with making your own pressing ham, though, is finding something to stuff it with. Pressing rolls and hams are traditionally stuffed with sawdust, but safe sawdust is hard to find. As long as no pressure treated wood has been cut in the mix, sawdust is probably not terribly toxic, but these days even plain lumber is all treated to prevent mold, so it’s more than just wood in that dust. I believe in Canada it’s illegal to sell sawdust. So unless you can get sawdust that was made from cutting firewood or other virgin wood, I’d stay away from sawdust.
I’ve read other suggestions of using shredded paper or fabric scraps. I imagine serger and thread trimmings would work well, but I haven’t been saving them up lately.
I already had some pine shavings made for animal bedding, so I decided to use that. However, wood shavings are designed to be fluffy and hard to compress. I’d read another blog post where the author considered blending them up, but decided it would be a bad idea.
However, I have a super-duper blender. I use my Blendtec Total Blender* to grind grains into flour to make gluten-free waffles, and thin wood shavings are probably easier on the blender than grinding up rice, right?
Pine shavings. Will it blend?
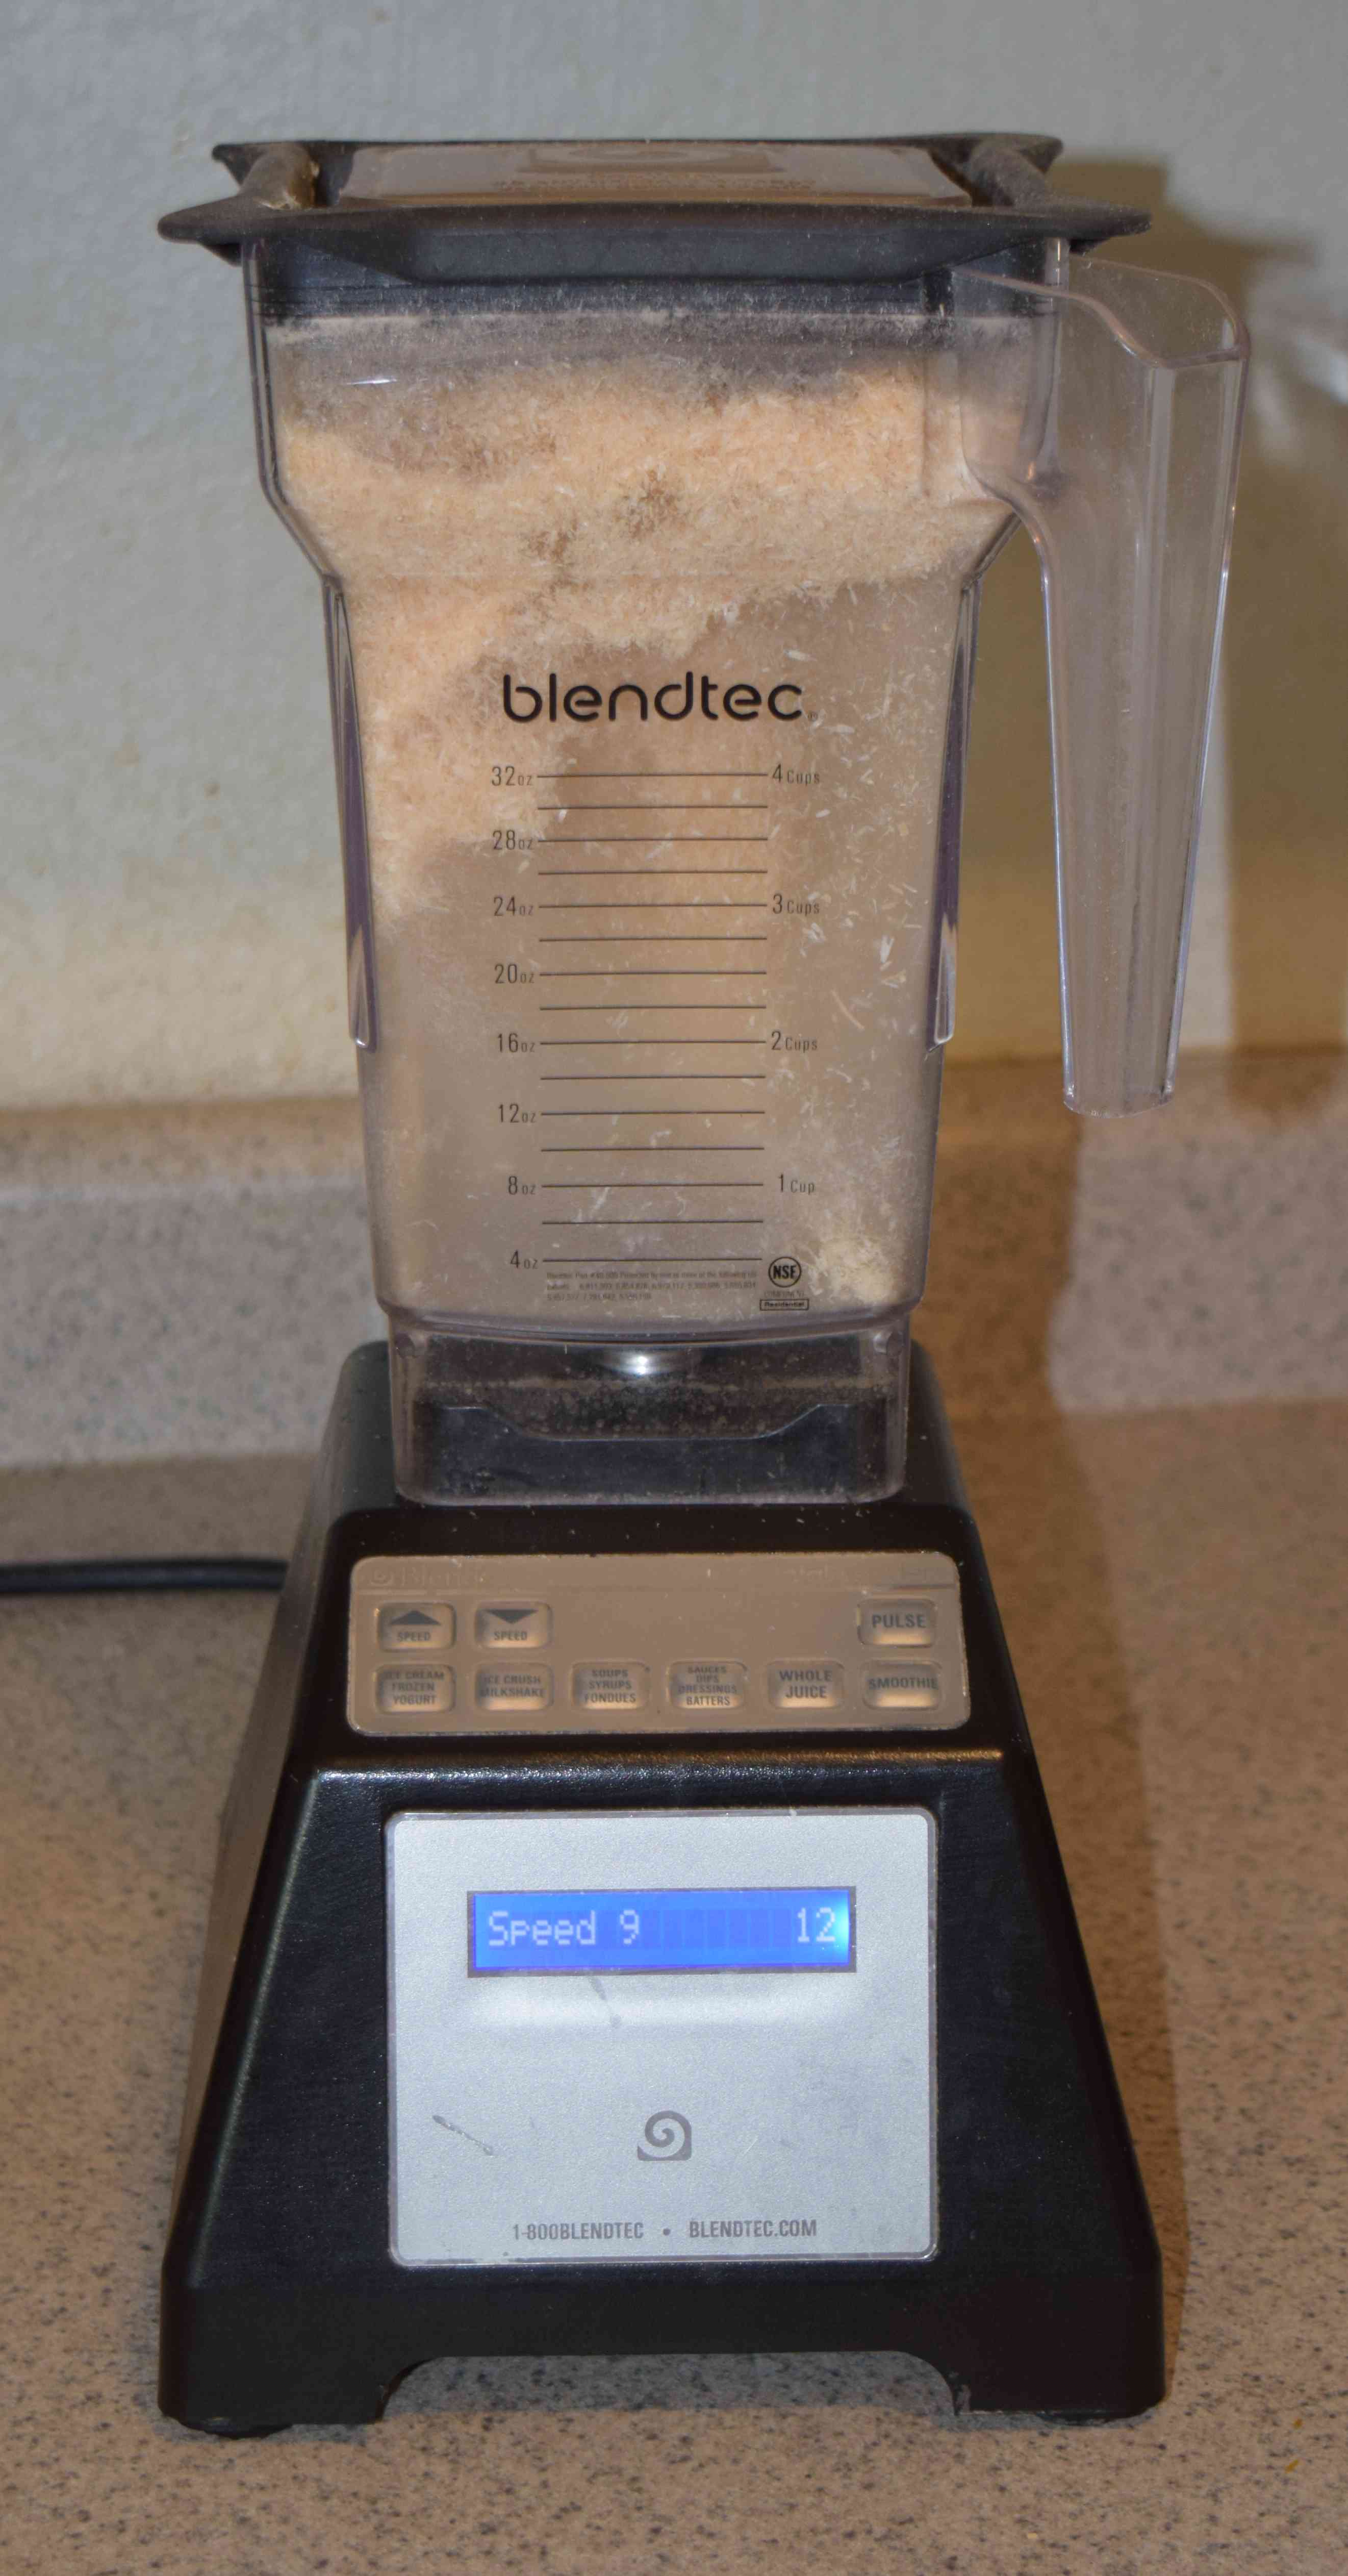
Yes, of course it will!
I found it worked best to blend about three cups of non-compressed shavings at a time on speed 9. They blended down to about a cup of sawdust.
The blended shavings were still probably a little fluffier than actual sawdust, but they were much easier to compress than they were before blending. The blended shavings did have an advantage over sawdust from a saw, though — there was much less fine dust in the mix.

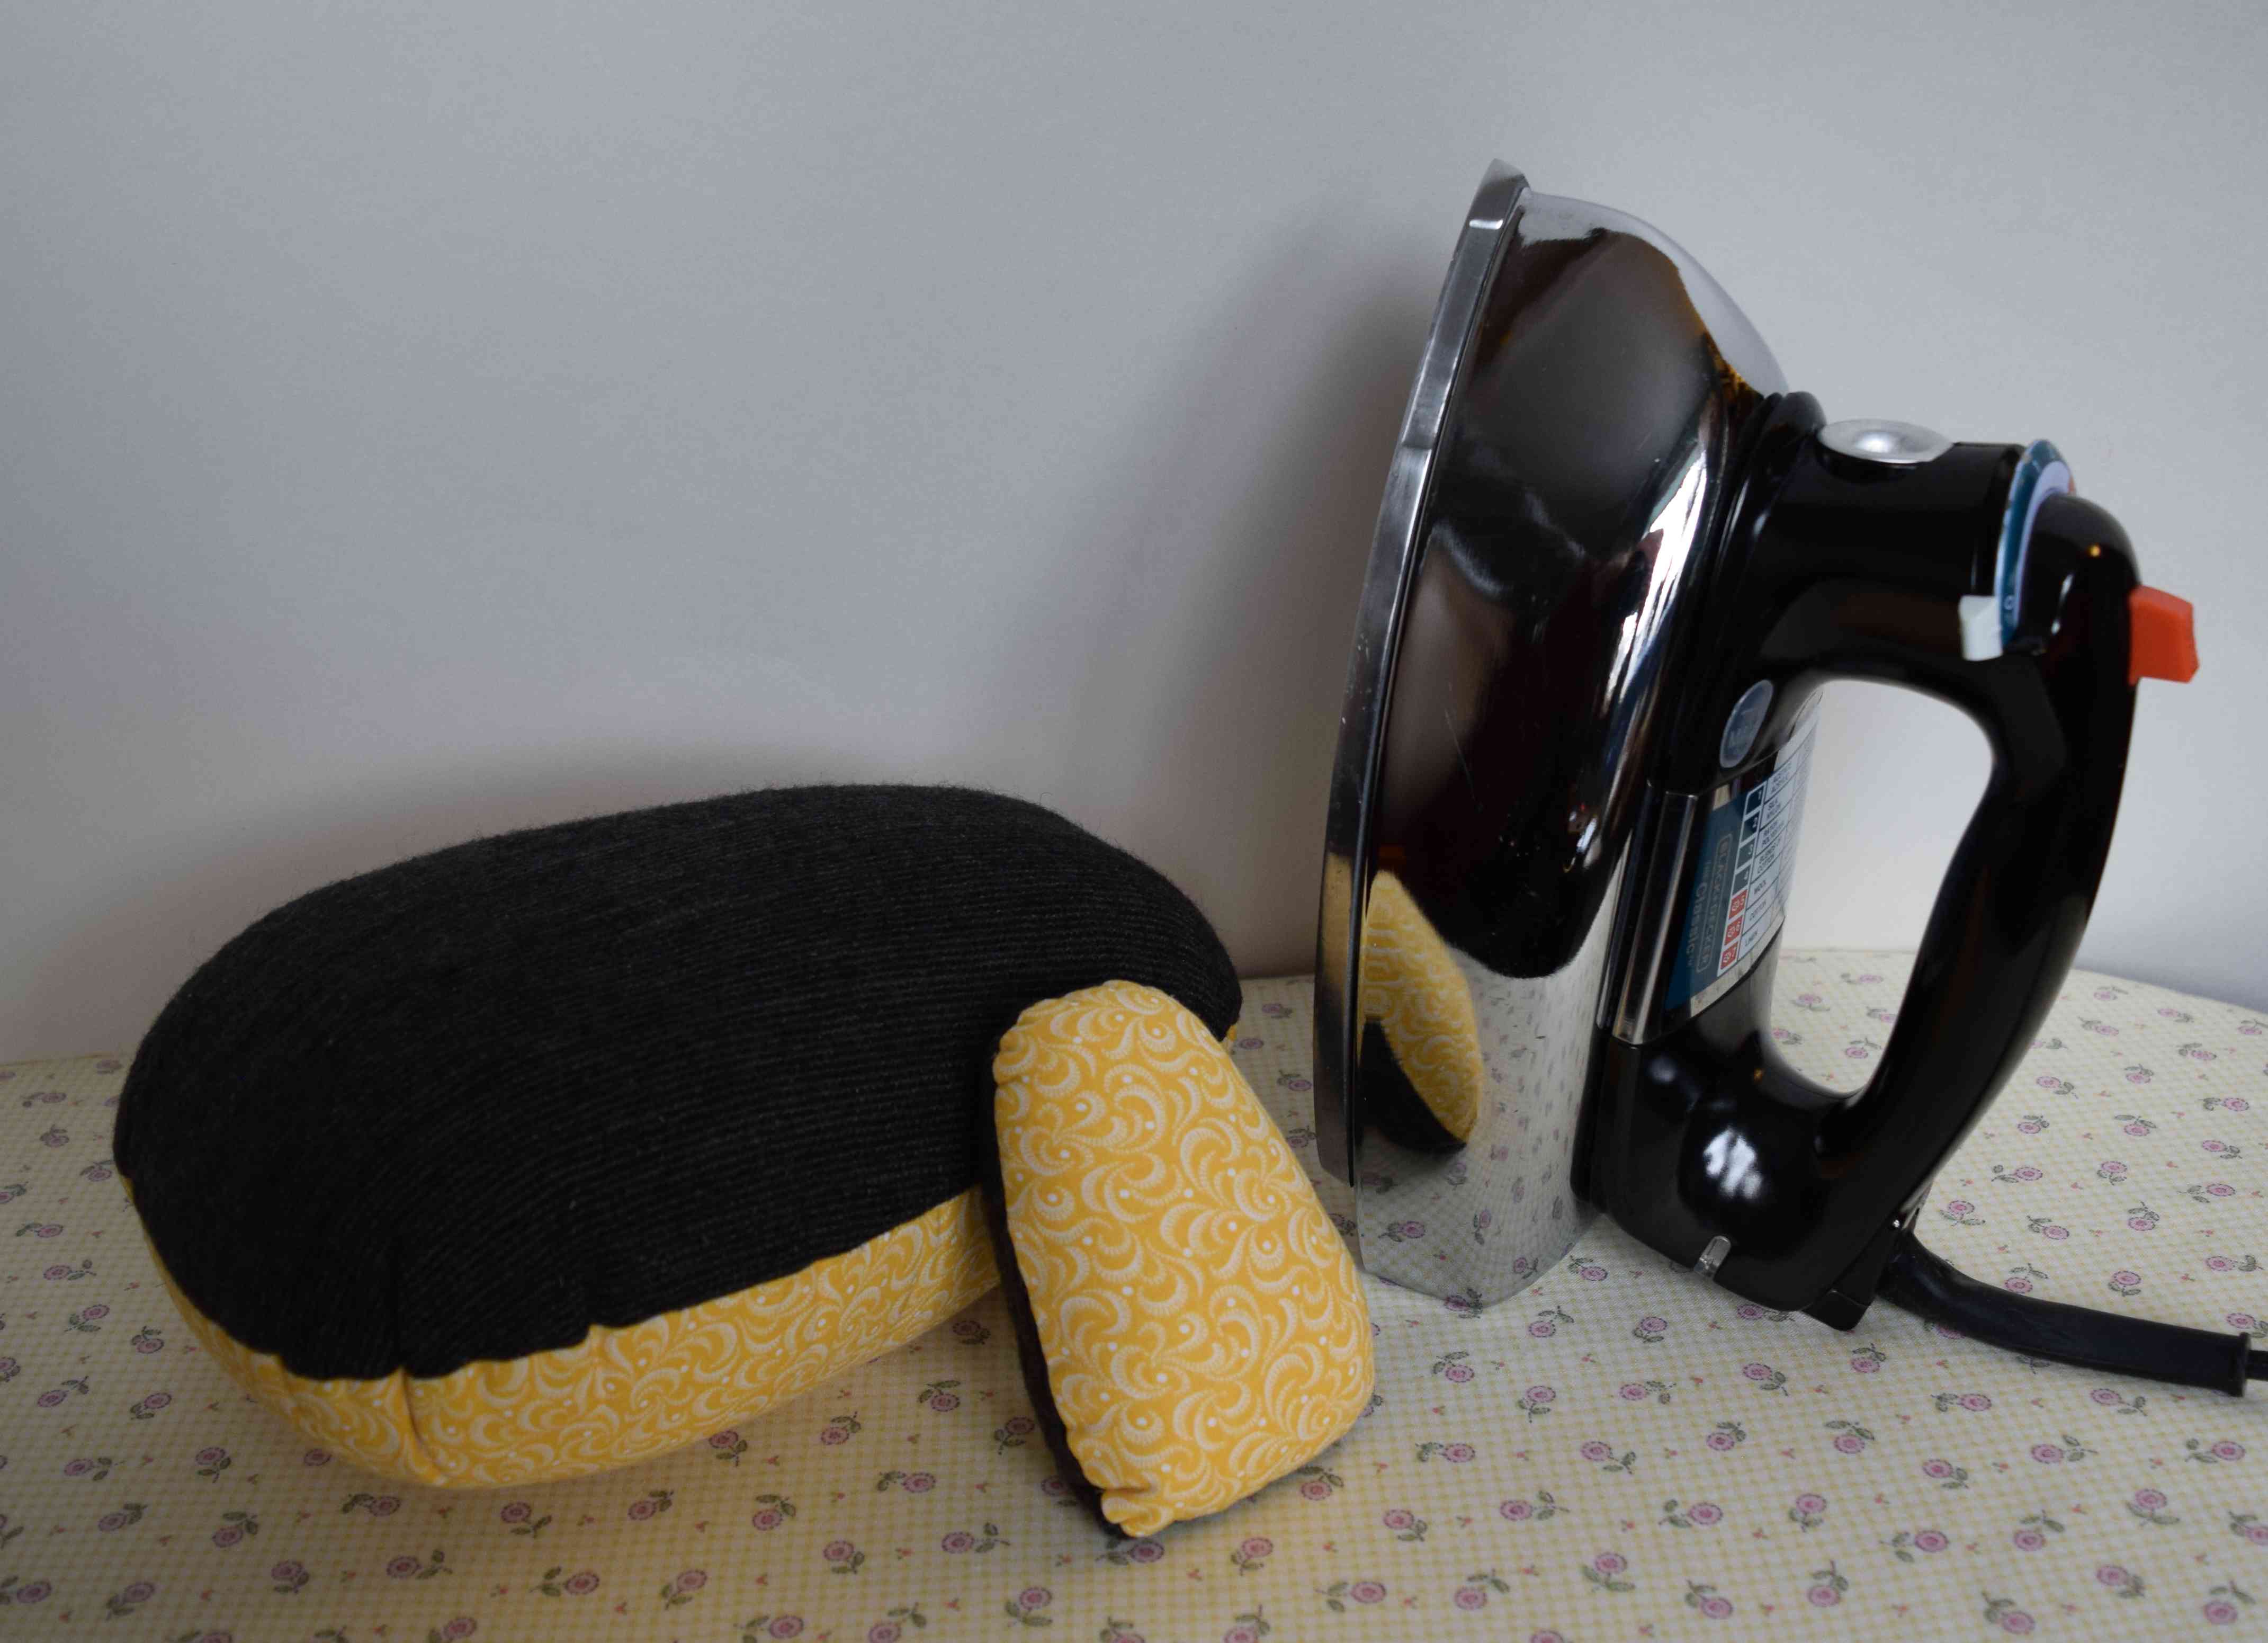
I drew up a set of patterns for tailor’s hams in various sizes. Print out both sheets, trim off one of the borders, and tape the sheets together, matching up the lines.

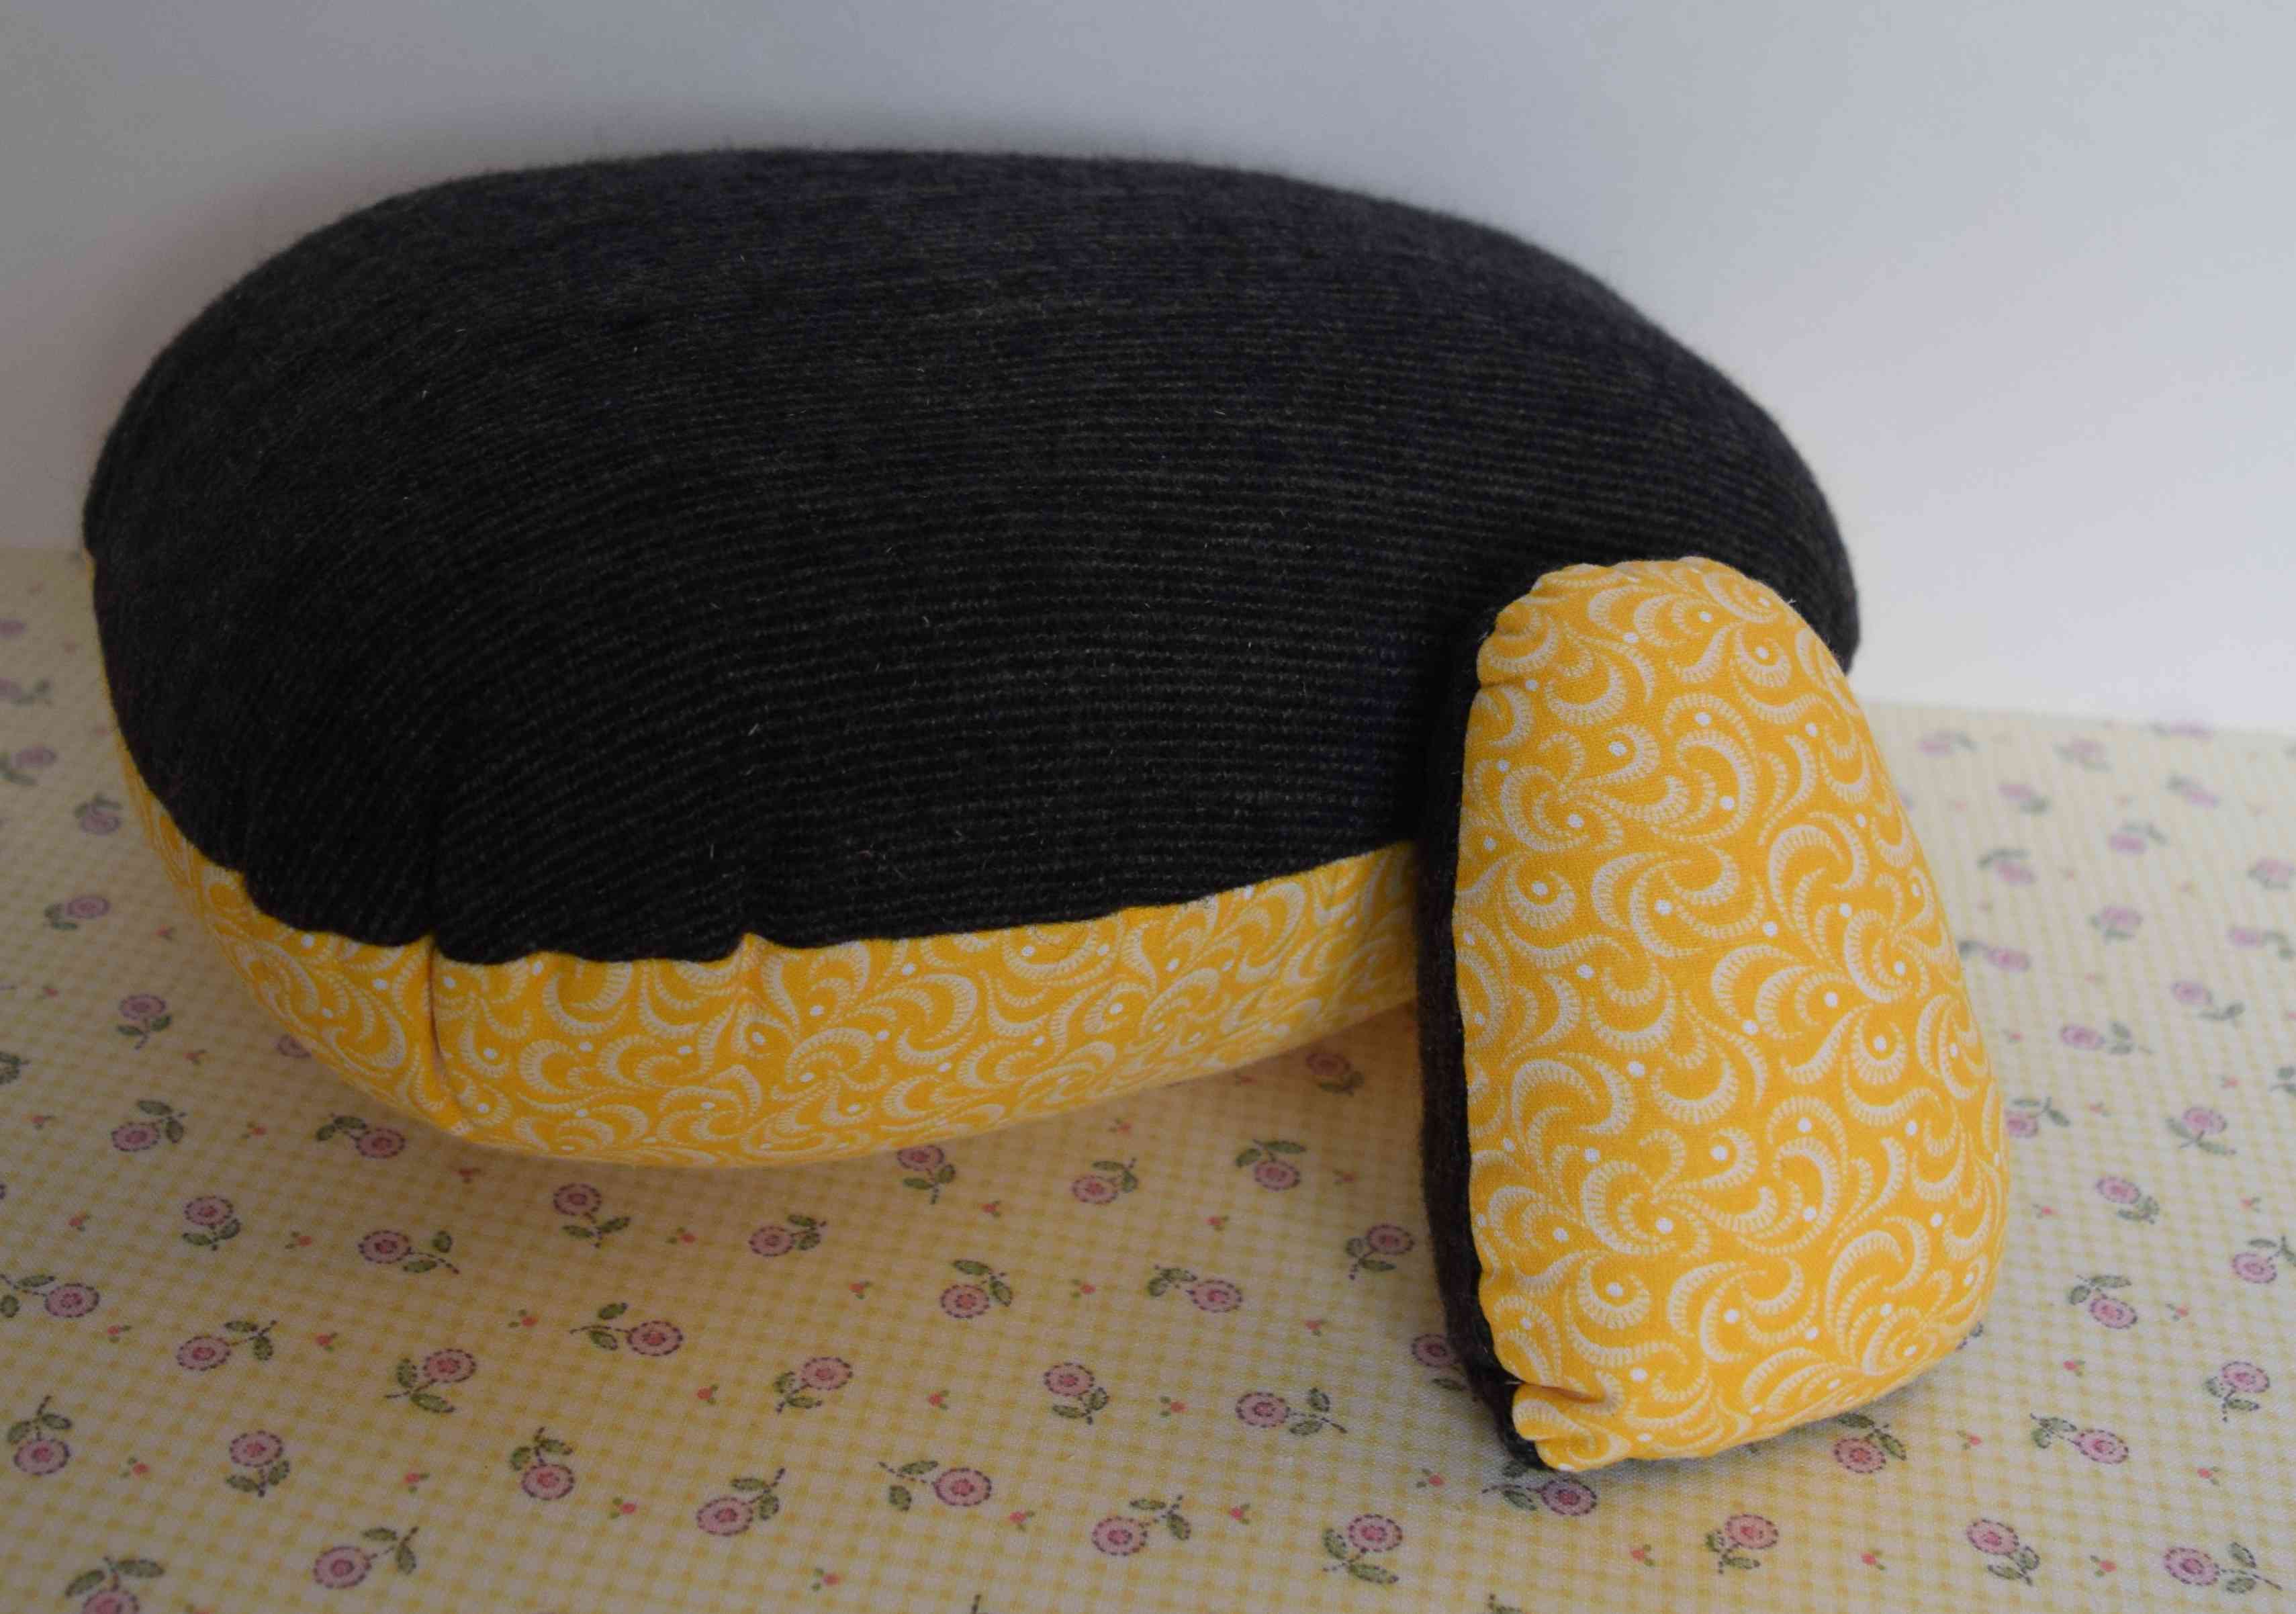
I made the second largest size and the smallest size. See the picture below for size reference. I plan to use the miniature ham for sewing bras and half-scale garments.
I cut one piece of wool fabric, one of cotton, and two of cotton muslin to underline both sides.
Here’s how to sew the ham:
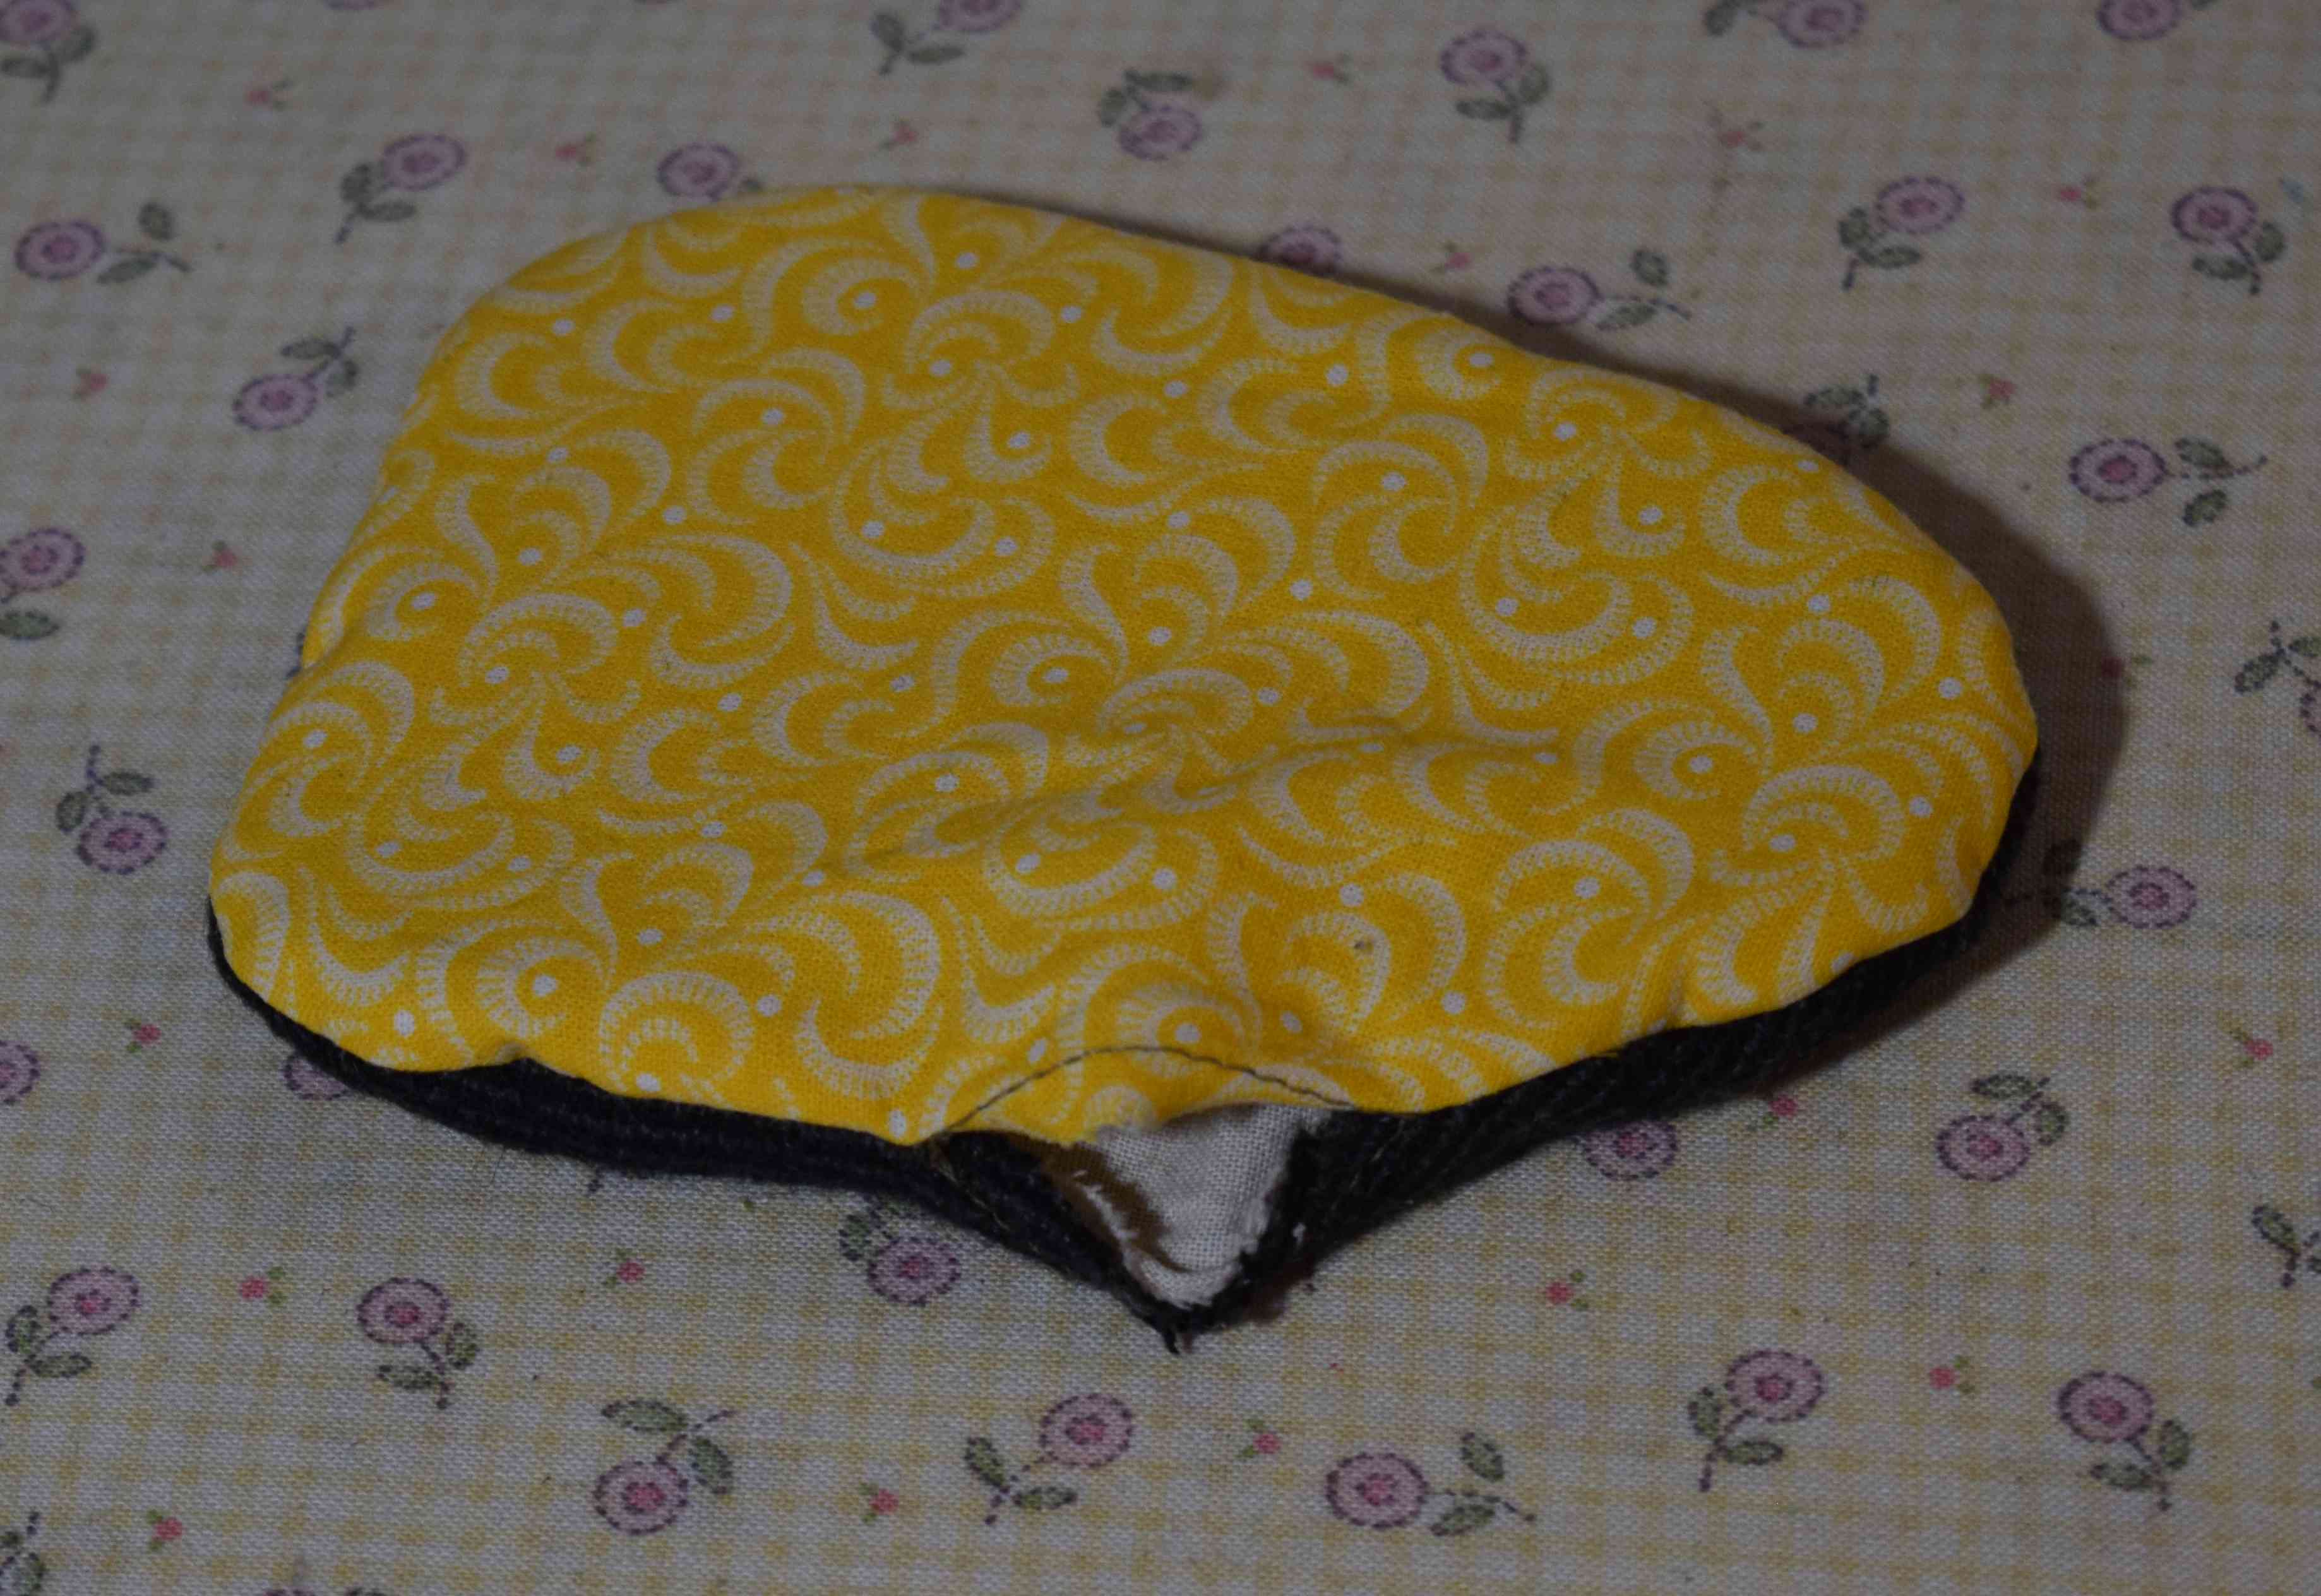
Place a muslin piece against the wrong side of each of the outer fabric pieces. Stitch the muslin to the outer fabric between notches, 1/4″ (6 mm) from the edge.

Place the right sides of the outer fabric pieces together and stitch around the ham with a 1/4″ (6 mm) seam allowance, leaving the seam open between the notches, and backstitching at each end of the seam.

For the two smallest sizes, you can trim the seam allowance, but don’t clip it. Don’t trim or clip the seam allowance on the larger sizes.
Turn the ham right side out.
Then stuff sawdust (or other filling material) into the ham. Pound and squish it to compress the stuffing. Keep stuffing and stuffing, until it is as firm as you can get it and you can’t physically get any more stuffing in there. This will take a while. I made the opening on the largest three sizes large enough to fit a canning funnel* into. That should help you fill it, at least until it is mostly full. If you don’t have a wide mouthed funnel, you can make one by cutting the ends off of a plastic beverage bottle.
If you’ve stuffed your ham with sawdust, you will now have a horrible mess. Get out your vacuum cleaner and vacuum the dust off of the outside of your ham.

Now hand stitch your ham closed, and get pressing!
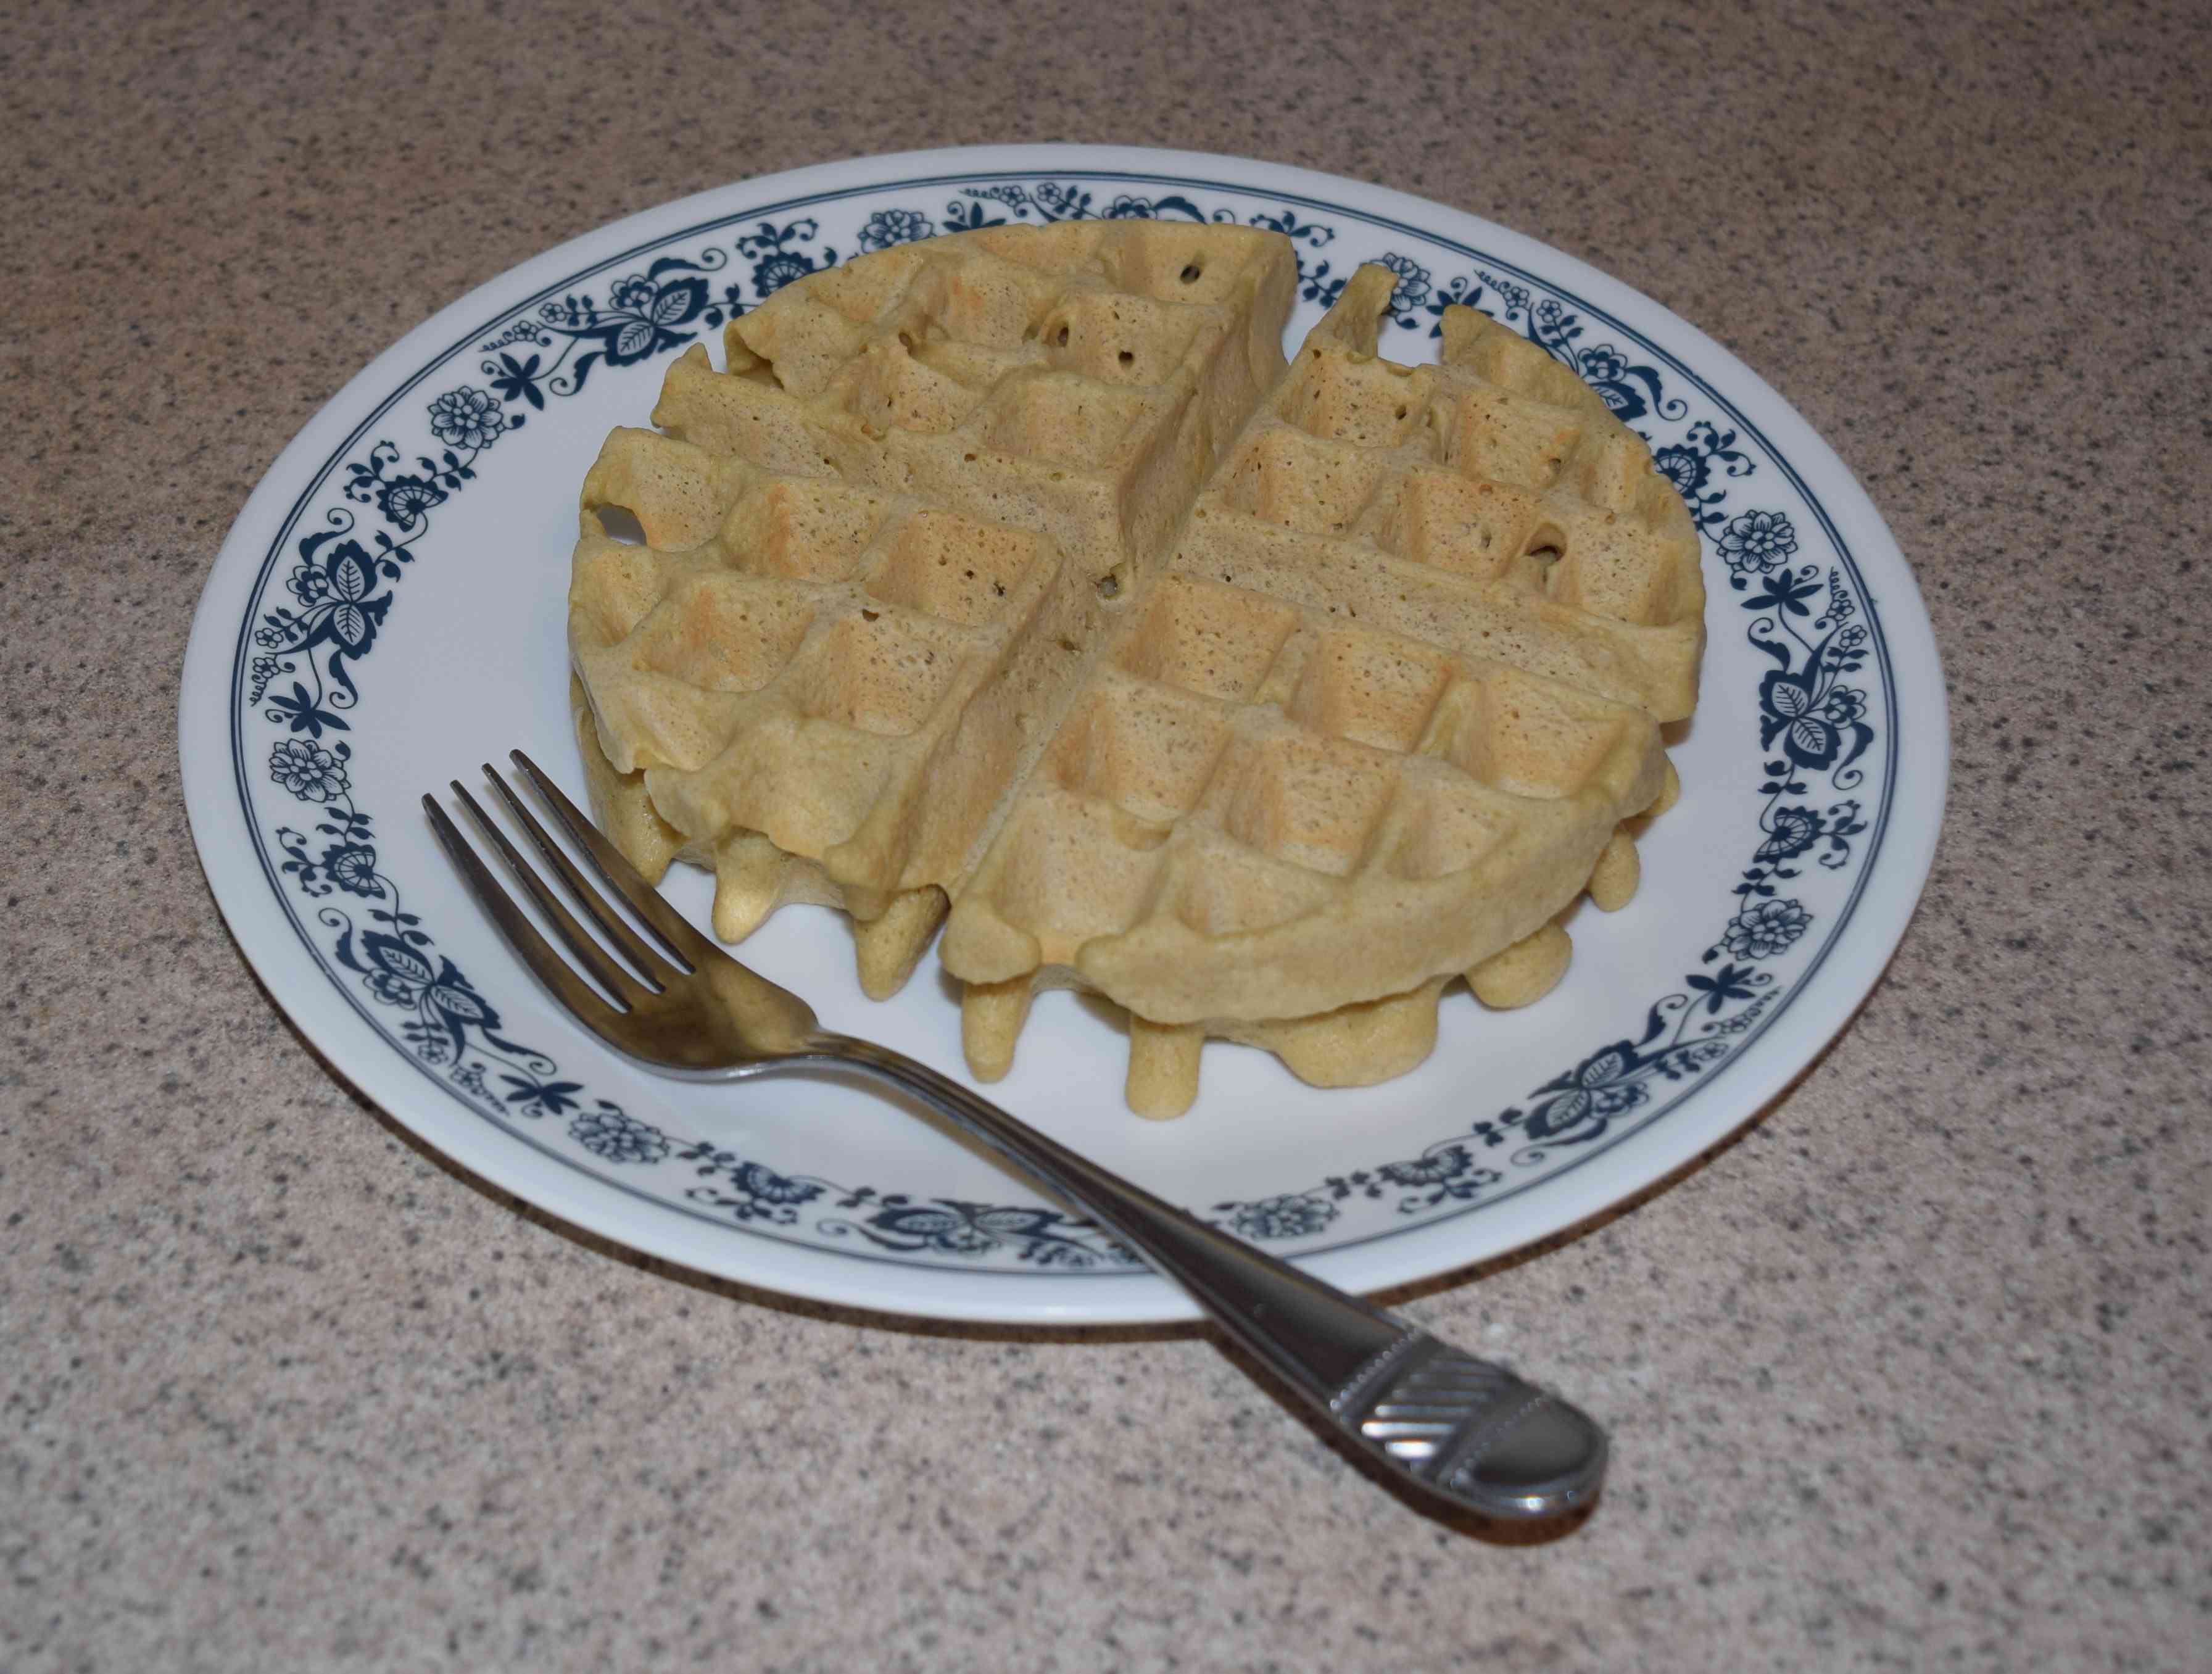
When I was blending wood shavings, my daughter heard the blender going and came over, hoping the sound meant I was making waffles. So I had to make waffles right after I finished blending the wood shavings.
Here’s my “recipe” (or a summary of my haphazard method, at least) for making gluten-free waffles with a Blendtec* blender.
This makes a big batch. Even with a family of four pigging out on them, we have some left over for the next day. You can freeze any leftovers.
For grains to blend properly in a Blendtec blender, you need to blend 1.5 to 2 cups of grain at a time (no more or less), so keep that in mind if you want to reduce the recipe to make a smaller batch.
I blend grains at speed 9 out of 10. If your blender just has high-medium-low settings, blend at high speed, though I’m not sure if it will work quite as well with that type of blender.
Blend (2 cups at a time)
2 cups hulled buckwheat*
2 cups quinoa
2 cups brown rice
You can substitute other grains like millet (very dry, so don’t use too much) or oats (medium dryness) for some of the grains. A balance of dry and gooey grains works best. I suggest keeping the proportion of 1/3 buckwheat in the recipe, since it is nice and gooey. The waffles come out dry and crumbly without the buckwheat. (A caution about buckwheat – grind your own buckwheat flour from hulled buckwheat – don’t frequently eat commercial buckwheat flour that has the hulls ground up in it. Buckwheat greens and hulls cause sun sensitivity. After eating just a little commercial buckwheat flour regularly for a few months, for an entire summer I got hives every time I got the slightest bit pink from too much sun. It took months for the effect to wear off.)
- Put all of the flour in a large mixing bowl.
- Add 1 1/2 to 2 Tablespoons baking powder and
- 1/2 teaspoon salt
Mix the dry ingredients together in the bowl.
- Put 1/4 cup of coconut oil or other oil in the blender jar.
- Add your choice of 2 eggs, 1 tsp sunflower lecithin powder*, or two eggs worth of egg replacer*. (Optional —makes the waffles a little less crumbly.)
- Add water until it’s up to the 3 cup measuring line. (You can substitute some type of milk for some of the water for a richer flavor.)
- Add 1/2 tsp vanilla if you like.
- Blend at maximum speed until the liquid is well mixed.
Pour the wet ingredients into the flour. You will need to add more water or milk until the batter is the right consistency, usually about 3 cups (but start with 2). Mix up the batter. The amount of water needed depends on the mix of grains you use. Err on the side of too thick, since it’s easier to get gluten free waffles out of the waffle iron if they are made from thick batter. Plus it’s easier to add more water than more flour if you need to adjust the batter. You can also use this batter to make pancakes.
Enjoy!
* Links in this post identified by an asterisk (*) are affiliate links. If you click through and make a purchase, I will earn a commission (at no additional cost to you).
 GrowYourOwnClothes Etsy Shop

Although I have a regular size ham I would love to have a couple smaller sizes as well, so thank you for the patterns. And I have a BlendTec and a Vitamix (cause everyone needs 2 ridiculously expensive blenders, right?) but even though they swear you can blend pennies in them I never thought about wood shavings!
LikeLike
Thank you so much for being brave and showing us how to make our own sawdust! Now I can finish my ham. 🤠
LikeLike
I loved this post and thank you! Will redwood shavings blend? Yes. Yes they will! Suggestions: I filled the bottom instead of the side. Also do not stitch together to fabric at the opening. Instead sew the lining closed first. Don’t worry about it looking pretty. Just stuff it as much as you can and sew it. Then sew the outer fabric closed and make it look pretty.
LikeLike
Those sound like good ideas. Thanks for the comment.
LikeLike
Trying to make a Tailor’s ham- was wondering if buckwheat hulls make a good stuffing material?
LikeLike
I’m not sure. I don’t know if they would pack tightly enough. Buckwheat hulls are dark colored, so it is possible that steam from the iron might cause stains on the fabric. If you have some, you might try making a small one as a test.
LikeLike