
Links in this post identified by an asterisk (*) are affiliate links. If you click through and make a purchase, I will earn a commission (at no additional cost to you). I was provided this pattern at no cost to me.
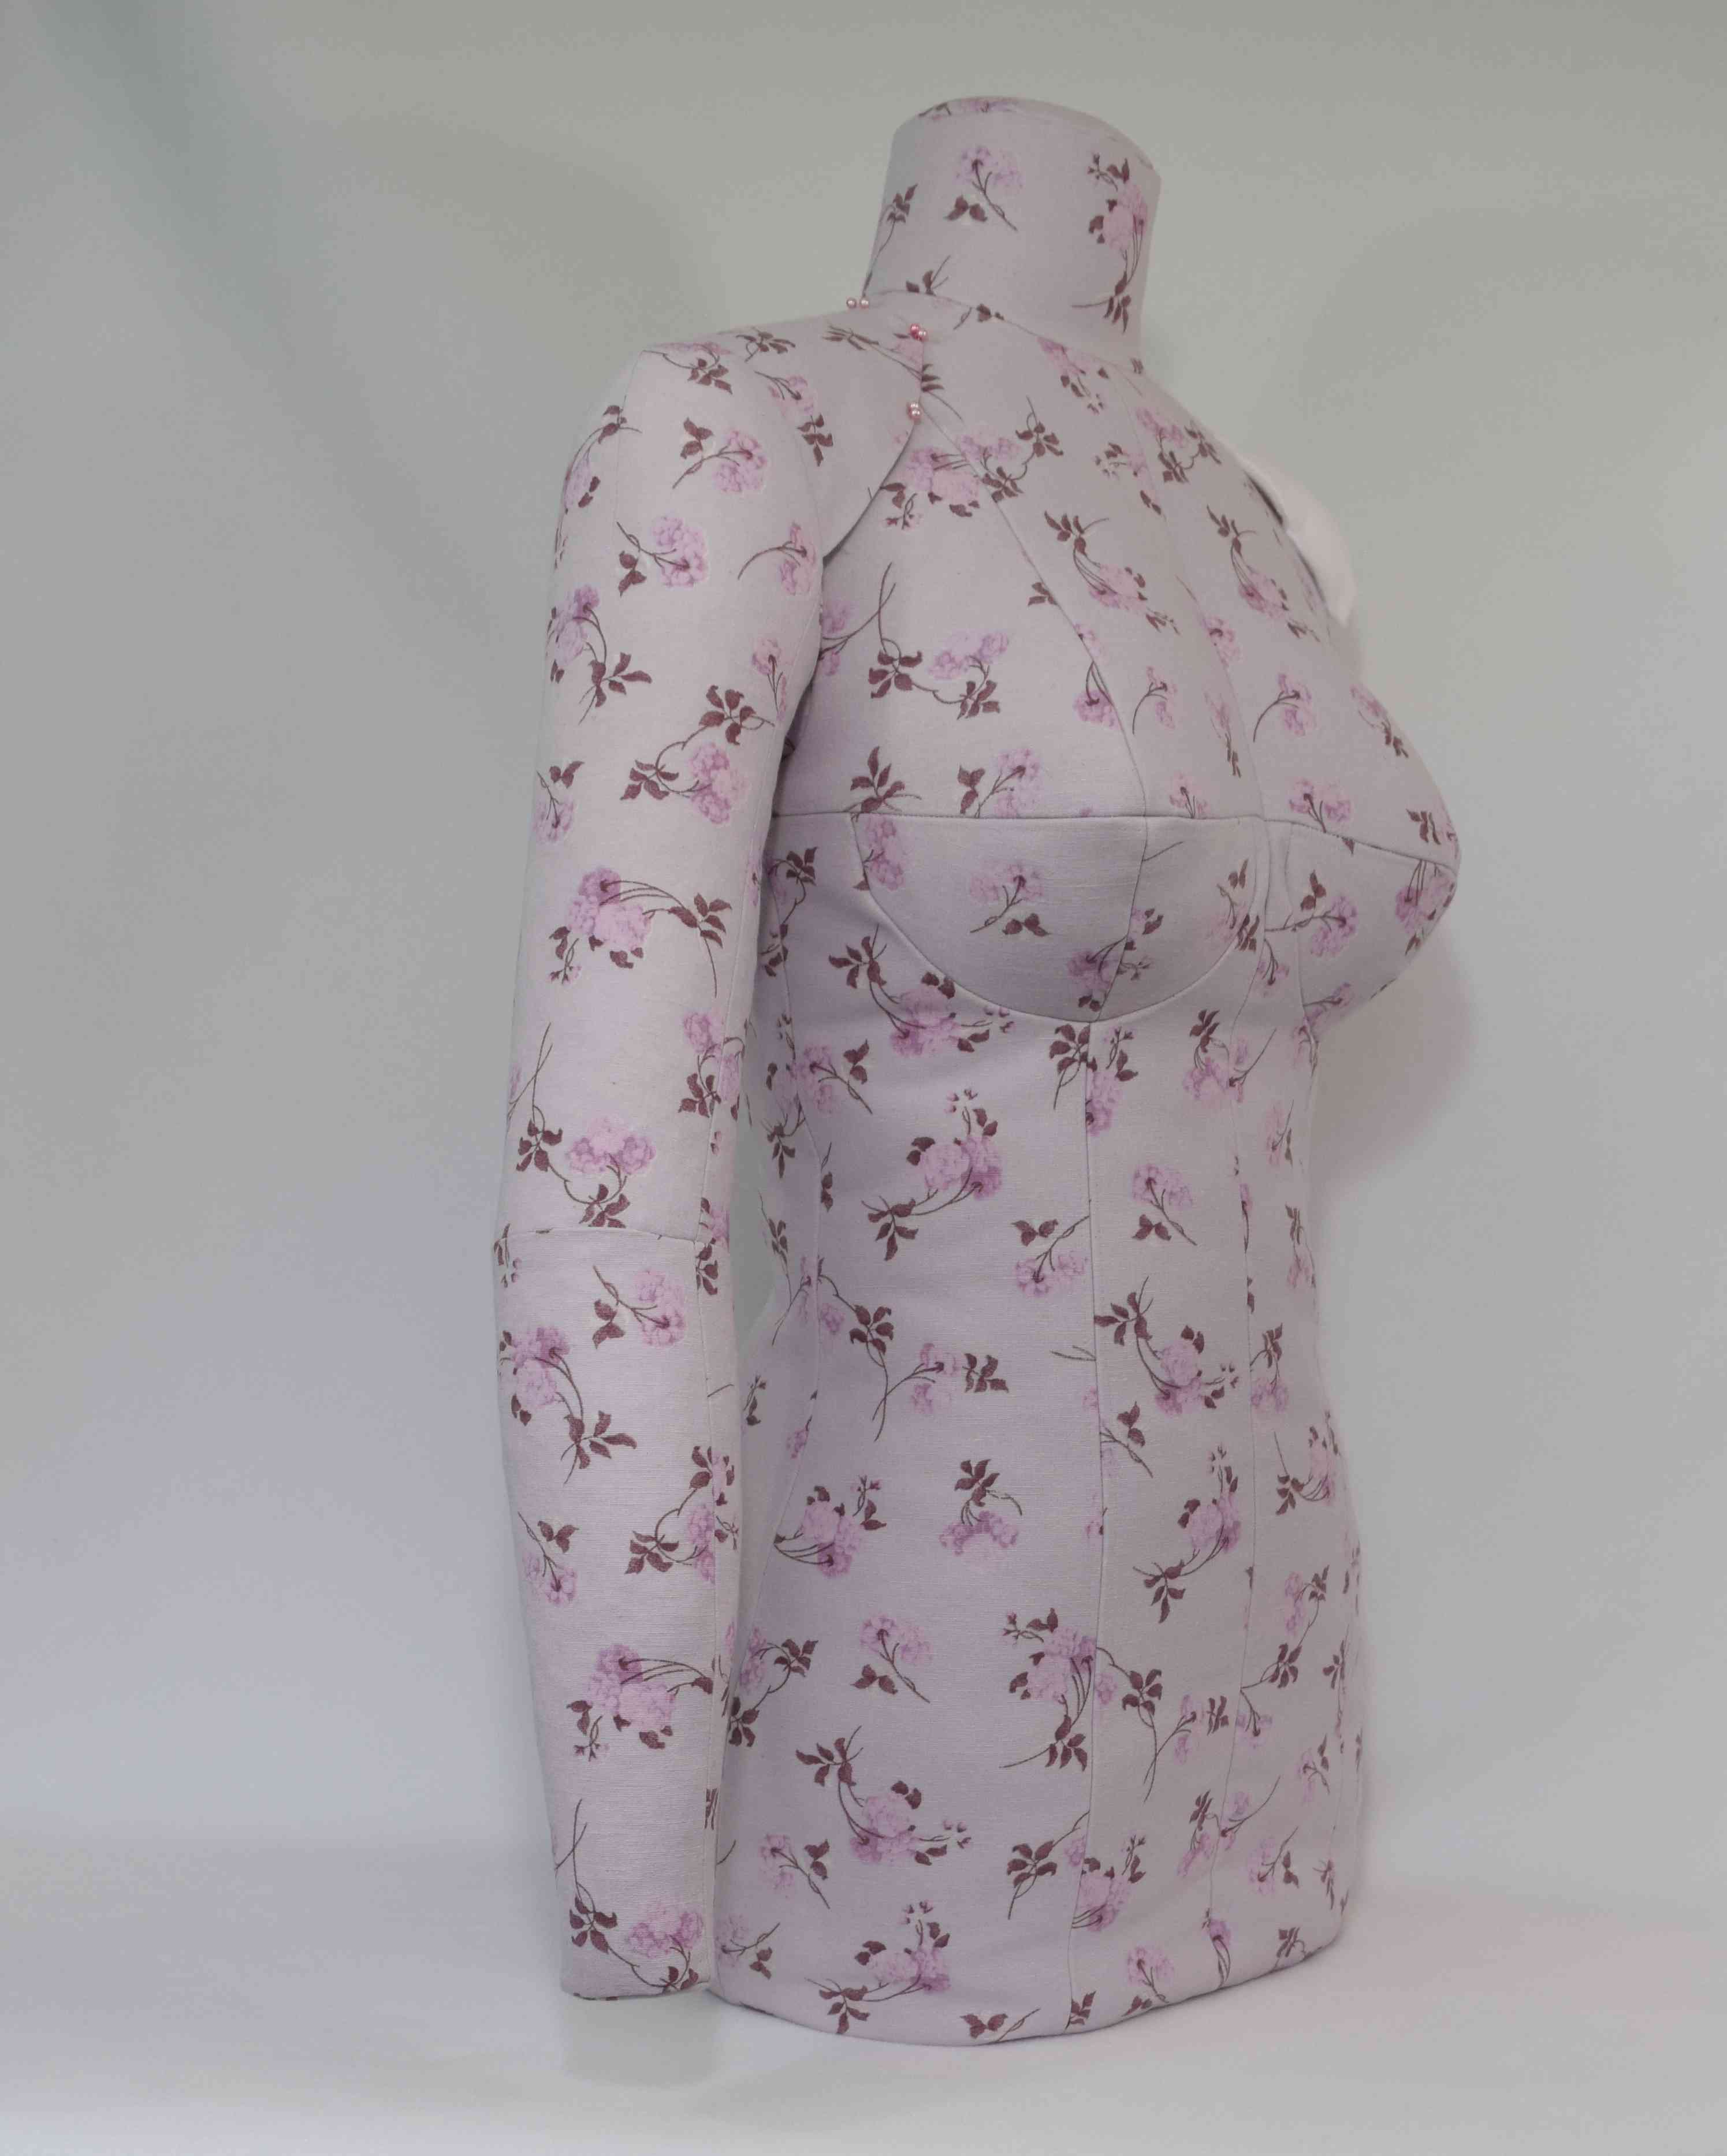
I made an arm for my DIY dress form using Bootstrap Fashion’s dress form arm pattern*. The cool thing about this dress form arm is that it is made to your measurements, and it actually looks like an arm! In the past, before this pattern came out, I had looked for dress form arm patterns and the only commercial pattern I found was Connie Crawford’s dress form arm pattern, which only comes in three sizes and is obviously drafted from a sleeve pattern. There are also several tutorials online and in Threads magazine that show how to draft a dress form arm pattern from a sleeve pattern, but again, you end up with something that doesn’t look very realistic.


This dress form arm should fit on any dress form that has a flat armhole plate and has shoulders ending at the natural shoulder point. It pins in place, but you could also sew ribbons onto it and tie it in place around the opposite armhole and around the neck if your dress form is not pinnable.
I am happy with my final dress form arm, but it took me a couple of tries to get it the right size. The pattern has some negative ease in it to allow for the fabric stretching as the arm is stuffed. On the first arm I sewed, the bicep measurement was too small, no matter how firmly I stuffed it. The elbow measurement was perfect, though, so I measured and found that at the elbow, the pattern measured 94% of my actual elbow measurement. I adjusted the bicep area of the pattern to be 94% of my actual bicep measurement, and on my second arm the bicep measurement was correct.
The amount of negative ease you need is going to vary a little depending on the fabric you use and how firmly you stuff the arm. The instructions for this pattern say to stuff the arm firmly, but another option is to make a lightly stuffed floppy arm so you can bend it to make dressing your dress form easier. If you want to stuff the arm less firmly, or you just want to make sure it ends up exactly the right size, you will need to adjust the pattern.
To avoid having to sew two arms to figure out if you need to adjust your pattern, you could sew a bicep-sized cylinder from the same fabric you will use for the arm. Sew one end closed, stuff the cylinder, then measure around it. Divide the pre-stuffed circumference measurement of the cylinder by the circumference after stuffing it to get your negative ease factor. Multiply your bicep measurement by the negative ease factor to get the total measurement that the pattern should be at the bicep. Multiply your elbow measurement by the negative ease factor to get the total measurement that the pattern should be at the elbow. Compare these numbers to the pattern measurements. There are two vertical seams on the arm, so divide the total amount you need to change the pattern by four to get the amount you need to add or subtract from each edge. Make pattern adjustments at the seam lines, blending to no change at the armhole area.
This pattern does not give you the option to input your arm length measurements when your pattern is created, so you will have to adjust the shoulder-to-elbow and elbow-to-wrist lengths manually. These are just basic length adjustments like you would make on any sewing pattern, so they are not difficult adjustments, but you do need to be careful to measure your arm correctly.
Here’s how to measure your arm length. To locate your shoulder point, raise and lower your arm slightly and feel for the dent between the bones of your body and those of the arm. Place your finger on your shoulder point and raise and lower your arm again. Your finger should stay stationary if it is in the right spot, not move with the arm. Mark this location.

If you are measuring yourself, tape the end of your tape measure to your shoulder point. Measure from your shoulder point to the point of your elbow and record this measurement. Then, with your arm slightly bent and the tape still going over the elbow point, continue measuring down to the prominent bone on the wrist.
I decided that rather than stuff the arm with fiber fill, I would experiment with stuffing it with polystyrene beads* that are used to stuff bean bag chairs. These beads weigh almost nothing, and they allow you to stuff the arm fairly firmly, but still pat it to adjust its shape a little. Polyester fiber fill will fill out the arm into a cylindrical shape, but with the polystyrene beads the arm can have a more natural somewhat flattened/oval cross section. Also, they weigh less than fiber fill, which makes it easier to pin the arm to the dress form. The beads do show through the fabric a little, though – it looks like my arm has goose bumps.
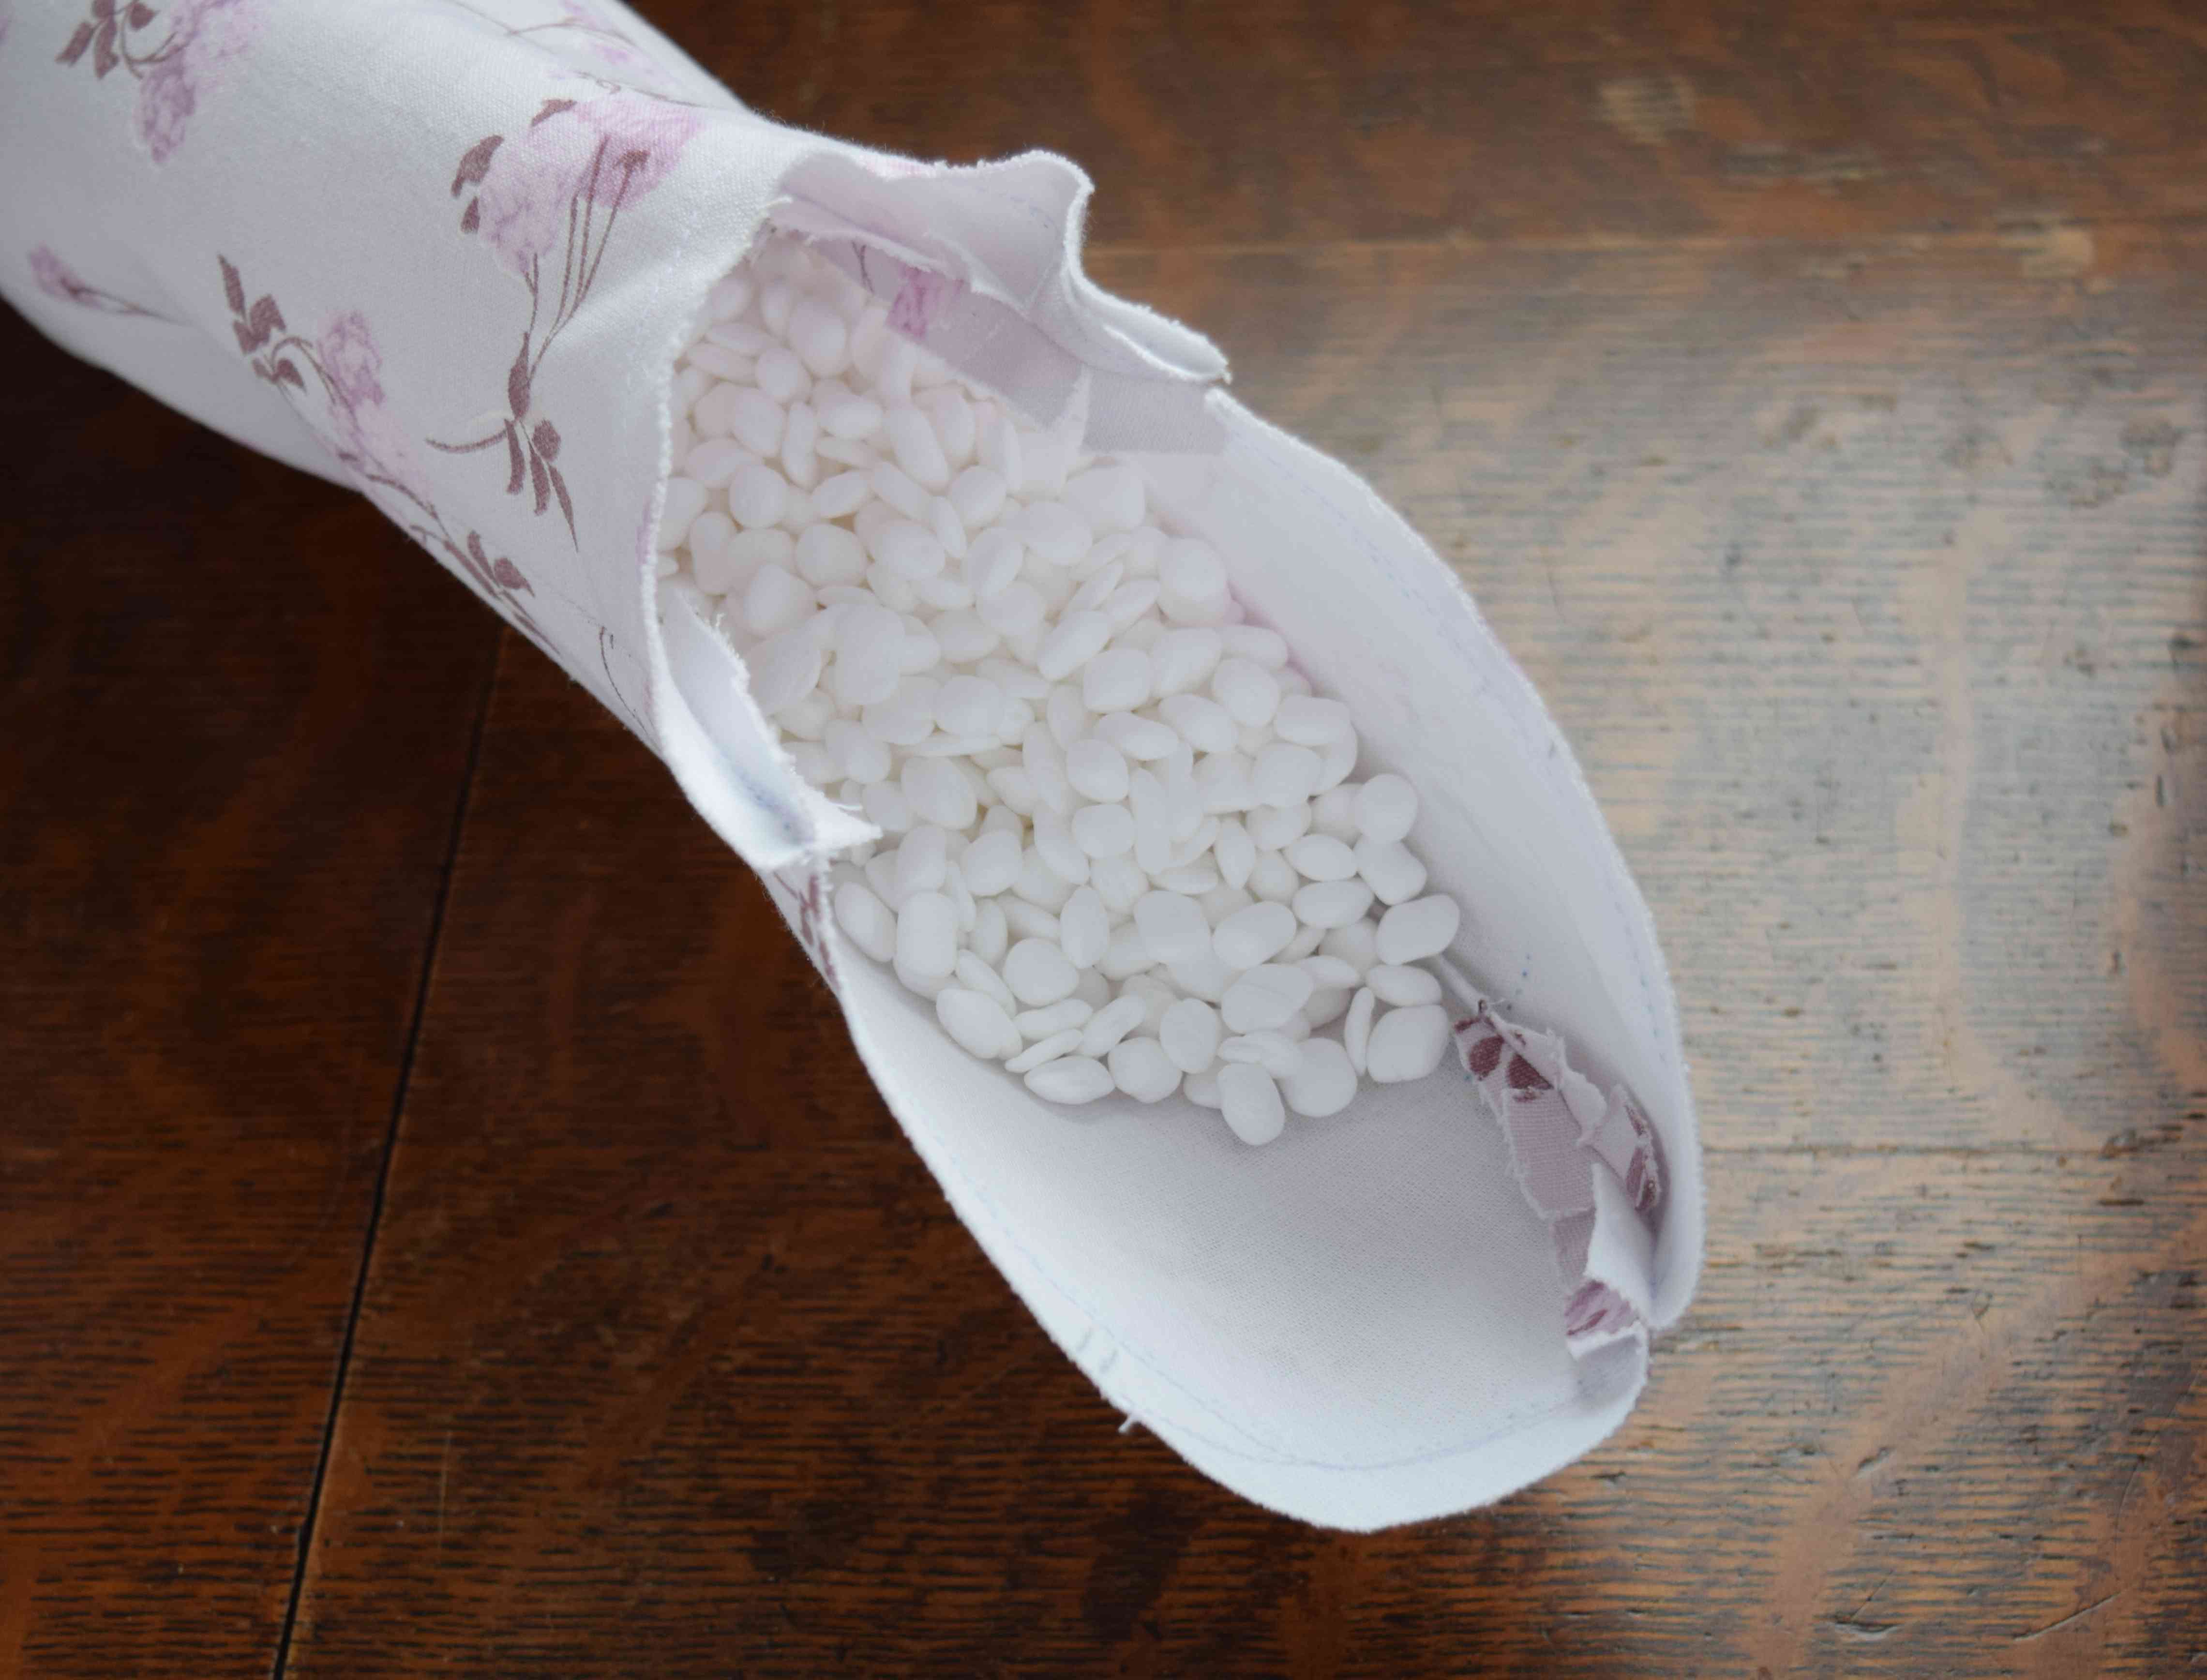
I added a bag with three tablespoons of sand in it to the wrist. I thought this might help the arm hang better. It does hang down just fine, but I don’t know if the sand was necessary. Then I packed polystyrene beads into most of the arm. I finished stuffing the shoulder area with polyester fiber fill. I like how stuffing the arm with the bean bag beads worked out. I would especially recommend using them as stuffing for larger sized arms, so your arm doesn’t end up too heavy to pin to your dress form.
I’m quite happy with this dress form arm* – it really looks like my arm!
* Links in this post identified by an asterisk (*) are affiliate links. If you click through and make a purchase, I will earn a commission (at no additional cost to you).
I was provided this pattern at no cost to me.
 GrowYourOwnClothes Etsy Shop

Nicee!
LikeLike
Great article, it’s a very helpful resource. I am about to sew the arm add-on for my mother’s dress form. I think it’s strange that the shoulder-to-elbow and elbow-to-wrist measurements aren’t required. You might be able to help me: I would like to adjust the length of the pieces, but I’m not sure were to measure on the pattern pieces and were to place a lengthen/shorten line. If you have any suggestion, I would be very grateful!
Have a nice day,
Sophie
LikeLike
Here are some more details on lengthening and shortening the arm: Measure the shoulder to elbow length on the “Upper Outer Sleeve” from the shoulder point down to the bottom of the piece (labeled A on the image below). Draw a lengthen/shorten line about midway between the underarm and elbow, perpendicular to the grainline. Lengthen or shorten the “Upper Inner Sleeve” the same amount you did the outer sleeve piece.
Add lengthen/shorten lines perpendicular to the grainline about midway between the elbow and wrist on the two lower arm pieces. Measure the elbow to wrist length on the “Lower Outer Sleeve” (labeled B in the image) and lengthen or shorten as needed. Lengthen or shorten the “Lower Inner Sleeve” the same amount.
I know, it is weird that they did not automatically adjust the pattern for length. Very few of us have perfectly average arms! My elbow is certainly not midway up my arm. Good luck with your arm.

LikeLike
Thank you Leila, your explanations and images are incredibly helpful. I was stuck, now I’ll be able to go on. Thanks again!
LikeLike
Finally finished prototype of my right arm! The overall length was an exact match although I did have to take it seams of forearm to match mine (mine is very slender) I really appreciate the article you wrote…it helped a lot. Have to say I found it very very difficult to sew certain parts (wrist/armsyce) and hope that when I make my actual arm forms for dress form I can do a bit better
LikeLike