
I bought Grainline’s Alder shirtdress pattern a year and a half ago, but I didn’t get around to sewing this dress until last winter, when it was too cold to wear it. It’s finally starting to feel like summer around here, so I got a chance to wear my Alder dress and take some pictures.

I got the pdf version of the pattern, so I thought it would be fun to print the pattern at half scale and sew it up to try on my DIY half-scale dress forms. Plus it would give me the opportunity to insert a shameless plug for my mini dress form patterns – which you can buy on Etsy and Craftsy.
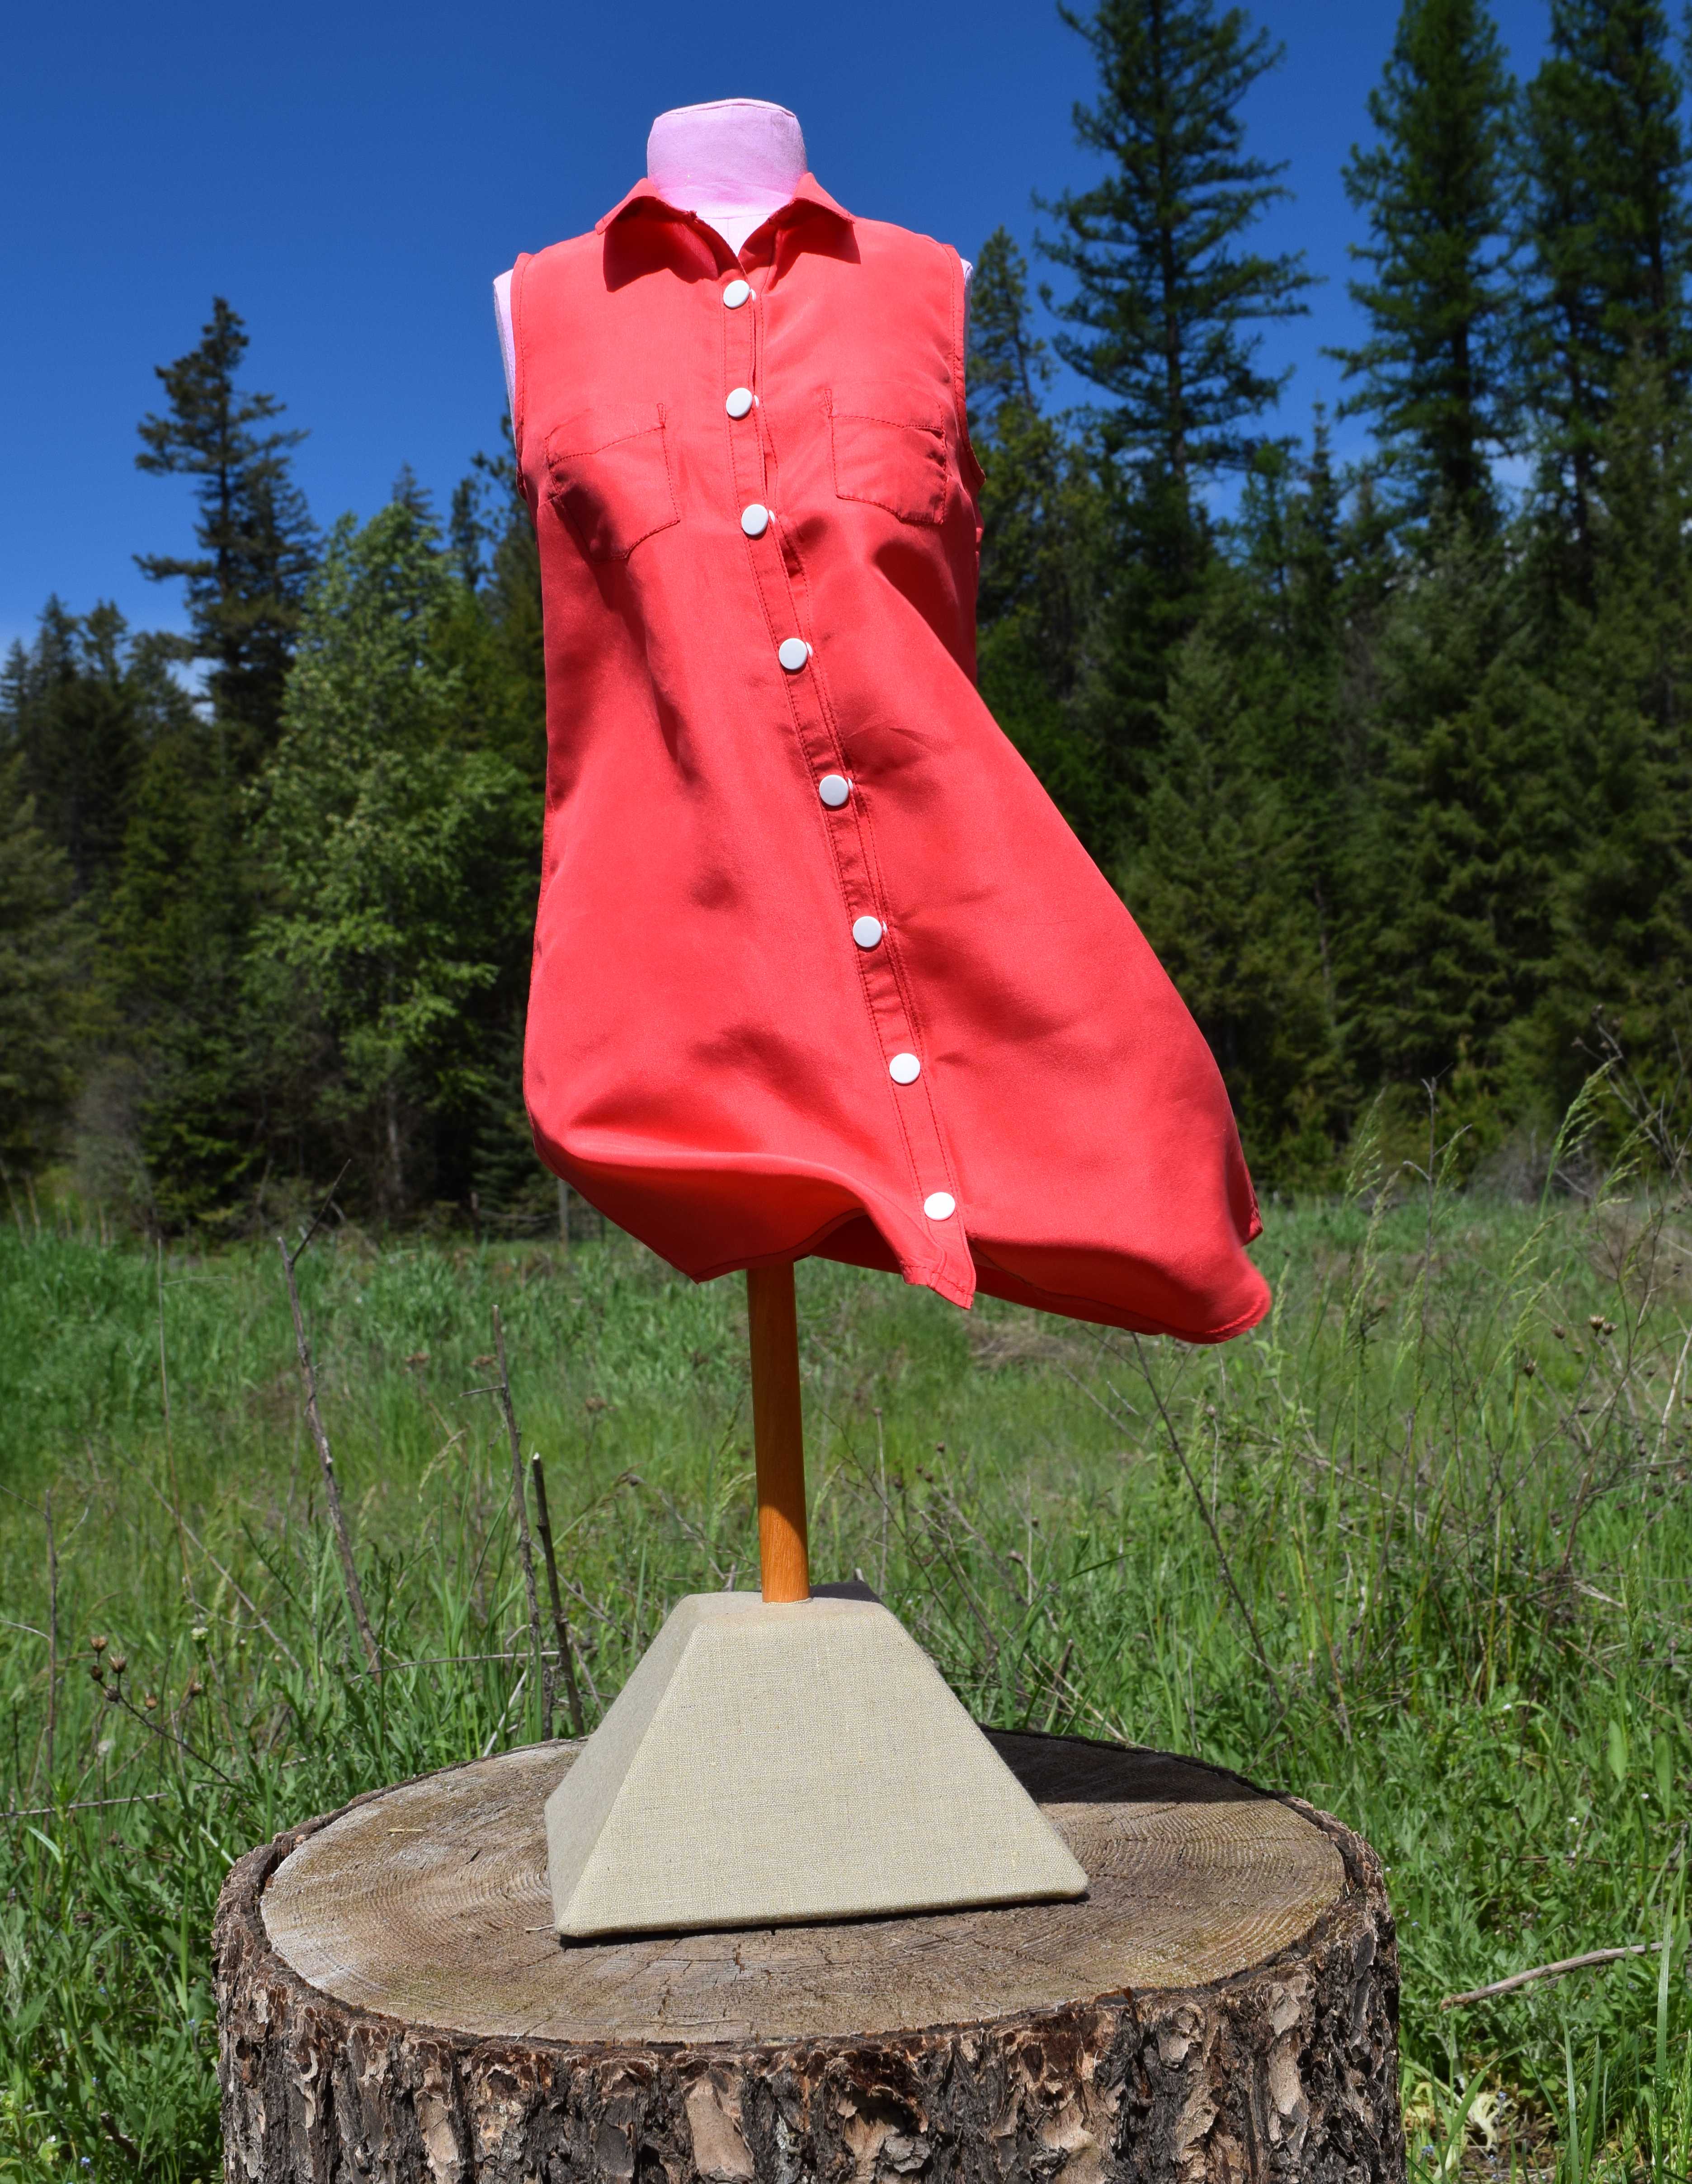
Before I sewed the dress for myself, I sewed View A in half-scale. I used fabric from an old silk shirt, since I knew I would need thin fabric to sew a collar and other details that small. Getting that collar sewn on was a bit of a challenge, not to mention the armhole bias binding done at half scale. My treadle Singer 201 did beautifully sewing the thin silk with tiny seam allowances.
I was determined to sew everything at true half scale, and I had even planned on putting tiny buttons on the dress. However, by the time I got to the buttons I was just ready to be done, so I cheated and used size 14 Kamsnaps instead of buttons.
The dress turned out pretty cute.


It was a blustery day when I took pictures. The wind was blowing most of the time, but then there would be a few seconds of calm when I could quickly snap a picture.
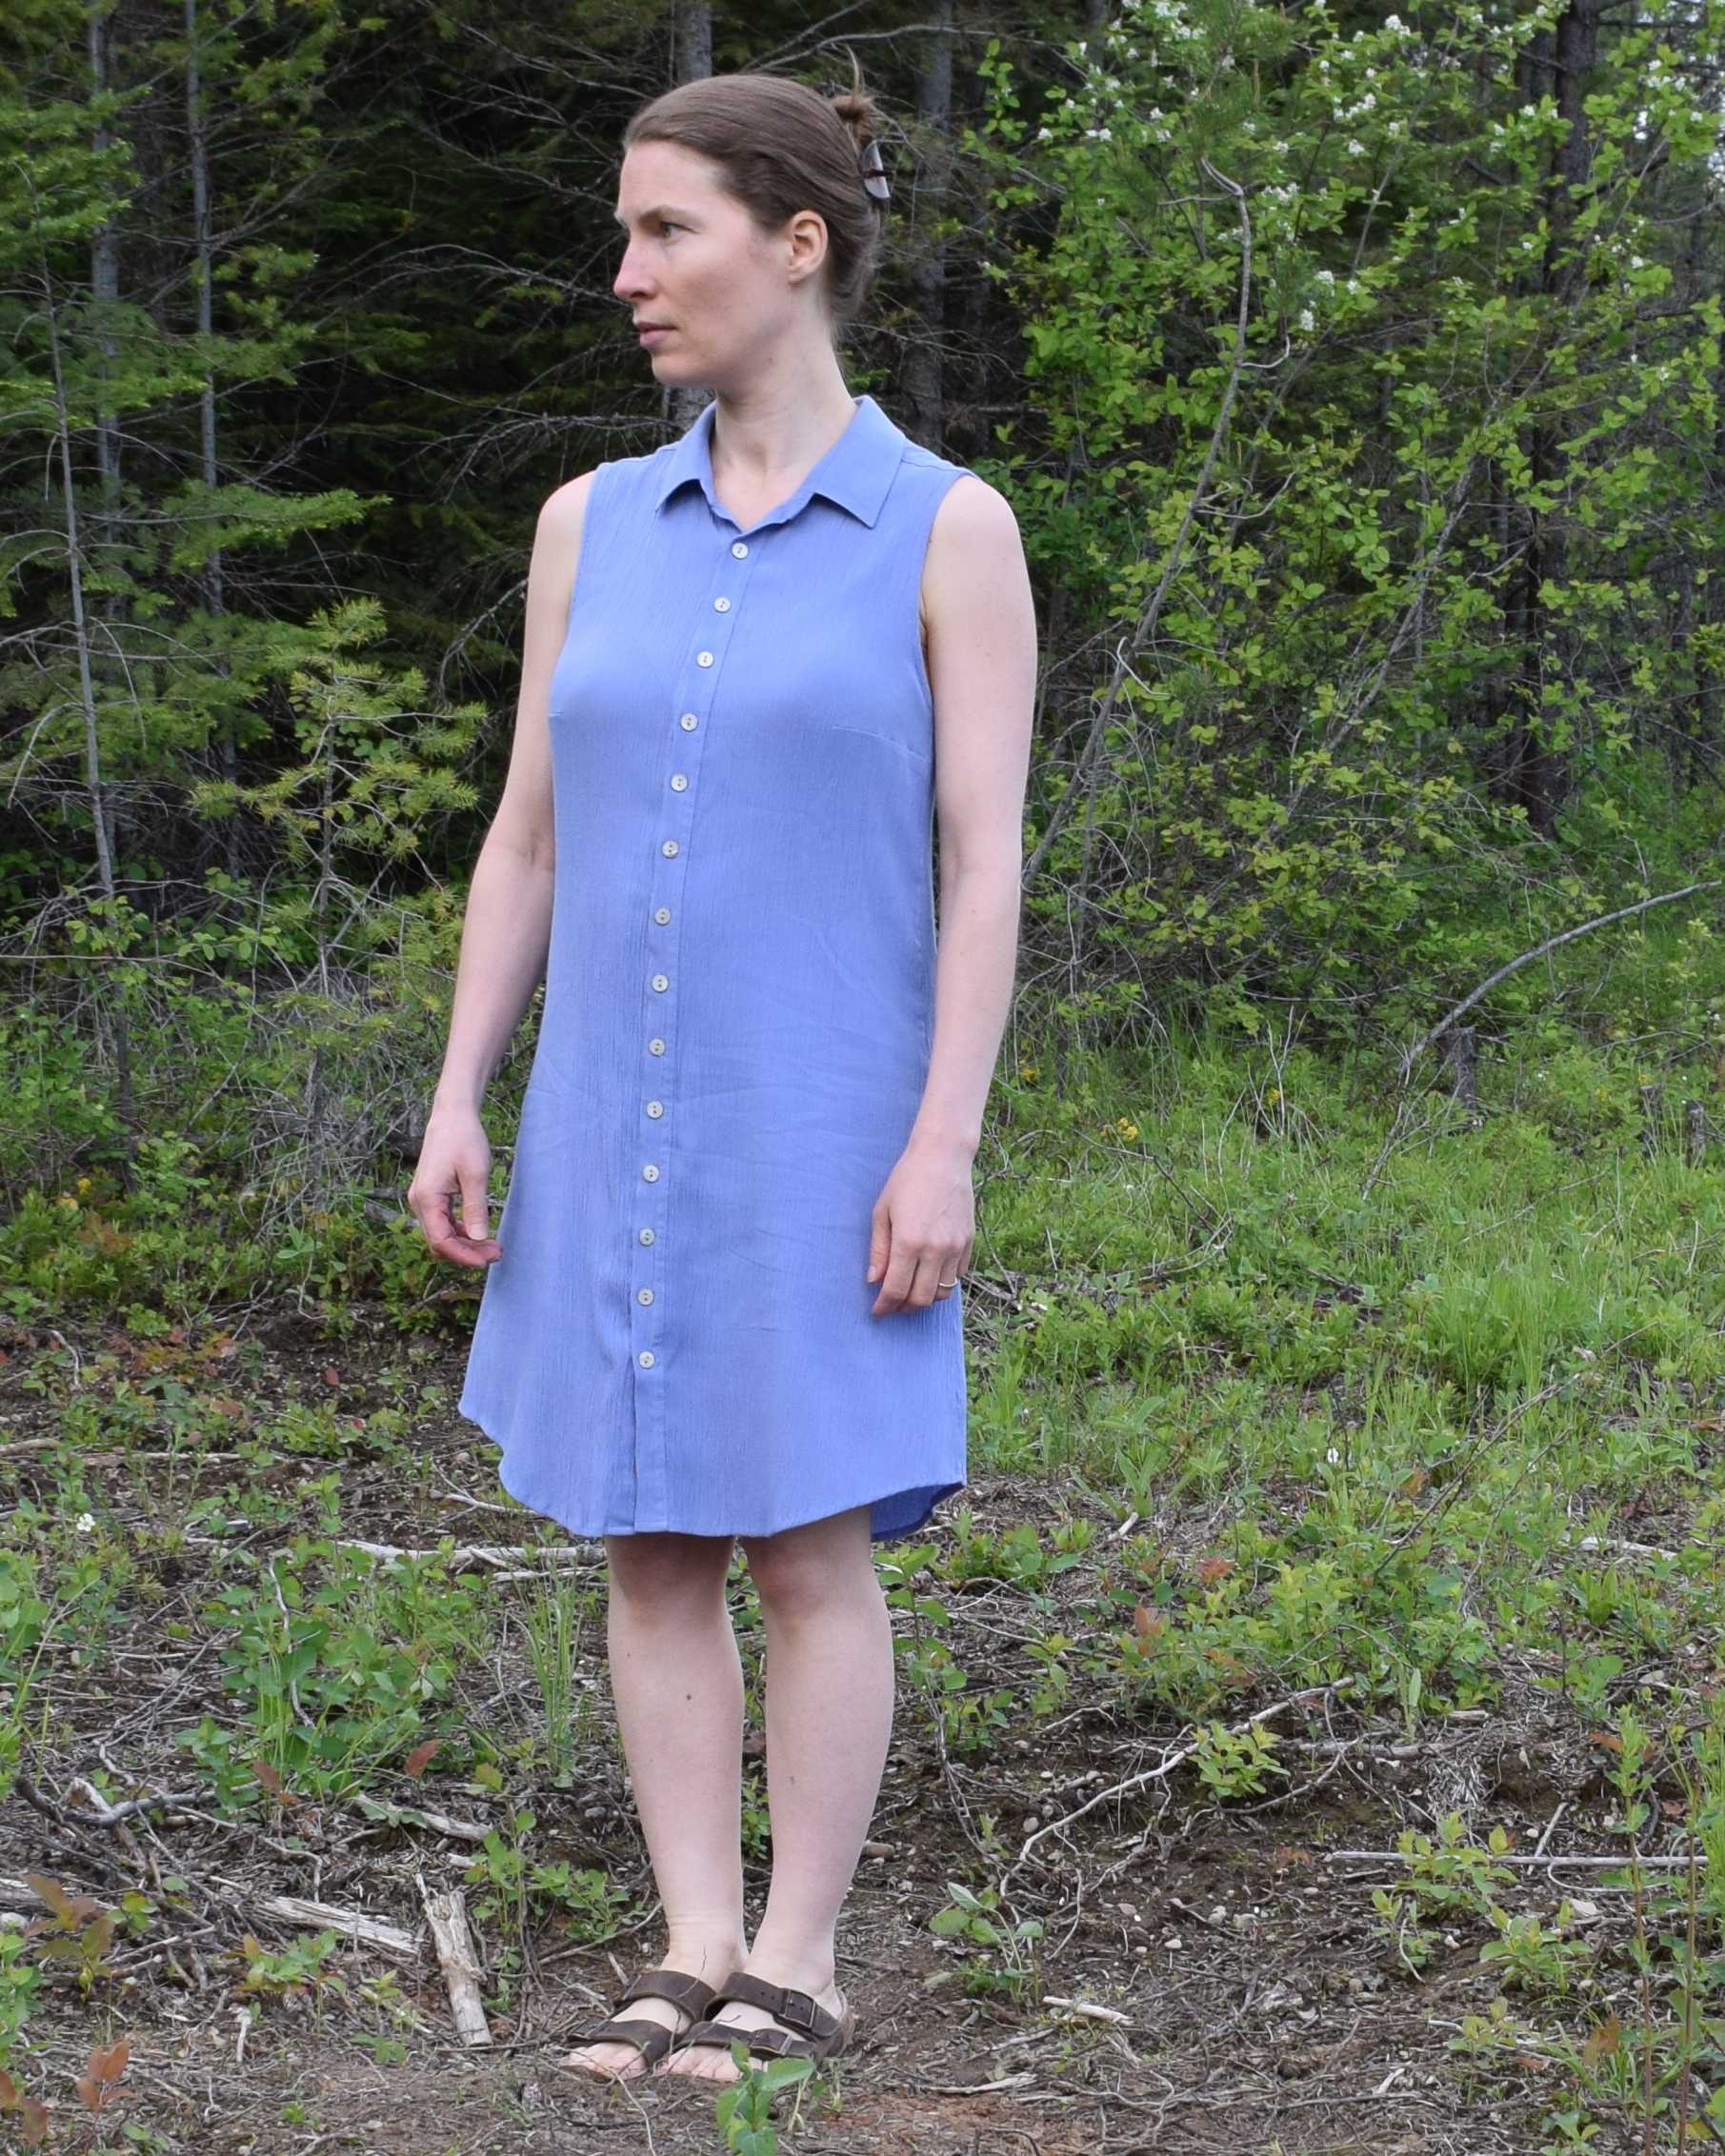
I wasn’t really sure if the Alder dress would look good on me or be my style. After seeing the half-scale View A, I decided it was too tent-like for my taste, so I thought I would sew up View B with the gathered skirt for myself. I bought some rayon challis to make the dress from, but then this crinkly rayon fabric I’ve had in my stash forever caught my eye. I’d never been able to figure out what to make with it.
The fabric shrinks up along the crinkles when it’s washed, but it can be ironed mostly flat. I wondered what would happen if I ironed the fabric flat before cutting out the dress, then let the wrinkles shrink back up in the wash on the finished dress. My hope was I would get a dress that was more figure hugging and less tent like. I barely had enough fabric to sew View A (without the gathered skirt), so I didn’t make View B like I had planned. I had no idea if this experimental dress would work or if my dress would be too tight, but I wanted to see what would happen.
I had so many problems sewing this dress because of this fabric. I ironed it, decided which was the right side and wrong side, and marked the wrong side. After I cut out one of the front pieces I decided I had somehow gotten the right and wrong sides mixed up. I don’t know how many times I flipped the fabric over trying to figure out which was the right side. In retrospect, I think both sides look the same! After all of that confusion I ended up with the button placket on the wrong side. Oh well.
Despite my marks on the wrong side of the fabric, I kept getting the wrong side and right side of the dress mixed up as I was sewing, too. The dress is also so nicely finished on the inside it wasn’t obvious which was the inside of the dress. I sewed the collar on the wrong way TWICE! This fabric doesn’t handle seam ripping very well, and the second time I’d actually trimmed my seam allowances before I realized my mistake. I almost gave up on the dress, but I decided to give it one more try. With the help of some Fray Check on some little holes, I finally got the collar on the right way. Now I’m glad I didn’t give up on it.
I came to the conclusion that marking the wrong side of the fabric doesn’t work for me. Somehow my brain just can’t handle it. For me, it makes more sense to mark the right side. That way my marks don’t get enclosed inside yokes and collars. Next time I’ll mark the right side. And definitely no sewing fabric that doesn’t have a clear right and wrong side when I’m tired!
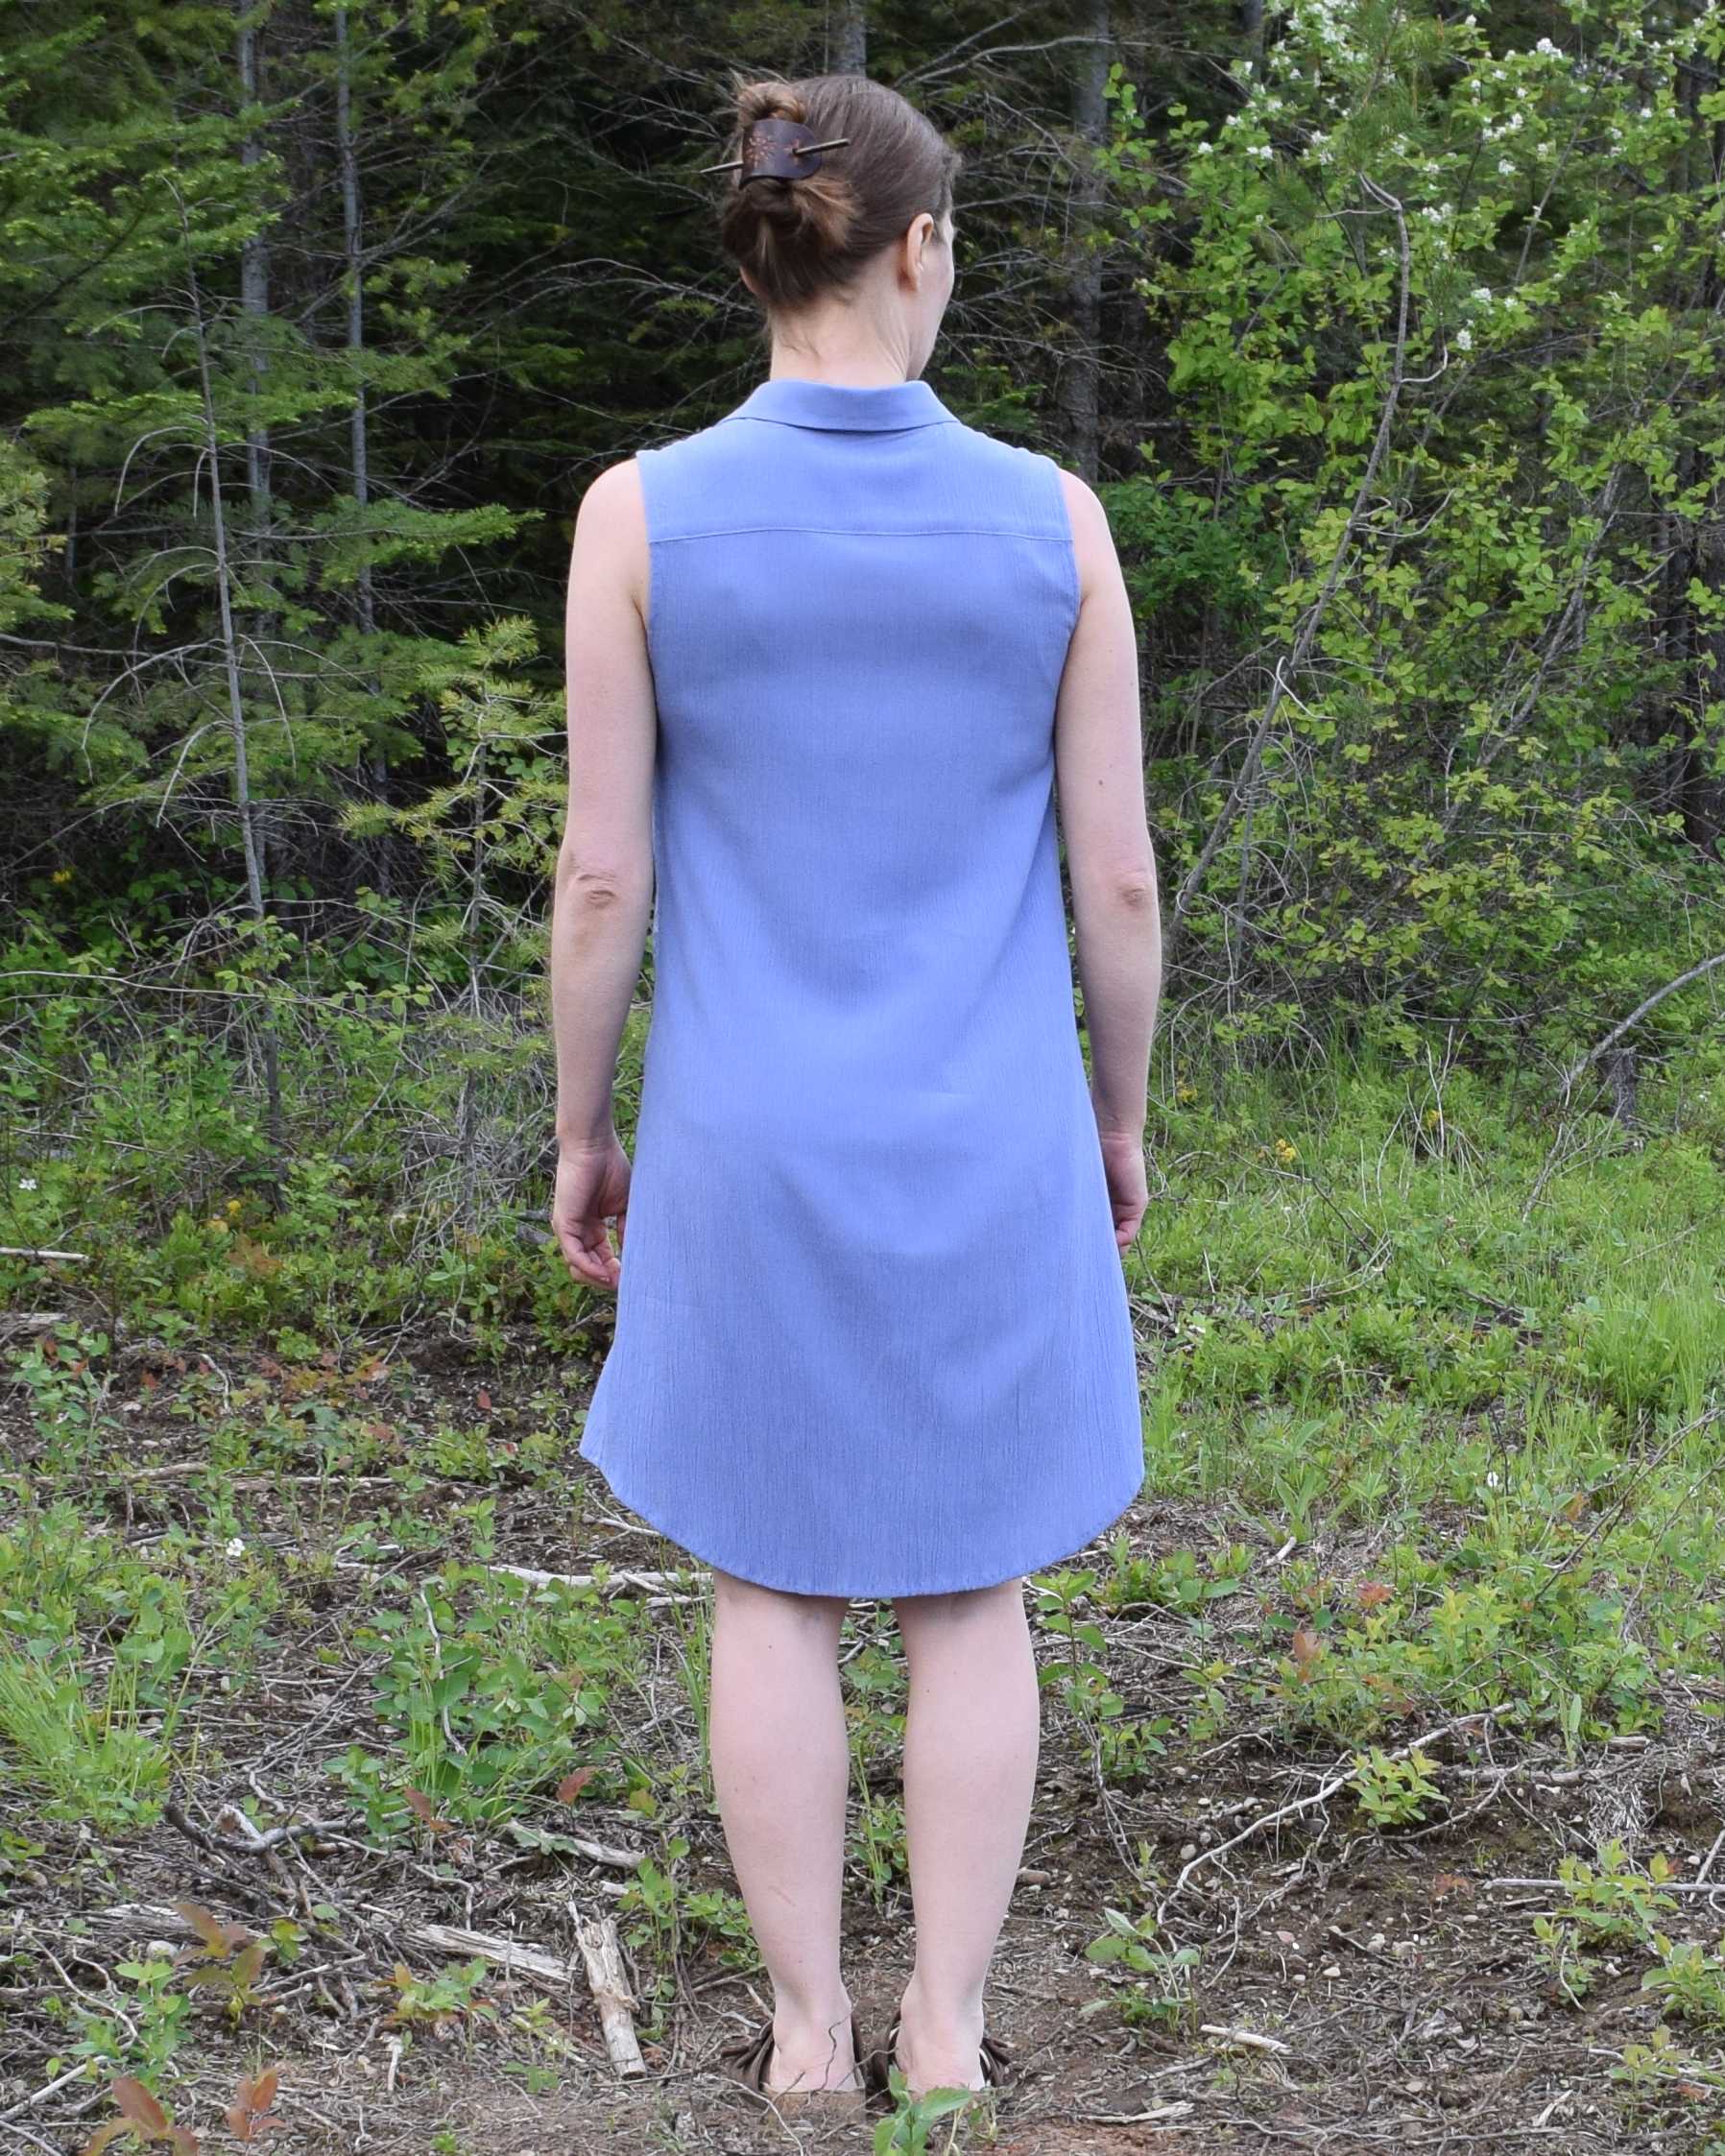
Since this dress was an experiment, I just sewed up the size that matched my bust measurement without any alterations at all. I’m 5’2″, so the hem ended up about knee level. It would probably look better if I shortened it a bit, but I’m always afraid of short skirts. Mid-thigh on a short person doesn’t cover as many inches of leg as it does on a tall person!


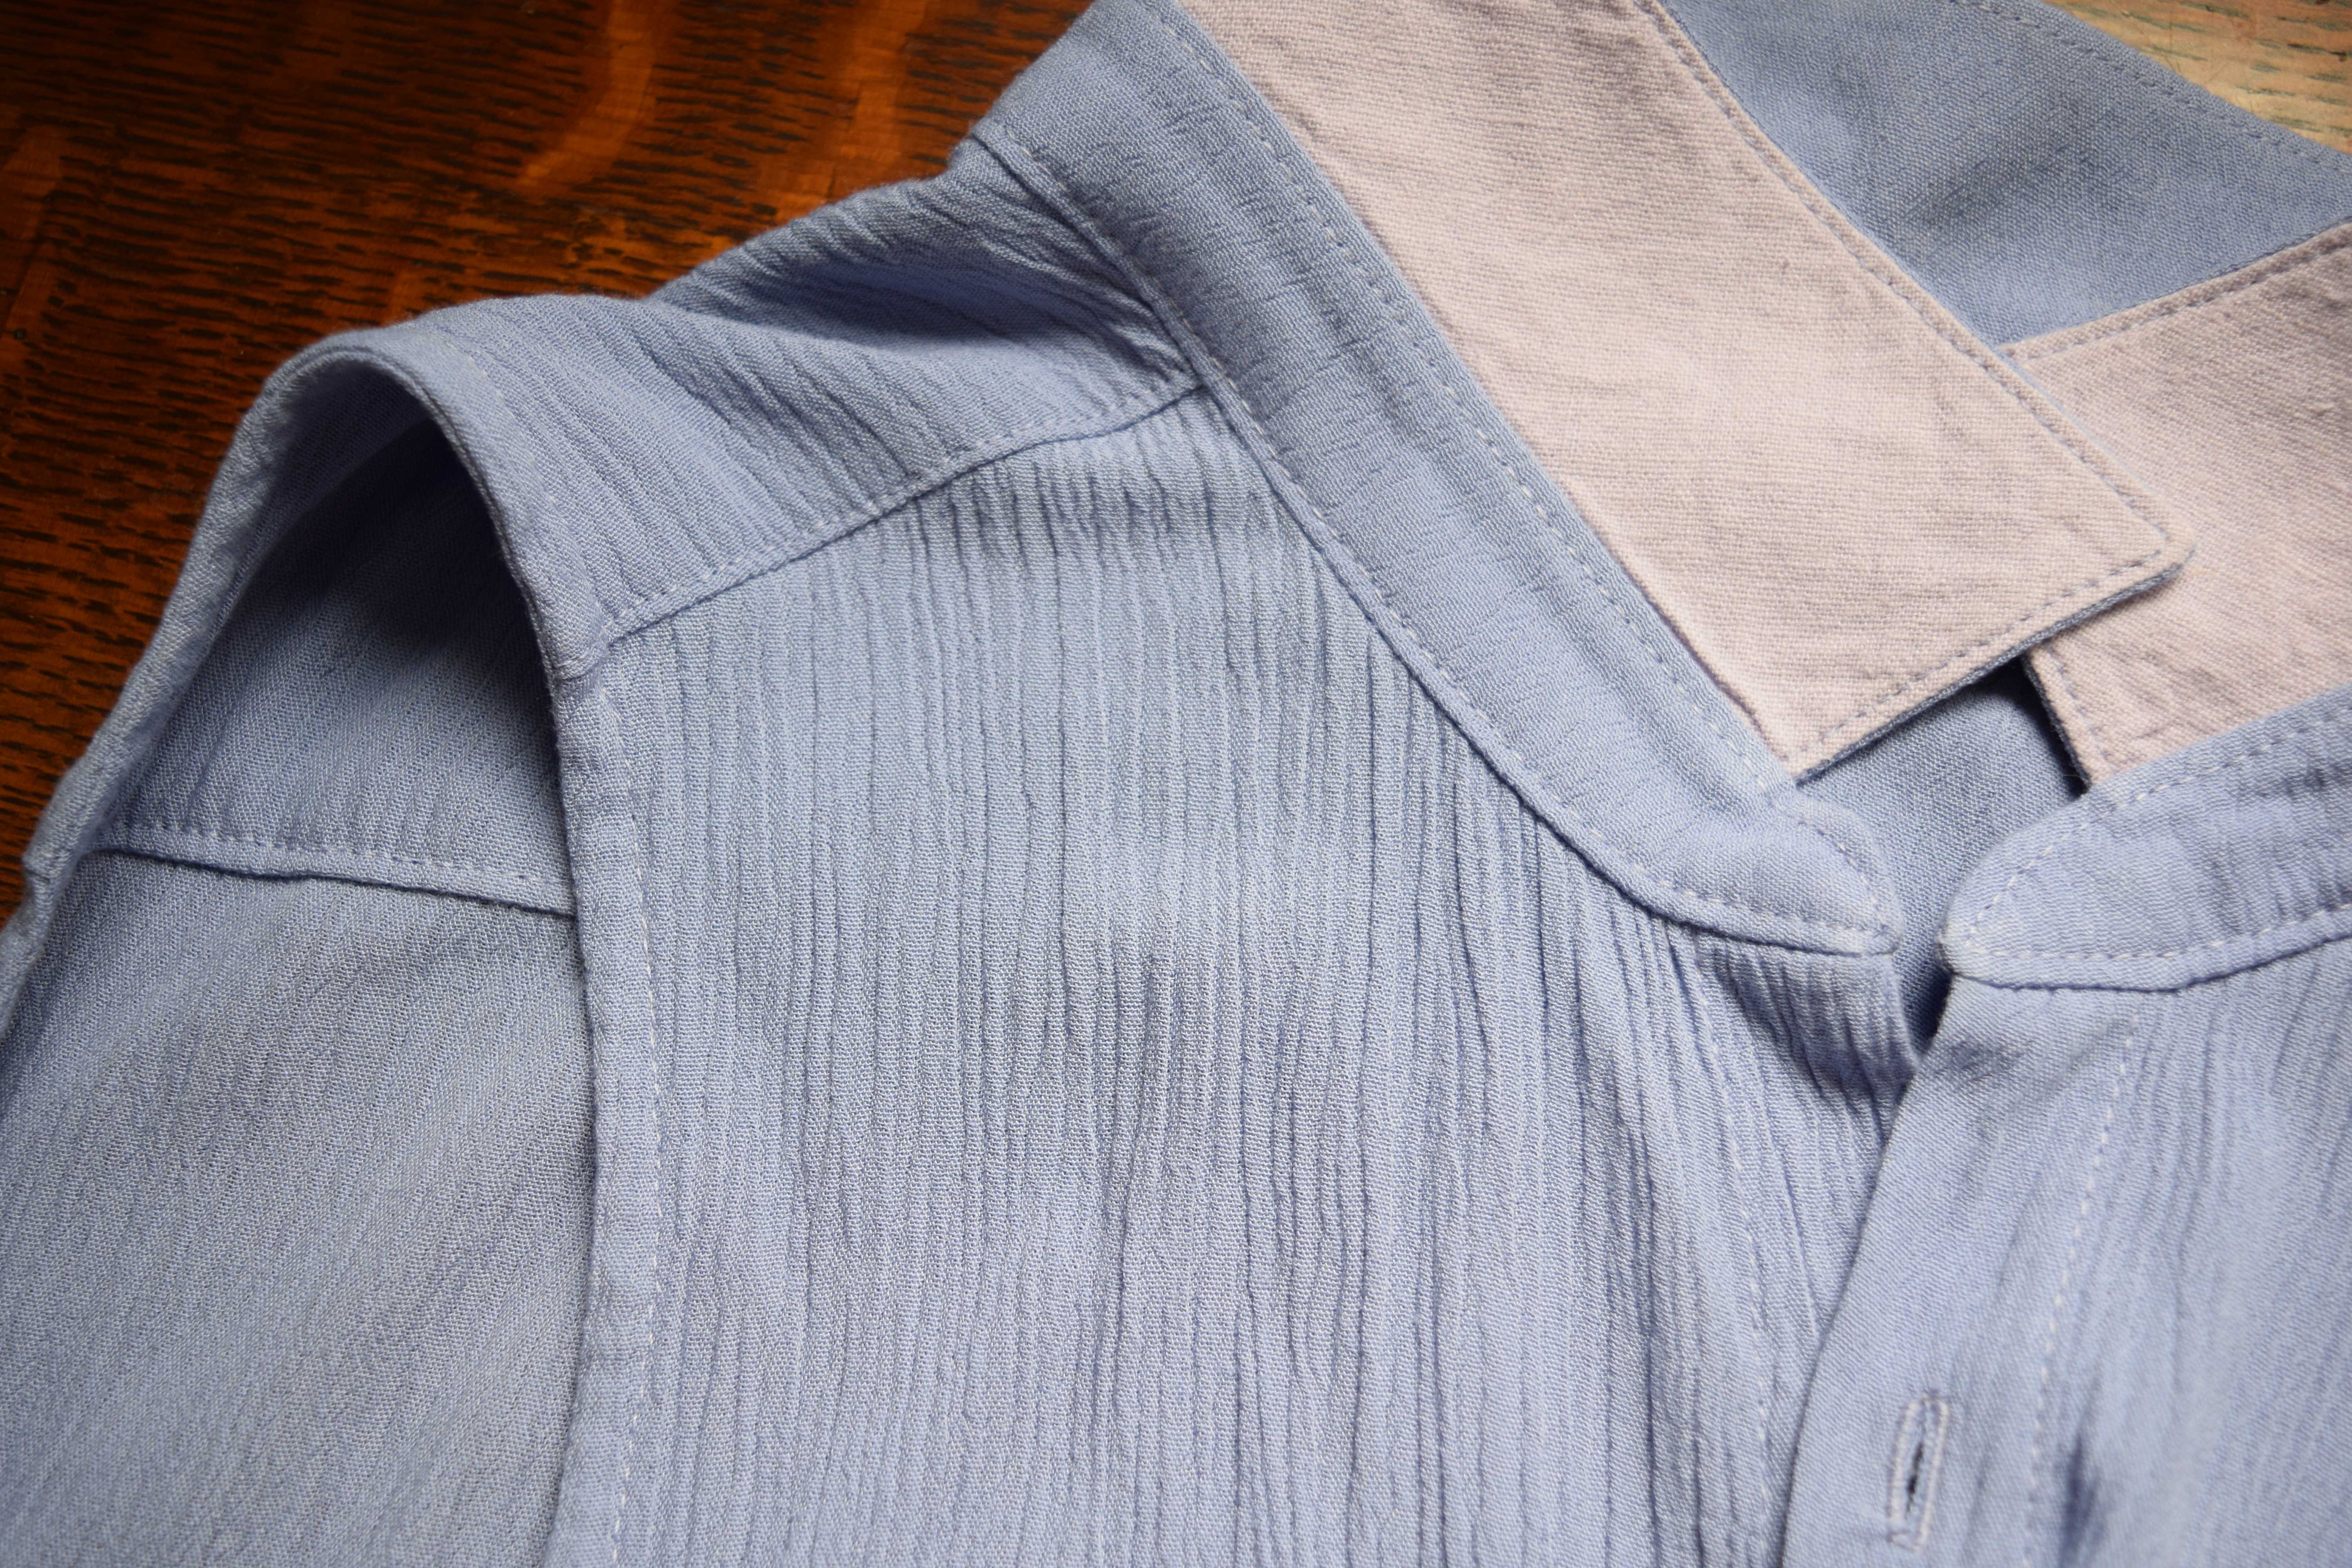
Here’s a close up of the fabric. I used linen for the undercollar to give it more stability.
I’m calling this experiment a success. I like the Alder dress in this fabric, and I expect I’ll wear it a lot this summer, but I don’t think I’ll use this pattern again. Shirt dresses with defined waists are more my style. I got McCall’s 6696 for my next shirtdress. Hopefully it won’t take me another year and a half to get around to using it!
 GrowYourOwnClothes Etsy Shop

I heard a rumour that the older Vintage Sewing Machines couldn’t sew silky fabrics correctly. You proved that wrong. Lovely work on your Alder!
LikeLike
It looks lovely on you! And I hear what you say about marking the wrong side of the fabric. That plays games with my brain too, so I always put stickers (low glue) on the right side of my fabric, with notes for the pattern pieces if necessary. Otherwise I just confuse myself!
LikeLike
Great reading your blogg
LikeLike