

I’ve always loved sewing on treadle sewing machines. Electric machines just don’t have the speed control, power at low speeds, and built-in foot massage you get while sewing with a treadle sewing machine. Except for my serger and cover stitch machines, I almost always use treadle sewing machines.
I’ve thought it would be cool to have a treadle serger, too. Not only so I could use it when the power was out, but also to have the slower speed and better speed control for tricky curves, which I can never manage to sew perfectly on a high speed electric serger. And you know, just for fun. We all need more fun these days.
I did try removing the motor belt from my old serger, and I ran a treadle belt over the hand wheel. It sort of worked, but the belt slipped a lot, so I gave up on that idea.
I was excited when I stumbled across a Baby Lock BL3-407 vintage three-thread overlock machine from the 1970’s. It has a removable belt cover that can be taken off to expose the belt groove on the hand wheel. The groove sticks out past the edge of the body of the machine so you can easily power it with a treadle belt.
I made a wooden platform to go over the hole in my treadle table, removed the rubber feet on the serger, and screwed the machine directly to the platform with the screws from the feet. I made the platform tall enough that I could use the same belt I use with my sewing machine without removing or adjusting the belt.
In case you are wondering about the clear belt, it’s aquarium tubing. I’ve found I prefer it to the leather belts. It’s grippy and just a little stretchy, which allows the same belt to be used with multiple machines that are not exactly the same height. It’s perfect for my MUTT (multi use treadle top).

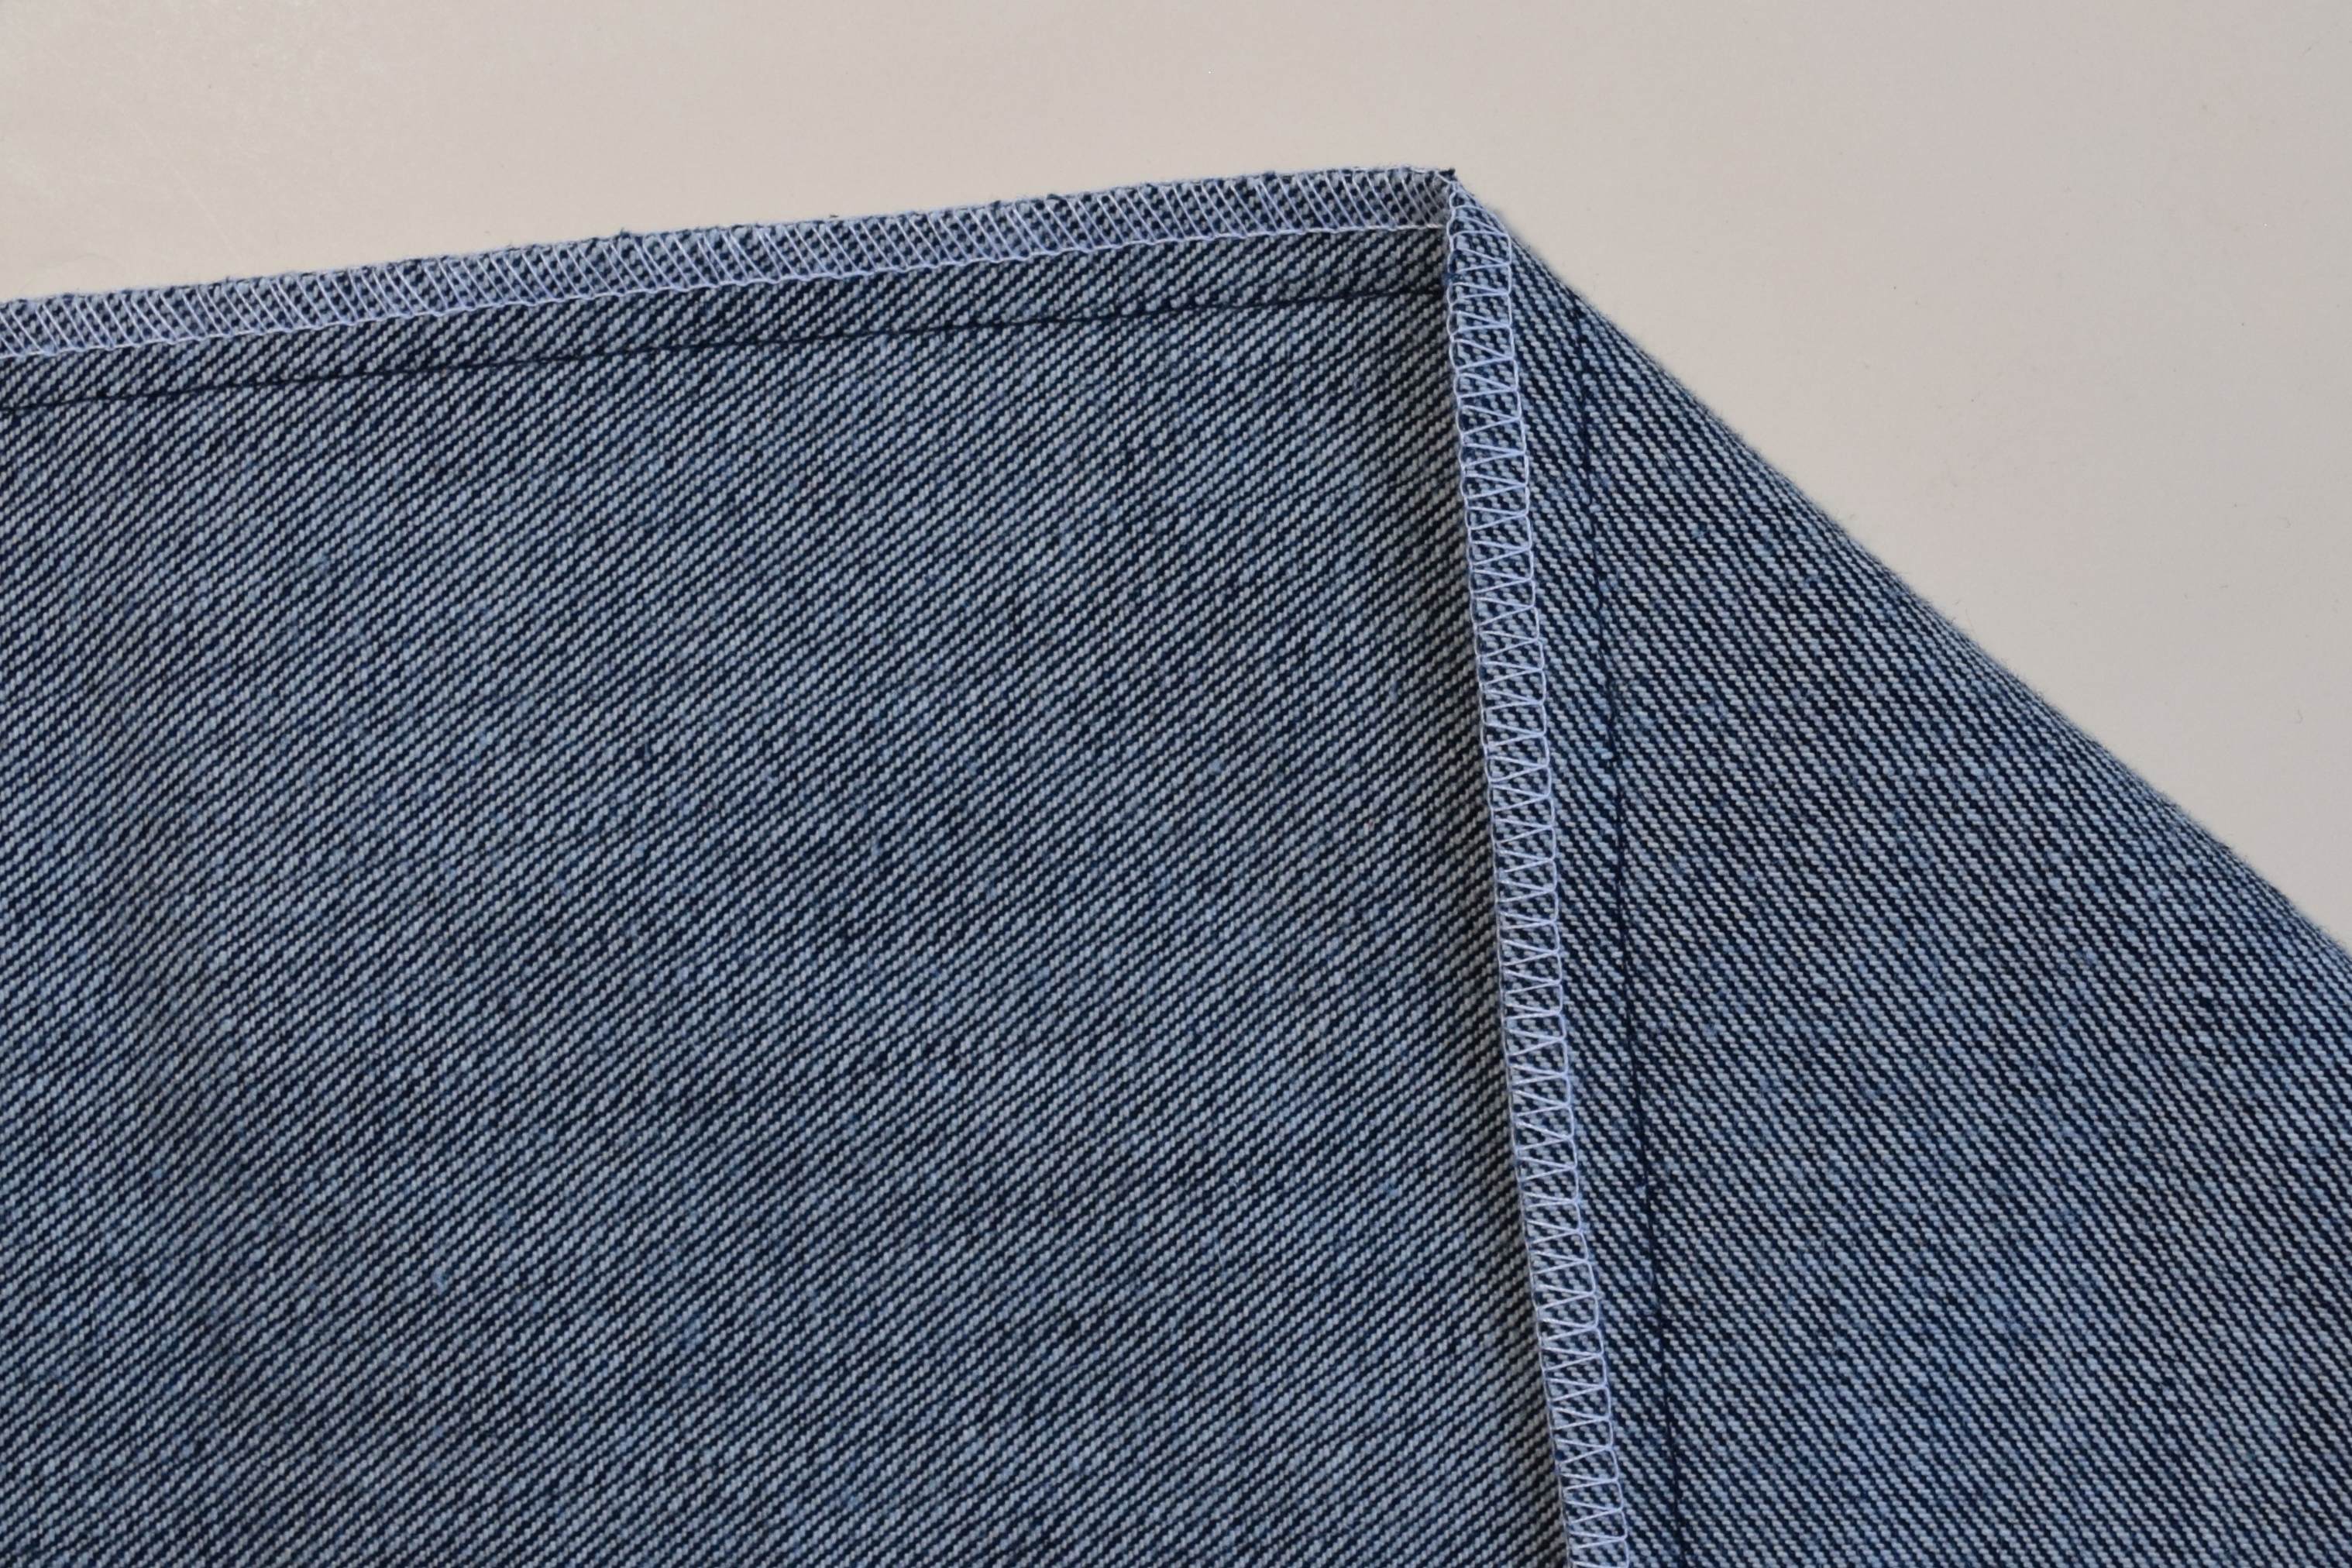
I gave my treadle serger a good test by using it to make two pairs of jeans. Aside from the fact that the knife doesn’t lift very high and I had to hammer and pre-trim the seam allowance on the bulky seam intersections and pocket areas of the side seams, it worked great. The pre-trimming isn’t a big deal, since I seem to remember I had to do that with my other sergers too when sewing jeans out of heavier weight denim.
I might be using this machine on a regular basis, and not just when the power is out. It was pretty fun to treadle.
It makes nice stitches:
I can’t stand flimsy plastic modern sewing machines, but I’d never wanted a vintage serger before since they don’t have differential feed. I do like how sturdy and mostly metal this vintage serger is. I figured maybe I would use the vintage Baby Lock serger just for wovens, and leave my modern Juki MO-654DE set up with ball point needles for knits.
A little side note: When I experimented with using the vintage serger on knits, I found that reducing the presser foot tension to a very light setting let me sew knits without stretching out the fabric too much. I realized that I (and I suspect most other sewers, too, since I haven’t come across this advice anywhere) have been overusing differential feed on knits.
When you turn up the differential feed, it has the effect of increasing the needle thread tension, making your stitches more likely to break when you stretch your seam. Not what you want on stretchy knit fabrics! So reduce the presser foot pressure first, and then you won’t need to turn up the differential feed as far, which will give you a stretchier, stronger seam.
When I got my vintage serger, it didn’t have a manual, and I couldn’t find one online. It was making a really narrow stitch, which I wasn’t sure how to adjust, so I hunted some more and eventually found a scanned copy of the BL3-407 manual (search on that page for “dropbox” to find the link down in the comments).
After reading the manual, I realized my machine only had the rolled hem throat plate, not the regular one 😦
So, since replacement throat plates are no longer sold, well, the only thing to do was buy another serger. And there just happened to be another one on eBay . . . So yeah. Now I have two machines. It’s always good to have a spare vintage machine for parts anyway, right?
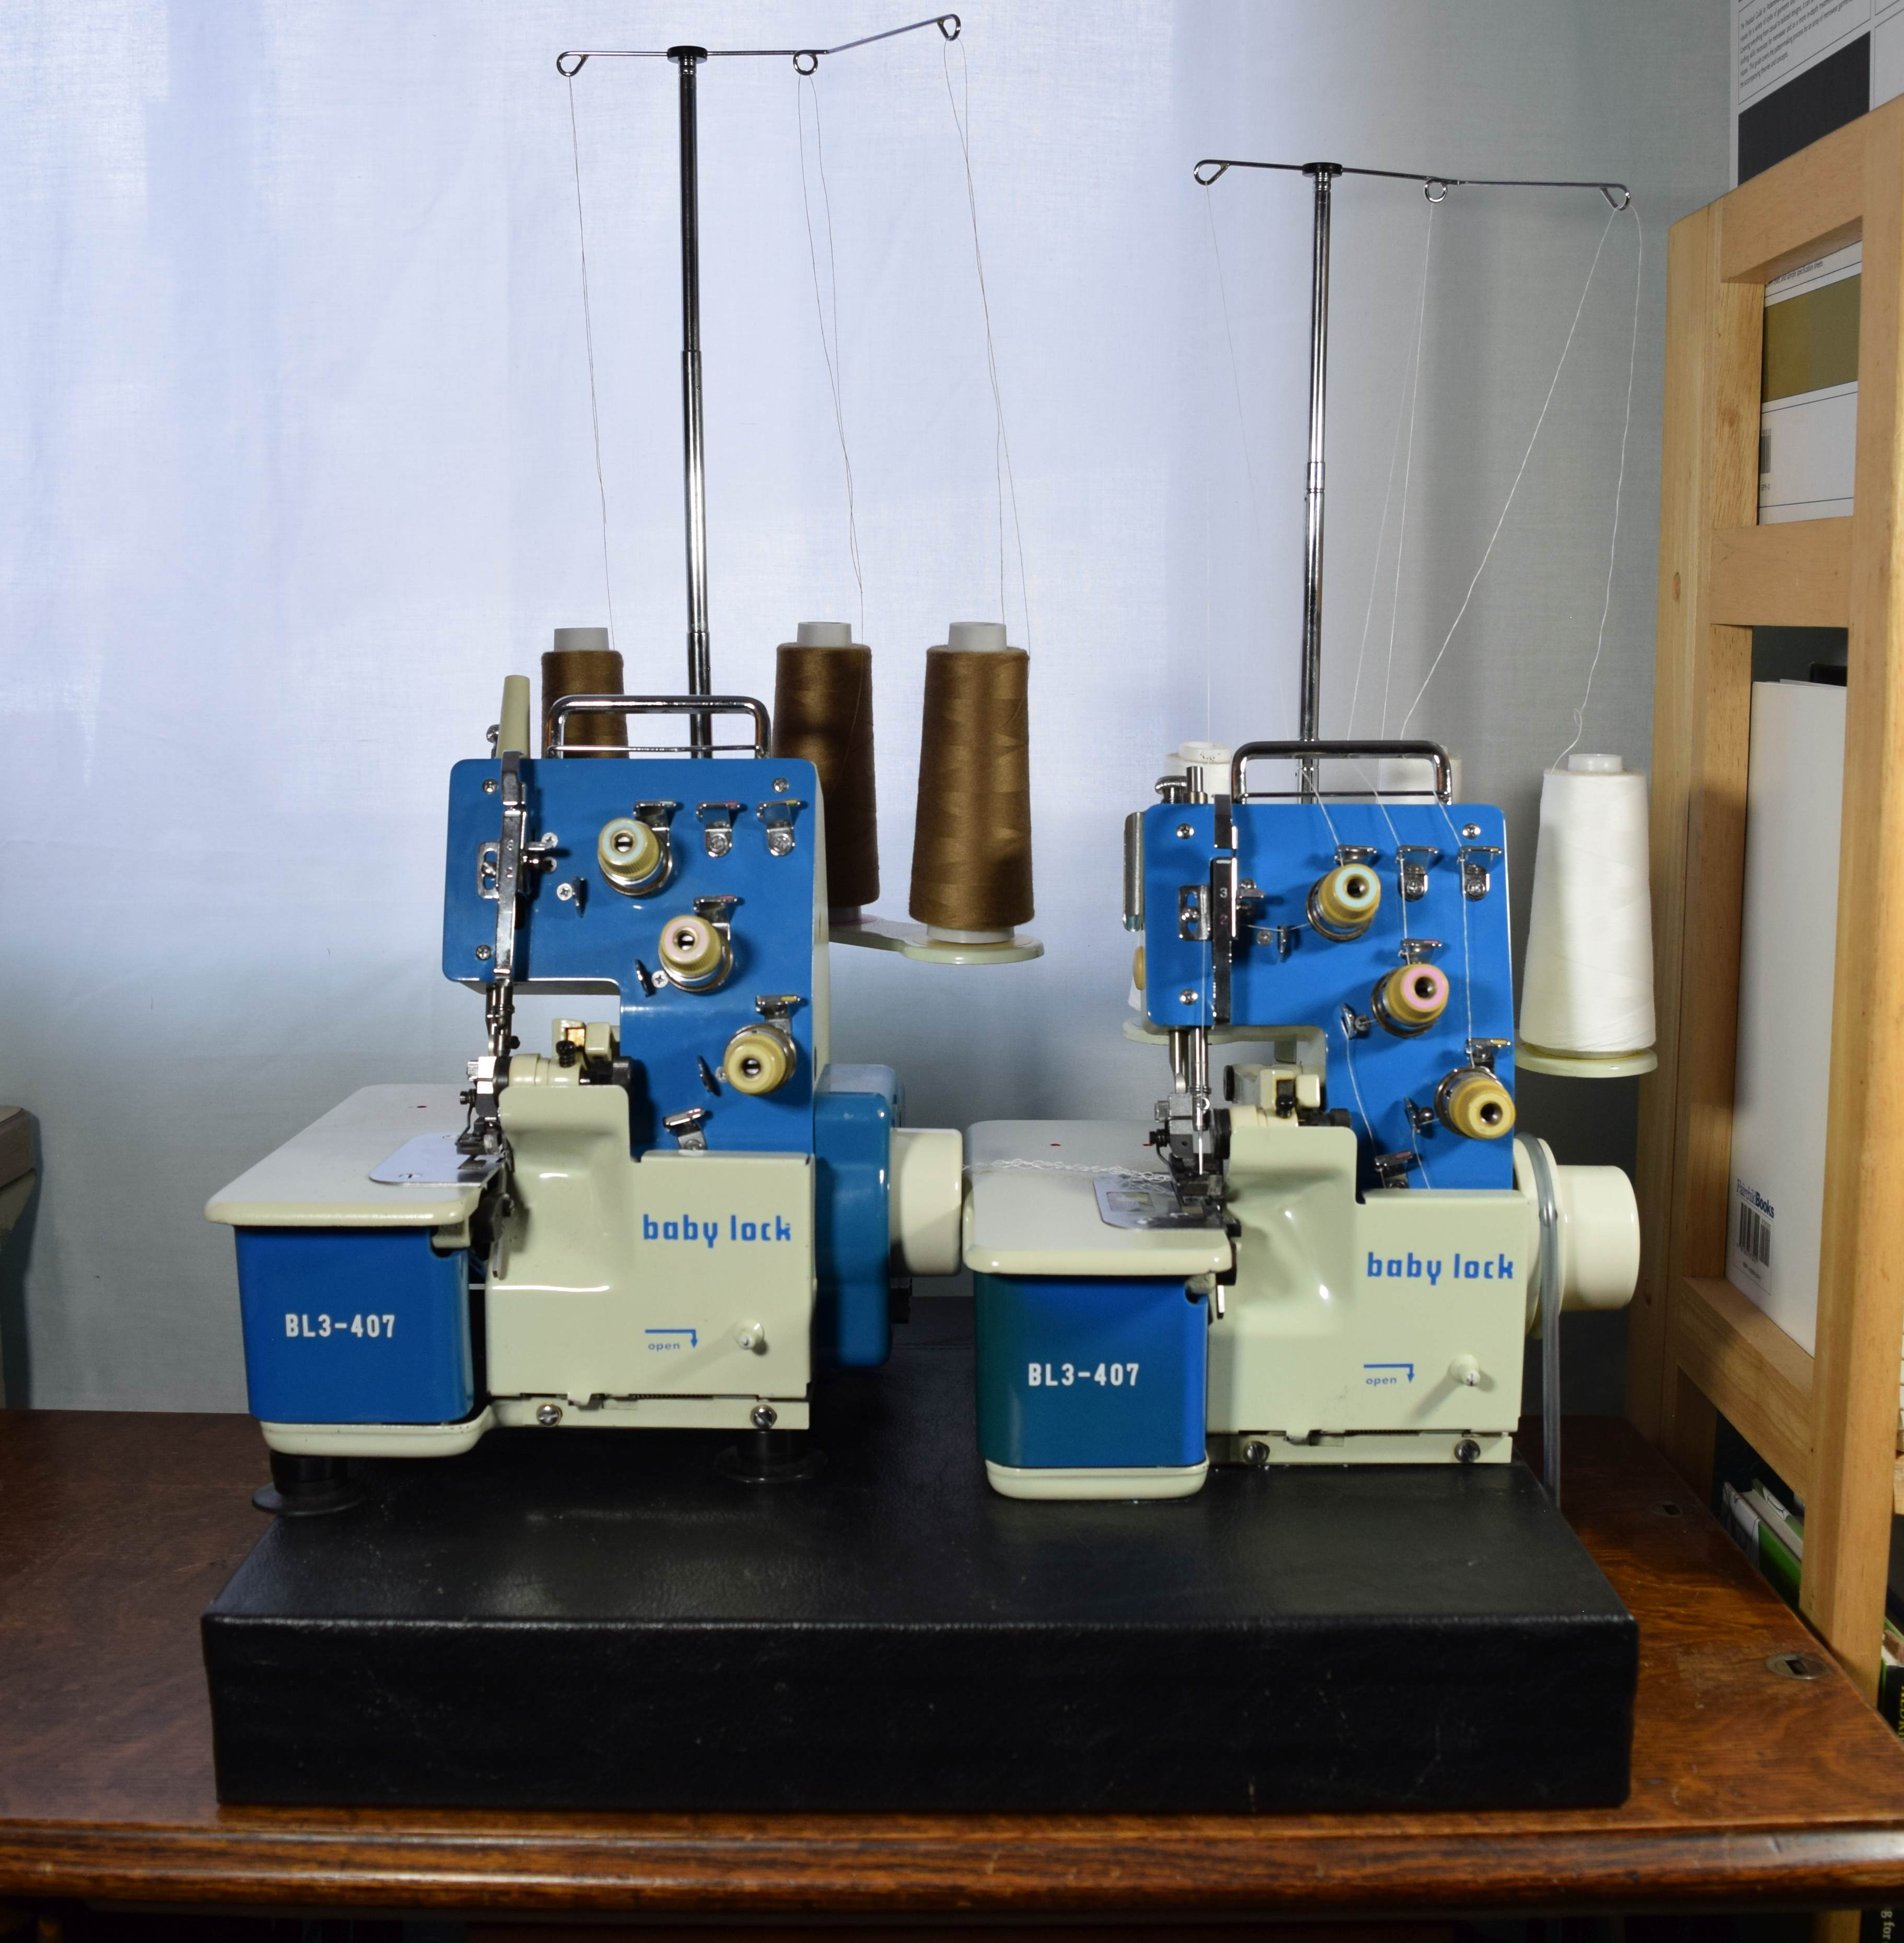
That’s the rolled hem plate on the machine on the left, and the regular throat plate on the machine on the right:

Speaking of working on this machine. There is this really cool line in the manual: “This machine is basically designed to require no difficult, professional adjustments.” Quite a contrast to modern machines that try to keep you out of the insides and make you take it to the dealer for any servicing.
With a vintage serger, the first thing you will want to do is open it up and clean and oil it. To get to the insides of this machine, you take off the bottom cover and front cover. The front cover is removed by taking out the five screws on the corners. Then you have to turn the hand wheel just right so the needle thread take-up lever is in the right spot, and jiggle the front cover until it comes off.
Clean out all of that lint and put a drop of oil anywhere two moving parts touch, oil the felt at the top that connects to these weird wicks that dangle down, and put it back together. Not too bad. Oh, yeah. Except before you do all that, remove the needle and flip the upper cutting knife up so you don’t accidentally ruin your knives if the lower knife slips out of place while cleaning or adjusting . . . ahem. Well, at least my knives needed replacing anyway and you can still buy them. I also found out you can still buy replacement parts for that little clear plastic bit on the presser foot, but super glue works really well on it too (another casualty of the knife slipping out of place).
So aside from my incident with the knives, cleaning and oiling wasn’t too hard, but here’s where it gets a bit bothersome. Now I know why sergers have such a bad reputation for being complicated to use. It must have started with these early machines.
The manual says the BL3-407 has “adjustable stitch width,” and I didn’t want 3.5 mm wide stitches. The manual says 3.5 mm is the standard width. Yeah, maybe for doll clothes.
To adjust the stitch width, you have to flip the upper knife up out of the way, loosen two small set screws, one of which is hard to get to, adjust the position of the lower knife, making sure it is level with the top of the throat plate, tighten the set screws really tight, then loosen a screw on the throat plate to adjust the stitch finger width. I had to fiddle with the stitch finger width a bit to get the stitches to form consistently.
Adjusting the stitch width is not something you are going to want to do more than once, not only because it is awkward and time consuming, but also because you want to avoid turning those set screws too many times. Eventually you’ll strip them out, even with the proper size hollow ground screw driver, since you have to get the screws very tight to keep the knife from slipping out of place. It really makes me appreciate that stitch width knob on my modern serger.
 GrowYourOwnClothes Etsy Shop

Thanks so much for another informative email, fun to read, too. It is easy to see that you are not only adventurous but also that you are fun, too!
LikeLike
Thank you for this post. That serger hack is amazing. You didn’t mention how you secured the end of the tubing, but wow, I love it!
LikeLike
I drilled small holes through both layers on each end and used several strands of topstitching thread to sew them together.
LikeLiked by 1 person
Gosh, your AMAZING! th6ank you so much for this…….i h6ave just scored this model babylock and i know how great they are, and quiet! i was going to sell my art nouveau model singer treadle but now i will keep it and try and convert the babylock to treadle as its so much more of a peaceful way to sew. I would NEVER have thought to do that. You should have been an astronaut ( maybe you are.. one…on holiday…..lol) luv from sew Mo, new zealand.
LikeLike
A few people have asked about using aquarium airline tubing for a belt, so I wrote a post on how I use it: https://growyourownclothes.com/2022/04/04/aquarium-airline-tubing-for-a-treadle-belt/
LikeLike
This was an interesting read about adapting a vintage serger to be treadle powered. The level of detail provided about getting it set up and adjusted is helpful for anyone considering taking on a similar project. It’s always fun to find creative ways to use older machines. Thanks for sharing the process and tips – posts like this help preserve skills and knowledge around maintaining vintage equipment.
LikeLike
Thank you so much for this. I’d never thought of getting a serger because I’d never thought about running one on a treadle and I live off-grid. I bought one of this model and am having fun learning about sergers. I tried adjusting the stitch width but the throat plate tongue seems to interfere with being able to move the upper knife up and down. And now my lower looper is hitting the needle. At one point it hit and deflected in front of the needle. I adjusted the guide thinking it was pushing the needle back (I can see a groove on the front of the needle guide where it’s been rubbing. Next thing I want to try is getting a new needle. I’m a little confused by needle model numbers. Then I will see if I can find a reference to compare the lower looper to, to see if it might be bent. I’ve worked with metal so a little bending or a little sanding would be possible. But I want to be careful, of course.
LikeLike