
I meant to come up with a favorite tip for each year, but I couldn’t think of one last January. This year, however, I came up with a really good tip. In fact, this may be the best sewing tip ever. And it’s so simple it’s mind blowing.
Here it is:
Pin diagonally. Not perpendicular to the seam. Not parallel to the seam. Diagonally.

Apparently, there is some great debate about whether pinning perpendicular or parallel to the seam is better. I’ve always been a perpendicular pinner, because that’s what my mother did. I never even thought about it. Then I watched Kenneth King’s Craftsy (now Bluprint) classes, where he advocates pinning parallel to the seam, so I decided I’d do a test to see which I liked better.
I’ve always pinned parallel to my seams when matching dart legs, but I hadn’t tried it on a whole seam. After trying pinning parallel along the seam a couple of times, I decided it was not for me. Yes, pinning this way keeps your fabric edges aligned better, but it’s harder to match seams or stripes, it’s harder to remove the pins, you can’t sew as close to the pins, and worst of all, I stabbed myself with pins every time I tried it.
Then one day, I think when I was pinning down a bias binding, which is kind of bulky, I had a pinning epiphany. When you pin at a 45 degree angle to the seam, you get the benefits of both parallel and perpendicular pinning, without the drawbacks of either, plus a couple of additional benefits.
Here are the benefits of pinning diagonally:
- The pins slide in more easily.
- The fabric is distorted less.
- It’s easier to pin through bulky areas.
- You can sew close to the pins before removing them.
- The pins are easy to remove.
- The fabric can’t shift either side to side or along the seam.
- You can easily match stripes or seam lines.
Here’s how I match a seam or stripe.
First, measure in the width of your seam allowance and stick a pin vertically through both layers of fabric, matching the seam or stripe right on the stitching line.
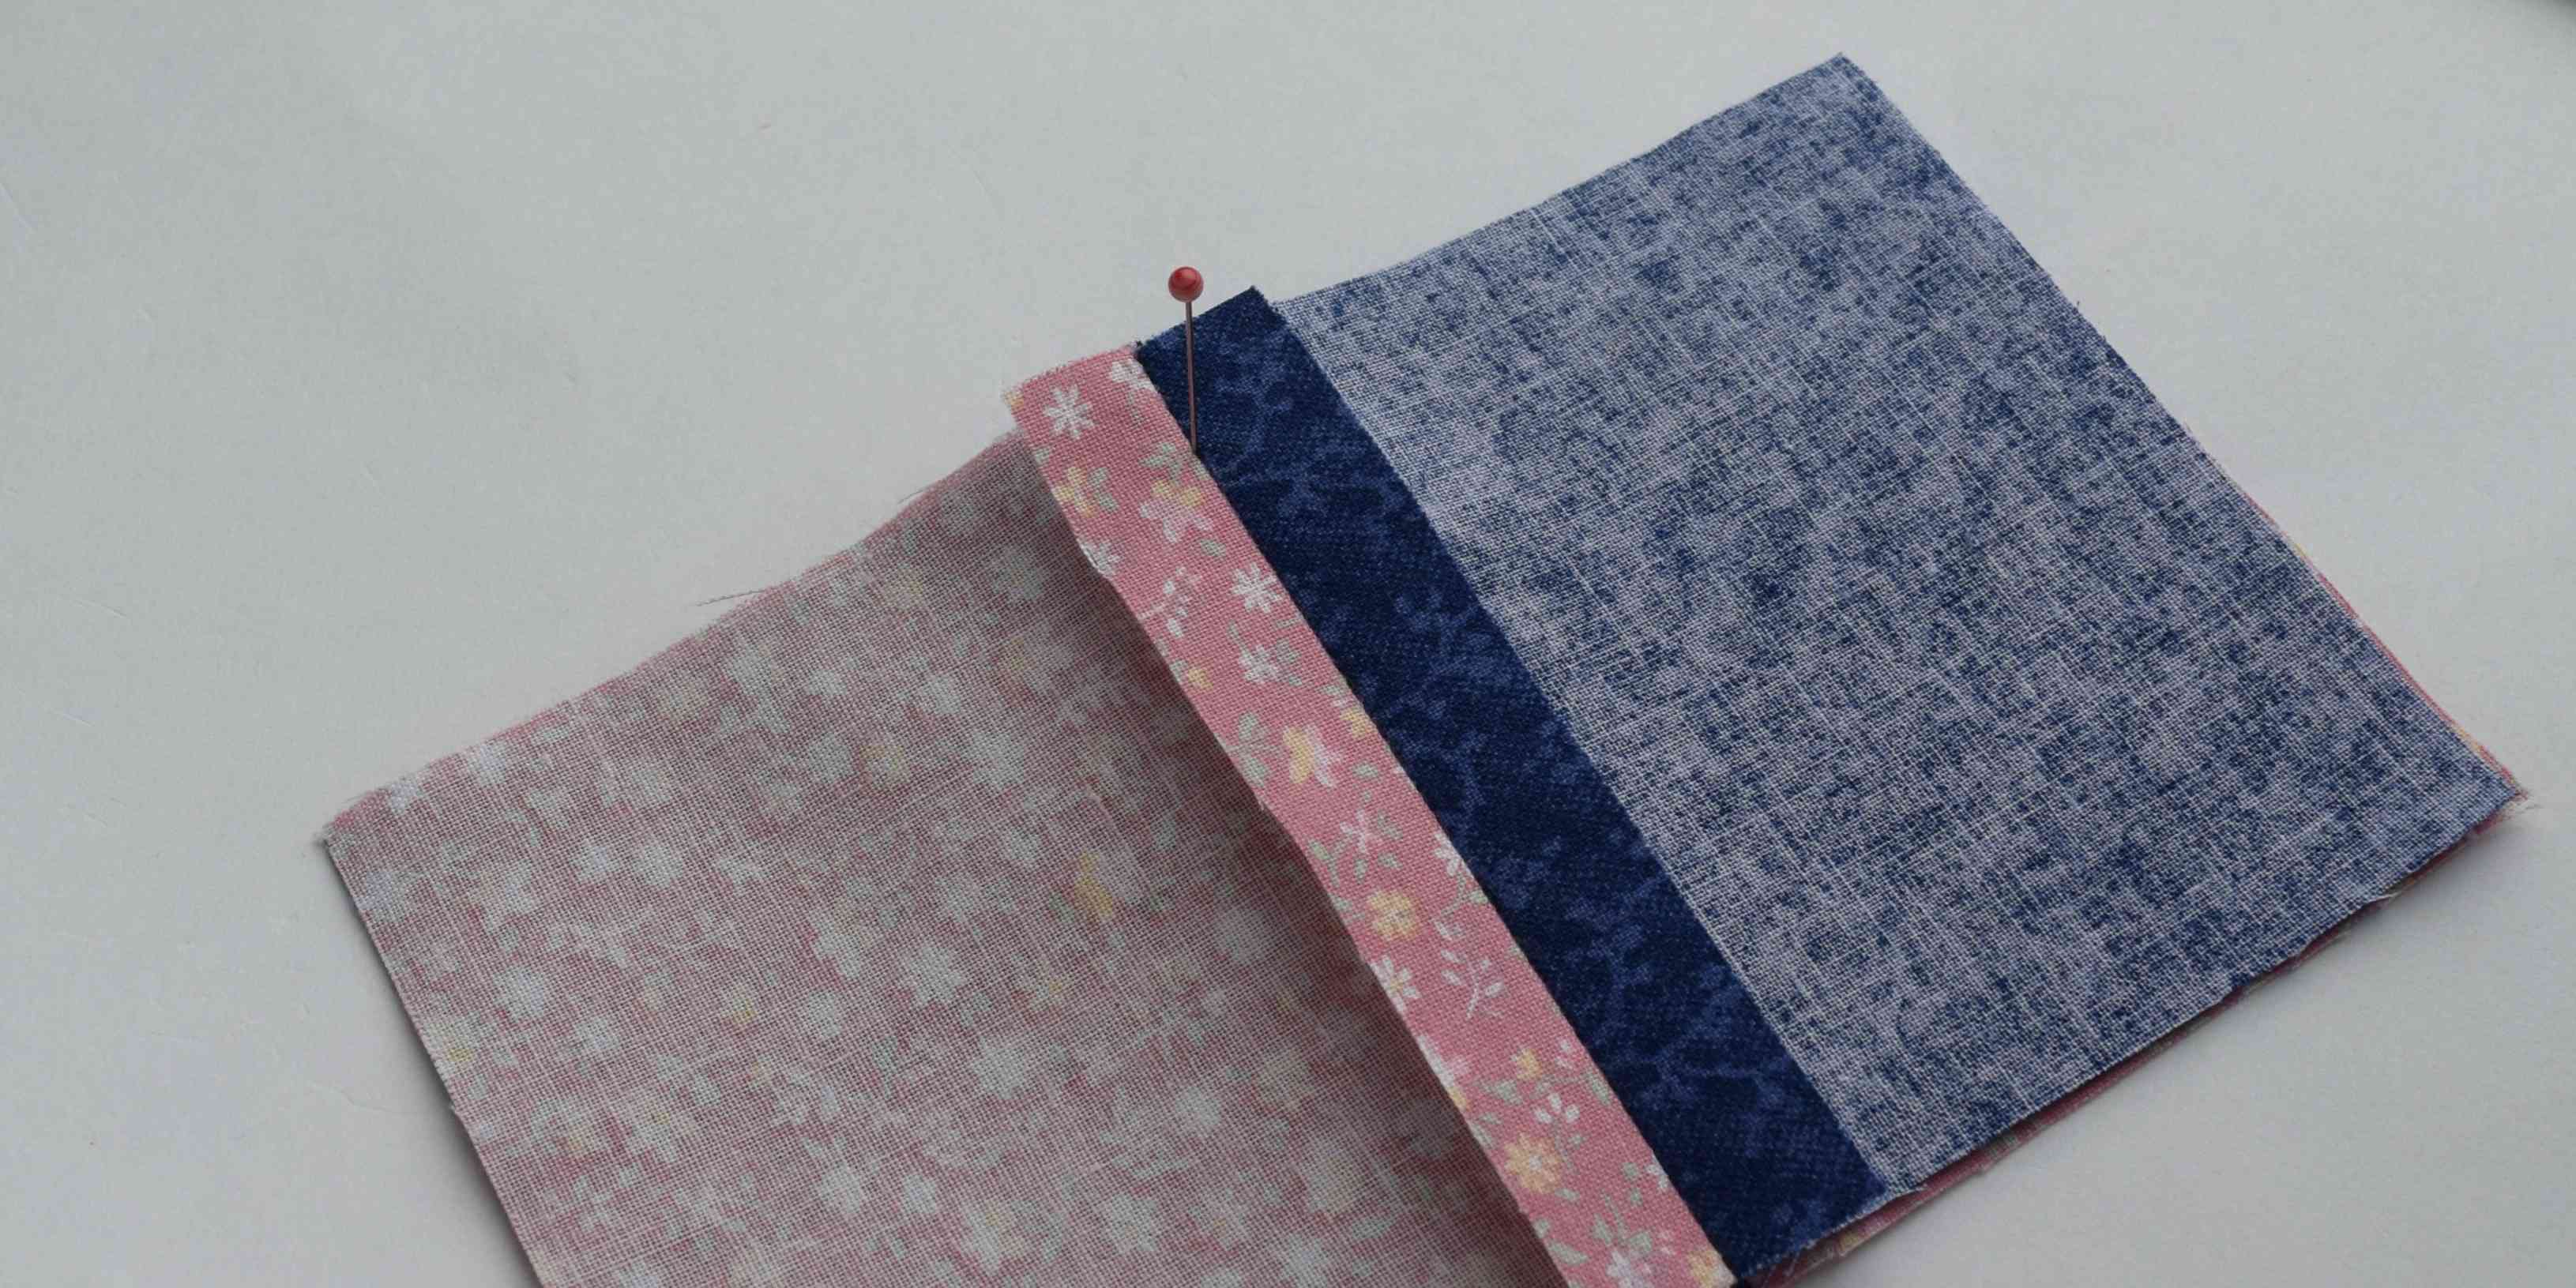
Now put a diagonal pin right on either side of the vertical pin, making sure the first vertical pin stays straight.
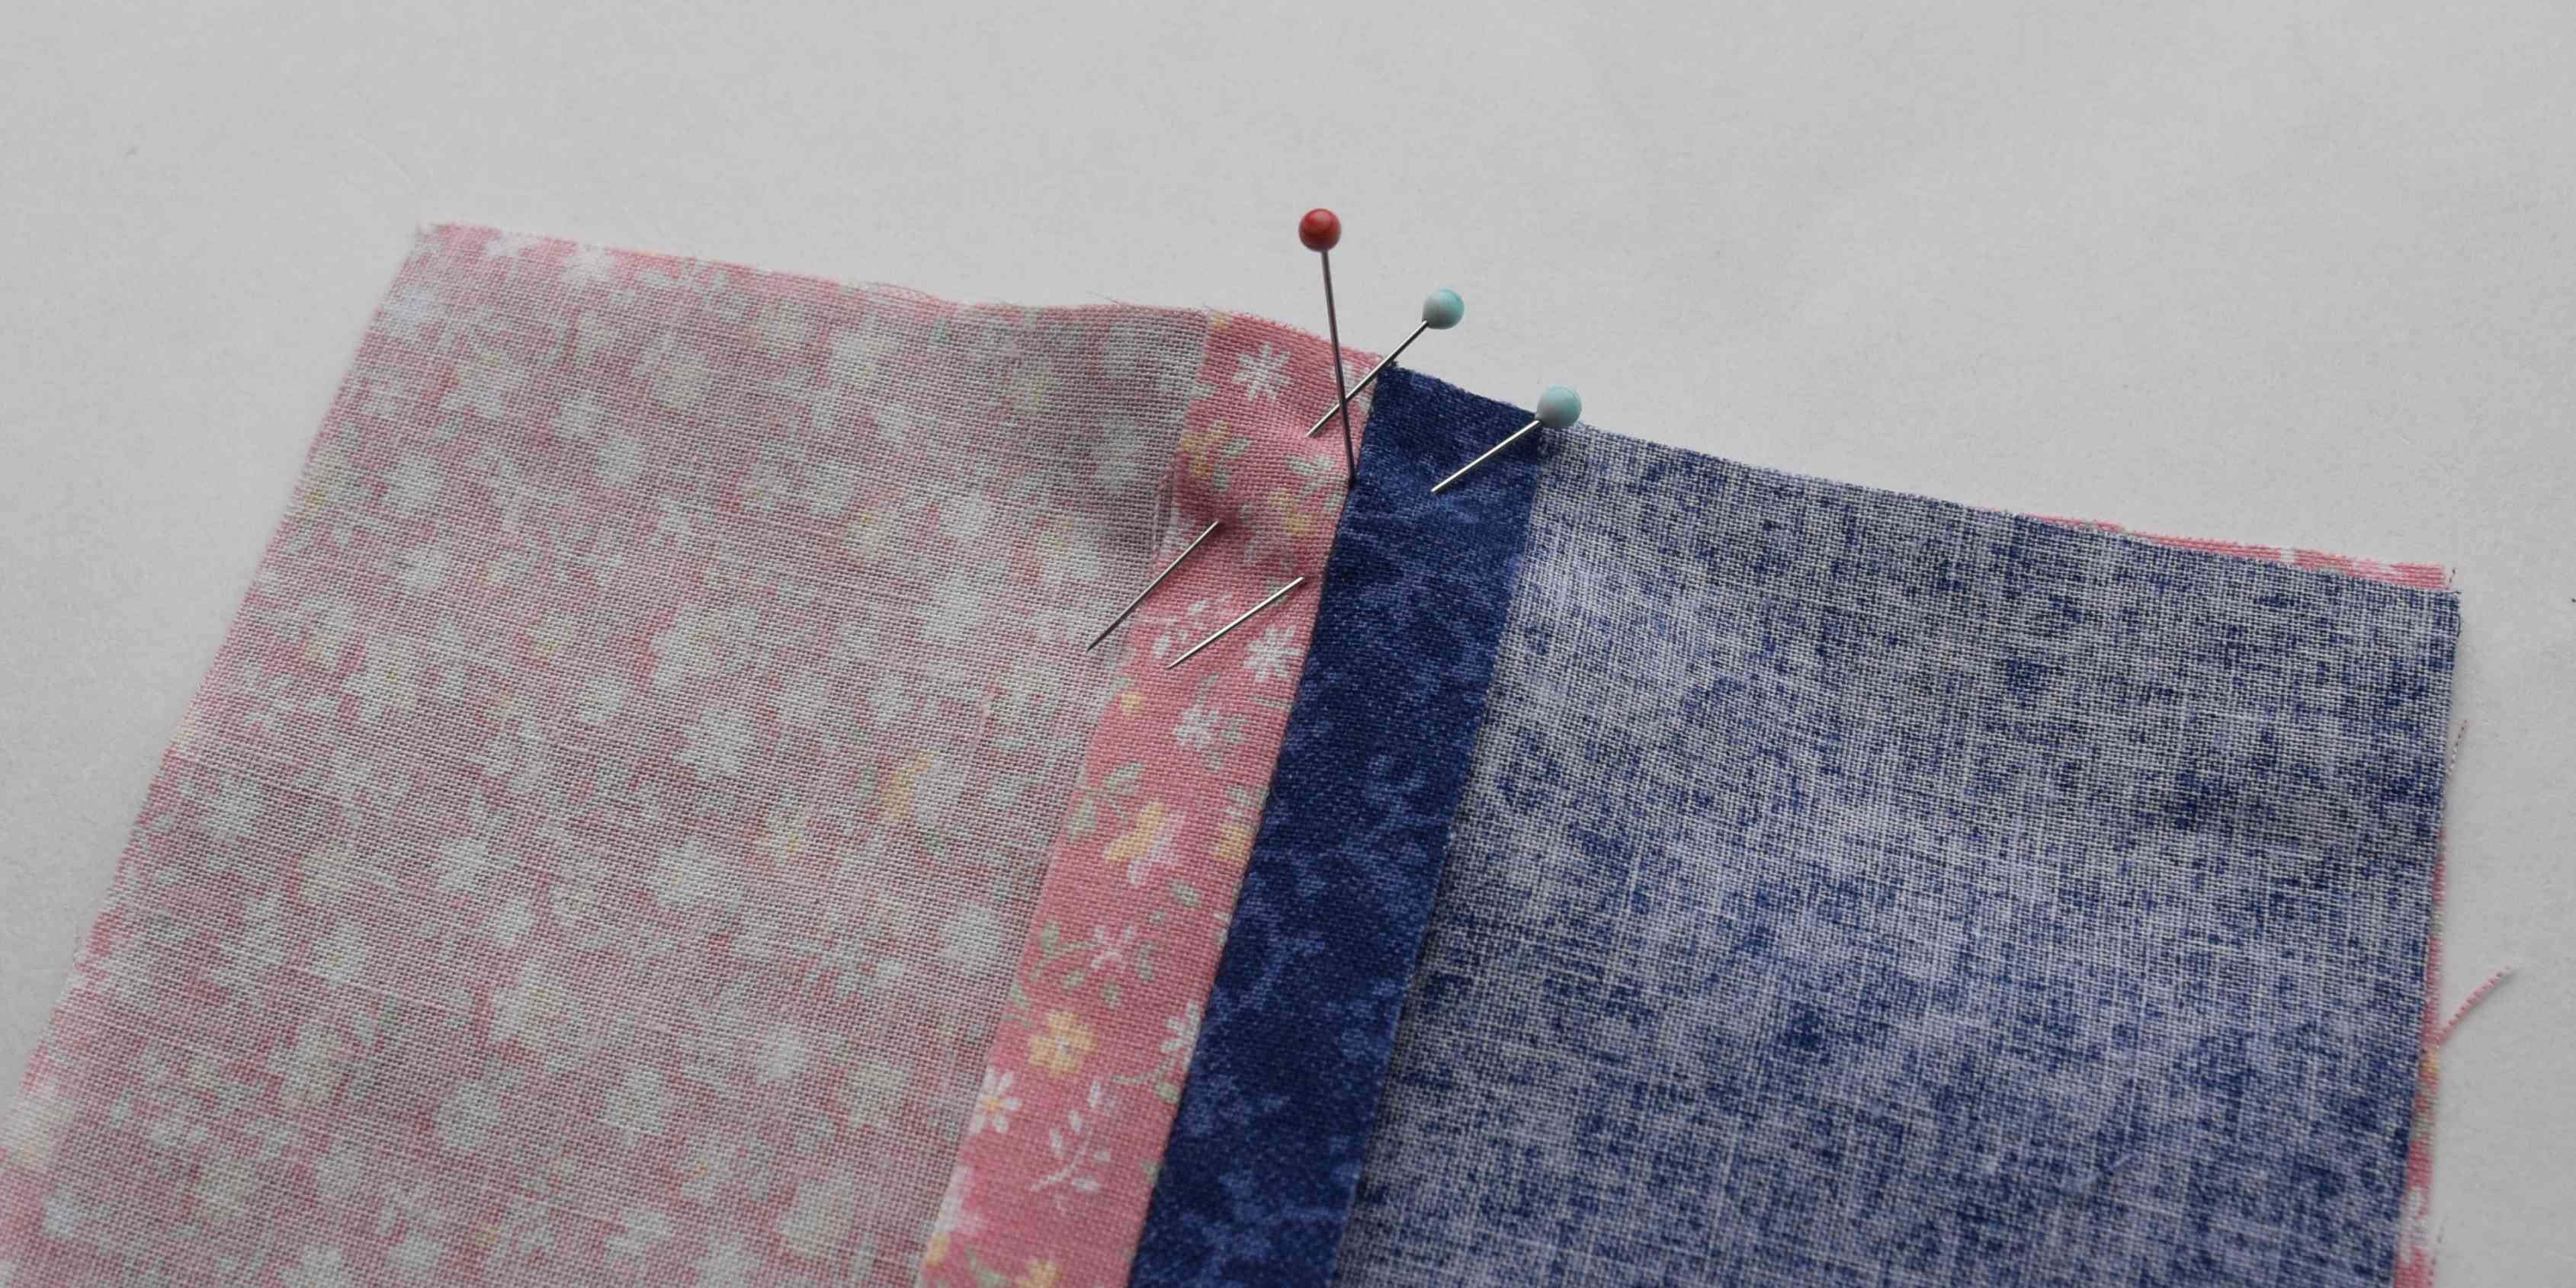
After those pins are in, remove the vertical pin and put it in diagonally right over the match point. Finish pinning your seam.

When you sew the seam, sew right up to the pins near the match point before removing them.
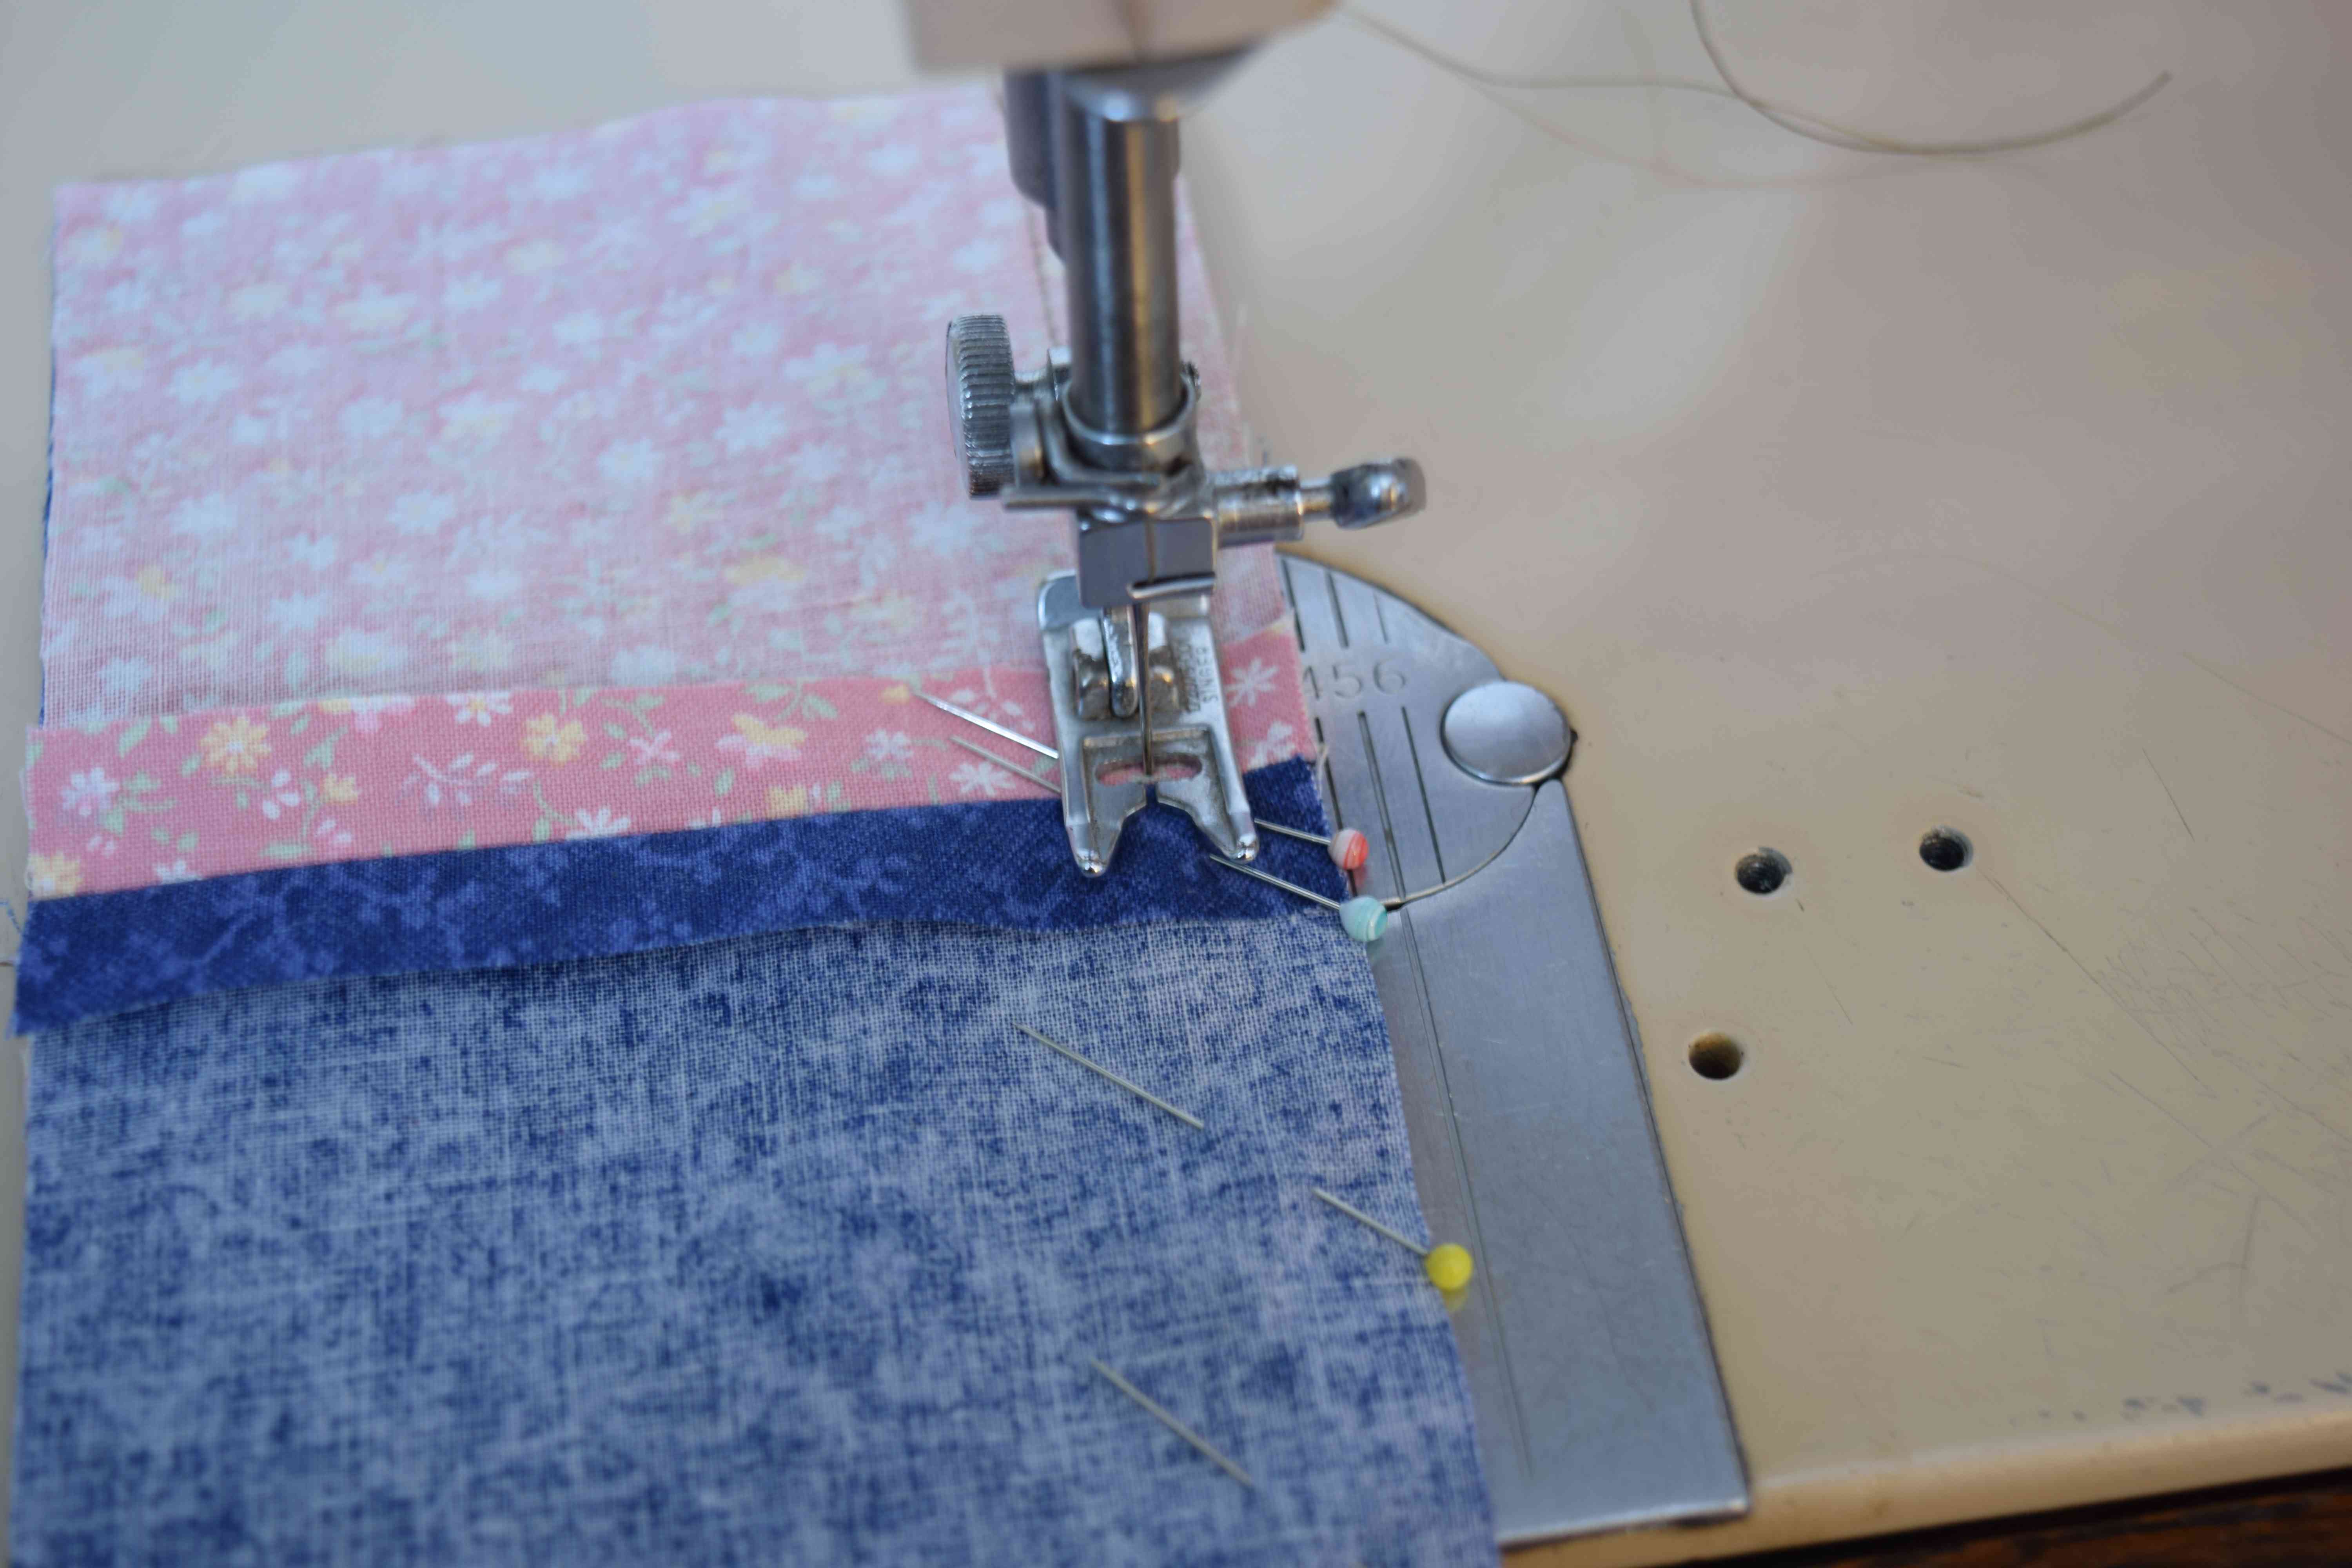
Every time I do this I’m amazed at how well my seams match. I always had problems matching seams before I tried it this way.

While I’m on the subject of pins, I thought I’d share my recently discovered favorite pins with you. I’d been sewing with the same old pins for over twenty years, and then when I kept trying to replace them, I ended up with a whole drawer full of dull pins. I am so frustrated with the poor quality of nearly everything these days.

Links in this post identified by an asterisk (*) are affiliate links. If you click through and make a purchase, I will earn a commission (at no additional cost to you). UK* and CA* are links to the UK and Canada Amazon sites.
Finally I bought Clover Marbled Glass Head Pins* (UK*, CA*). These are absolutely perfect for garment sewing. They are 36 mm long, 0.5 mm in diameter, sharp, and you can iron over the glass heads without melting them. They slip right into fabric, but aren’t so thin that I’m constantly bending them. [Edit: After using these pins for a while, I realized that these pins, while sharper than most pins, are not quite as sharp as the Patchwork Pins. This means they won’t slide into tightly woven fabric as easily, but they won’t slide into your fingers as easily, either!]
They are however, a little pricey, and you only get twenty pins in a package, which I found wasn’t enough. I liked them so much I hated having to use my old pins when I ran out of the new Clover pins.
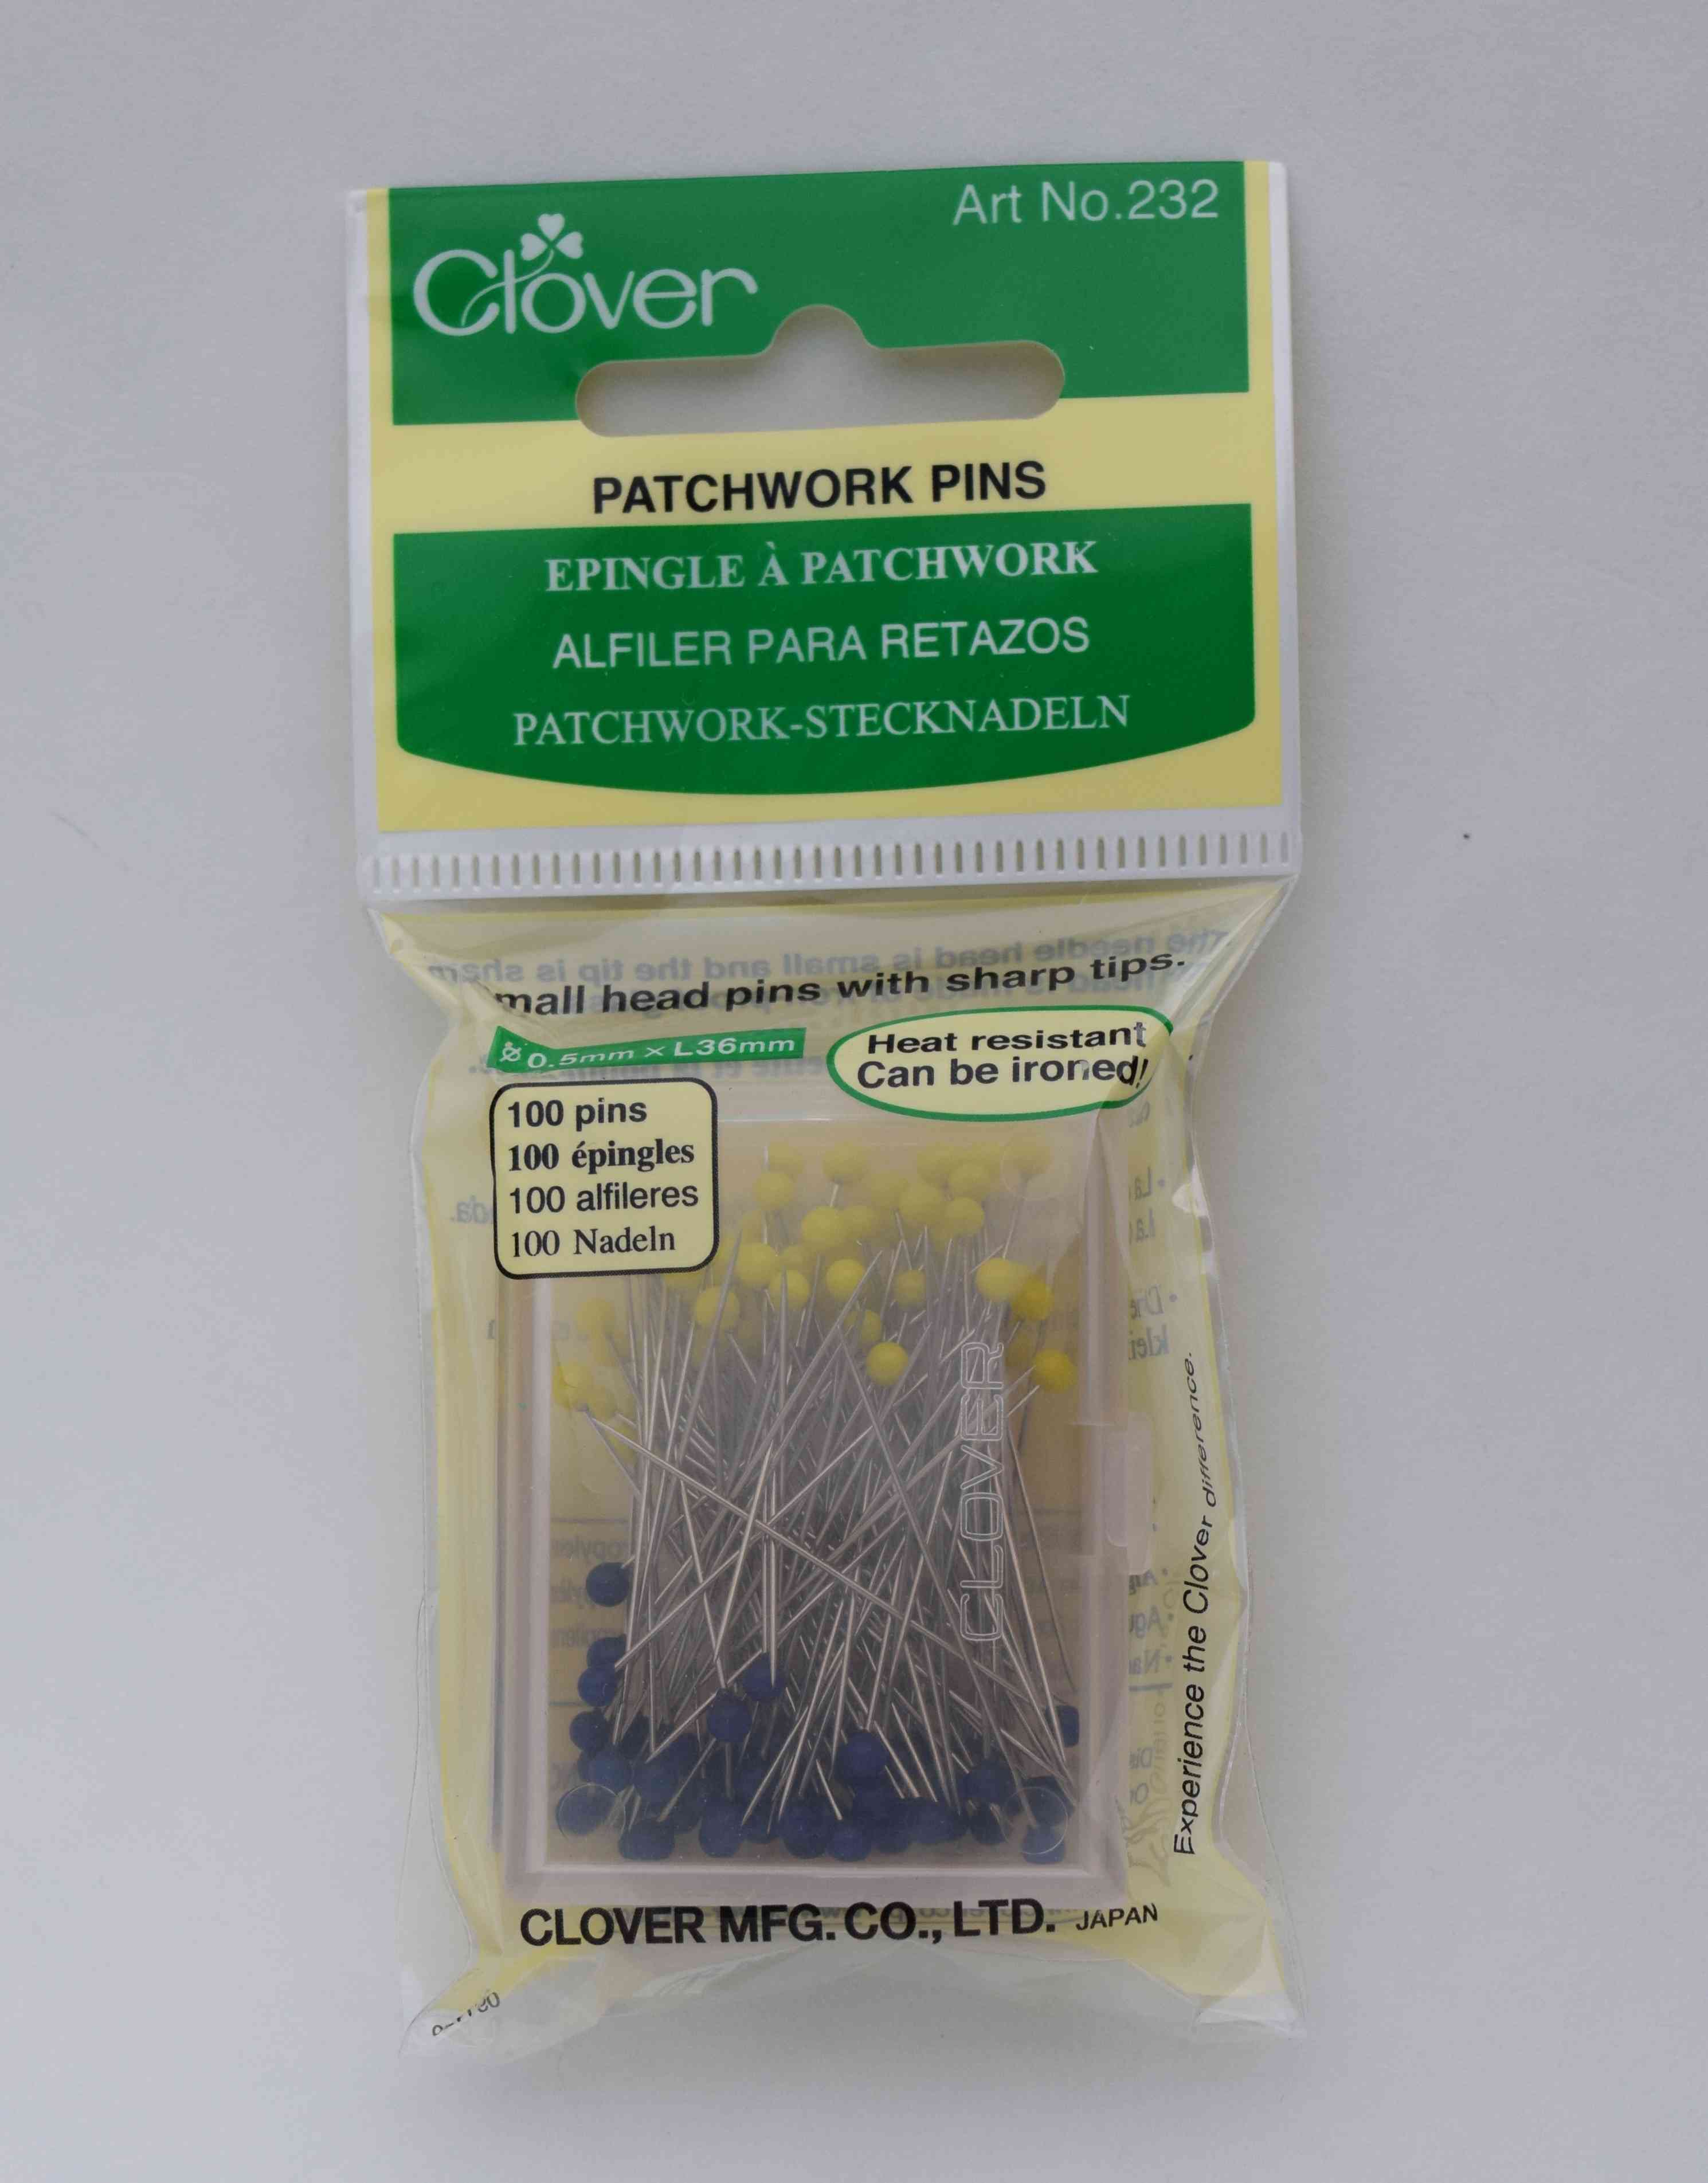
I almost bought a second package of them, but then I realized that Clover Patchwork Pins* (UK*, CA*) are the same diameter and length and also have glass heads, so I bought a package of those instead. The Patchwork Pins come in a package of 100 instead of 20. Don’t be put off by the word “patchwork” — they are perfect for garment sewing, too. The only difference I could see between these and the marbled pins was the color of the pin heads. So unless you really want pretty marbled pin heads, just get the Patchwork Pins or Clover Silk Pins* (UK*, CA*) which are also the same length and diameter.
After checking the thickness of all of the pins that I have and testing how easily they slide into fabric, I decided that 0.5 mm pins are the thickest I ever want to use for garment sewing. For thick fabric that would bend the pins, I switch to using Wonder Clips* (UK*, CA*).
For thin fabric, I use Dritz Ultra Fine Glass Head Pins* (UK*, CA*), which of all of the Dritz pins I’ve tried are the only decent ones. These pins are 0.4 mm thick and very sharp. They bend easily, so I only use them when I really need thin pins. Clover also makes 0.4 mm pins, if you’d like to stick with the Clover brand: Clover Patchwork Pins-Fine* (UK*, CA*) (don’t confuse these with Clover “Quilting Pins” which are longer and thicker).
Pinning diagonally is so simple and effective, I’m wondering why everyone doesn’t pin this way. Have you tried it?
* Links in this post identified by an asterisk (*) are affiliate links. If you click through and make a purchase, I will earn a commission (at no additional cost to you).
 GrowYourOwnClothes Etsy Shop

OK. So I know we are NOT supposed to do this, but just wondering if one absolutely insists on sewing over pins if this isn’t the way to go. Because theoretically the sewing machine needle will tend to slide over a pin on an angle (entering at the bottom and exiting at the top of the angle as in your example) more easily than one that is perpendicular.
LikeLike
I did *accidentally* sew over a diagonally placed pin, and nothing bad happened, but I don’t know if they are better for sewing over. If you are going to sew over pins, I think the best advice is to go slow and use thin, flexible pins.
LikeLike
Fabulous post! I am finally getting back to sewing, thankfully, and my pins are in horrible shape plus they are old. Thank you for the great info on placement as well as good pins (and the right sizes) to buy.
LikeLike
I’ve been diagonal pinning for some time now since I realised how much easier they are to remove than my preferred perpendicular method when close up to the needle.
I moved to the ultra and extra fine pins when I started sewing lots of lycra which resists ordinary pins, including ballpoints (ok for ordinary knits), My finest pins are great but slide like butter before you know it into flesh too (!!!) so I use them sparingly not least as they are more fragile than the extra-fine and ultra-fine varieties. They have a red glass head & I’ve not got the packet anymore so don’t know whose they are. Not the Clover silk pins as they are 0.5mm.
LikeLike
Thank you for the seam matching tip. I will definitely use this next time I am sewing. It amazes me how my fabric shifts around despite my best efforts to pin it, but Inthink this will give me the upper hand!
LikeLike