I’ve had another flare up of VSMAD (Vintage Sewing Machine Acquisition Disorder). I thought I had it under control, but apparently not. This disorder cannot be cured, but does occasionally go into remission.
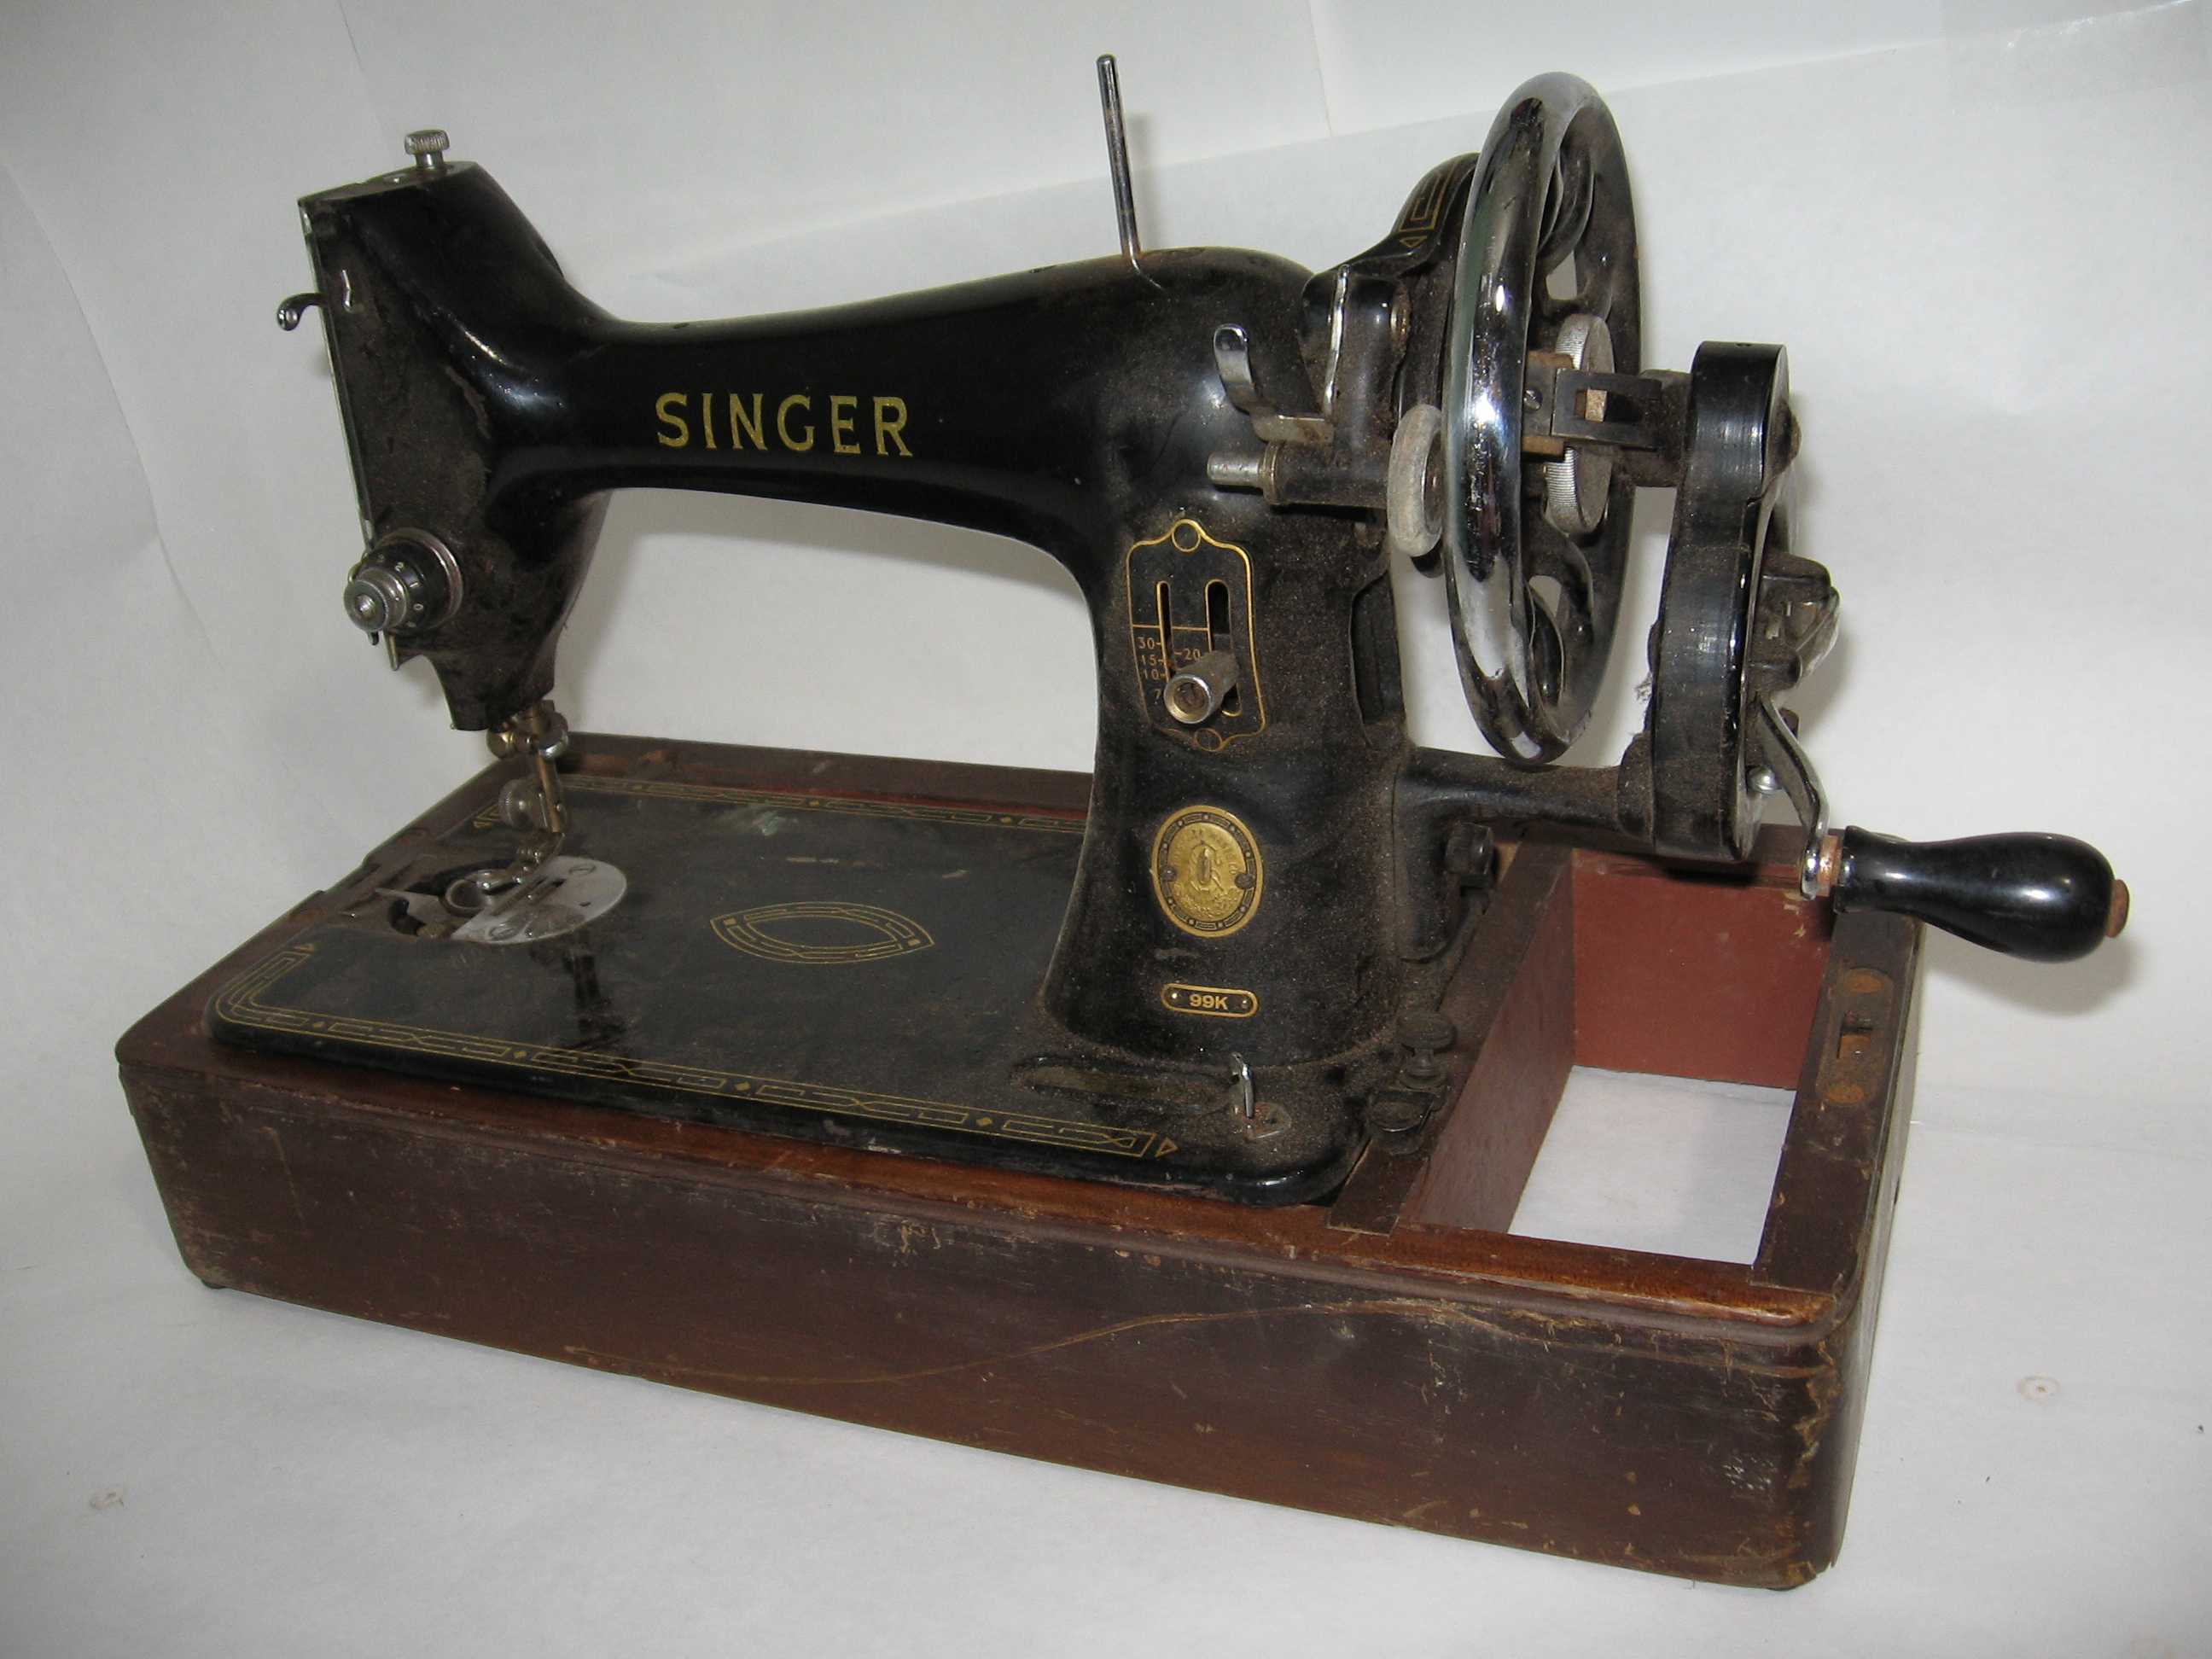
I’ve acquired two new machines in the last month – a Singer 201 for myself, and a hand crank Singer 99K to teach my daughter to sew on. I am quite proud of myself, though, because I also gave away a sewing machine. This was the first time a sewing machine has left my possession. Sergers excluded, the Janome Magnolia 7306 I gave away was the only sewing machine that I owned that was manufactured in this century. It had a couple of stitches that my other machines don’t have, but it still just sat on the shelf since I’d rather sew on vintage machines, so I’m glad it went off to a good home.
My VSMAD flare up was triggered by a perfectly innocent comment in a post by Peter Lappin. In this post, he said he made buttonholes with his Singer buttonholer – the one that uses templates. I thought “Wait, what? Did Singer make buttonholers that DON’T take templates?” I’d only heard about the kind of buttonholer with templates, and I’m always complaining that I don’t have exactly the right size template even though I have every size template made for my buttonholer. I was pretty excited to learn that they made buttonholers that can be adjusted to make any size buttonhole. Peter made a video demonstrating this adjustable old-style buttonholer on his Singer 201 sewing machine. This buttonholer lets you adjust just about everything by turning various wing nuts and screws.
I bought one of these buttonholers quite inexpensively on ebay. No one seems to want them for some reason. I think they are great. If you are looking for one, search for Singer part #121795. They do take a bit of fiddling with to get everything set right, so I’ll probably use the template buttonholer if it has the size I want. I’ll be happy to have the adjustable buttonholer when I need another size, though.

After seeing how the Singer 201 sewing machine in Peter’s buttonholer video could drop the feed dogs, I of course had to research that model of sewing machine. I quickly realized why I had always ignored this model – in the US, almost every Singer 201 you will find is a 201-2, which is the gear driven “potted” motor version. I’d always just thought of the 201 as “that industrial looking model that I can’t put on a treadle base” and ignored it. But after reading more about this sewing machine, I found out that it came in other versions besides the potted motor – 201-1 (treadle), 201-3 (belt driven motor), and 201-4 (hand crank).
I’d been trying to replace my treadle Singer 252 with a treadle Singer 328k, since I know the plastic gear deep inside the 252 is likely to break at some point in the next few years, but I don’t enjoy sewing on the 328k. I recently got a different handwheel for it, though, so I can treadle it at twice the speed as before. I added an update to the end of my previous post about the 328k showing the modification I had to make to get the other handwheel to work.
When I read about how absolutely wonderful the Singer 201 is to sew on, I had to have one, of course, since the 328k just isn’t making me happy as my main sewing machine. And of course the 201 would have to go on a treadle base, since I’m kind of crazy about sewing on treadle sewing machines. The belt driven 201-3’s can be found on ebay, but they are typically “refurbished”, ship from Canada or the UK, and cost several hundred dollars. I started wondering if I could convert a potted motor version to be treadled and save some money.
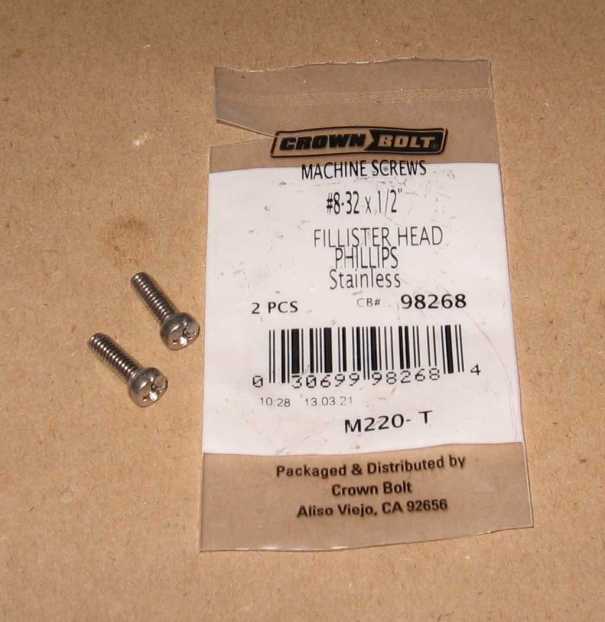
I found this flikr page detailing the steps needed to convert a 201-2 to be treadled, belt driven, or hand cranked. Yes, it can be done! There is also a tutorial on Quilting Board that demonstrates converting a Singer 15-91 potted motor to treadle, which is a very similar process. You’ll need a spoked handwheel (aka balance wheel), and if you want a bobbin winder on the converted 201, you’ll need a belt guard from another machine (see next paragraph). To install a belt guard and bobbin winder, you’ll have to drill and tap a couple of screw holes, but other than that, the conversion just involves using a screwdriver.
I bought a belt guard and bobbin winder from a 201-3 from the UK on ebay. If you can’t find a belt guard from a 201-3, I think it would also work to get a Singer 15-90 or 15-88 belt guard and replace its bobbin winder with the bobbin winder from the 201-2 potted motor assembly. The model 15’s use class 15 bobbins, which have a larger hole than the class 66 bobbins the 201’s use, so you won’t be able to use the model 15 bobbin winder.
To convert a potted motor sewing machine to treadle or hand crank you need a Singer nine spoke handwheel. A spoked wheel from a Singer model 15, 66, 99, 127, or 128 should work. I’ve read about the poor quality of the reproduction spoked handwheels, so I wouldn’t suggest getting one of those. I guess you could use a solid handwheel for treadling if you happen to have one, but these typically have a larger diameter at the belt groove, which will make it sew slowly.
For converting to belt driven motor, you would want the solid handwheel from one of the above mentioned models with the larger diameter at the belt groove so you won’t strain the motor. Occasionally you will run across a solid handwheel that has the same small diameter at the belt groove as the spoked wheels, so watch out for that.
I haven’t gotten around to installing the bobbin winder yet, since I’ll have to buy some tools to drill and tap the holes. The sewing machine works perfectly fine without it, though, and I just wind bobbins on another machine for now. You know, since I don’t exactly have a shortage of sewing machines . . .
12/2/2015 I did install it! Installing the belt guard/bobbin winder.
I wanted to use the stop motion knob that came on the 201 instead of the one that came with the spoked balance wheel I bought, since the knob from the 201 was much prettier. I tried using the 201-2 stop motion knob with the washer from a model 128, but they didn’t fit together right. I then tried the washer from the 201-2, and it seemed to work fine, but I later realized that metal was being scraped off the washer, so I switched to using the rusty old washer and knob that came with the handwheel.
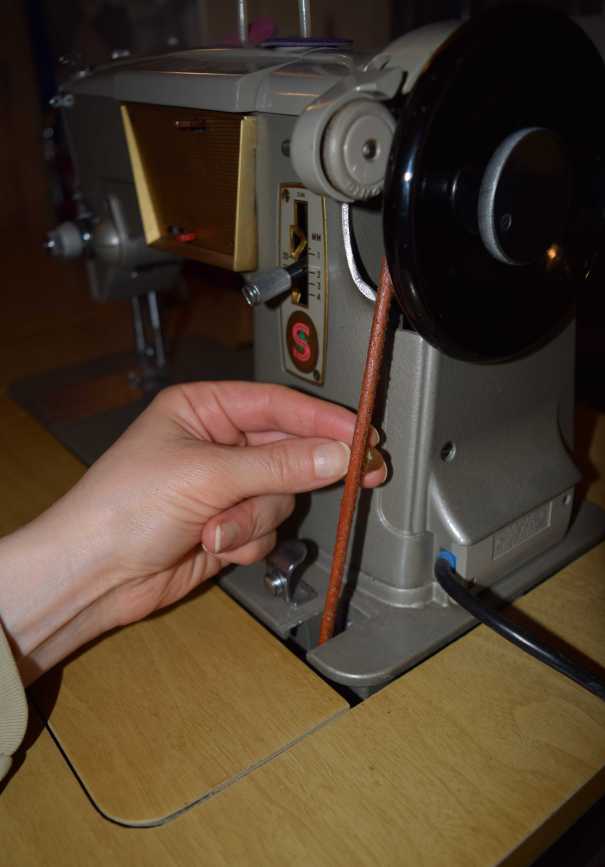
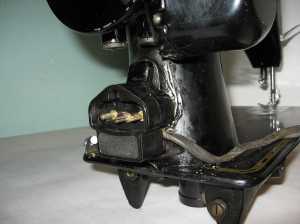
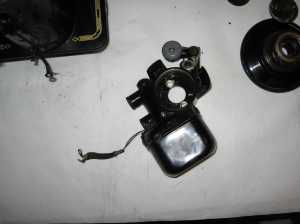
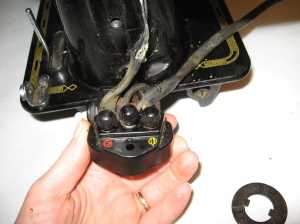
Here are a few pictures of the process. I wonder if that pin I found in the electrical connector had anything to do with the melted wiring?
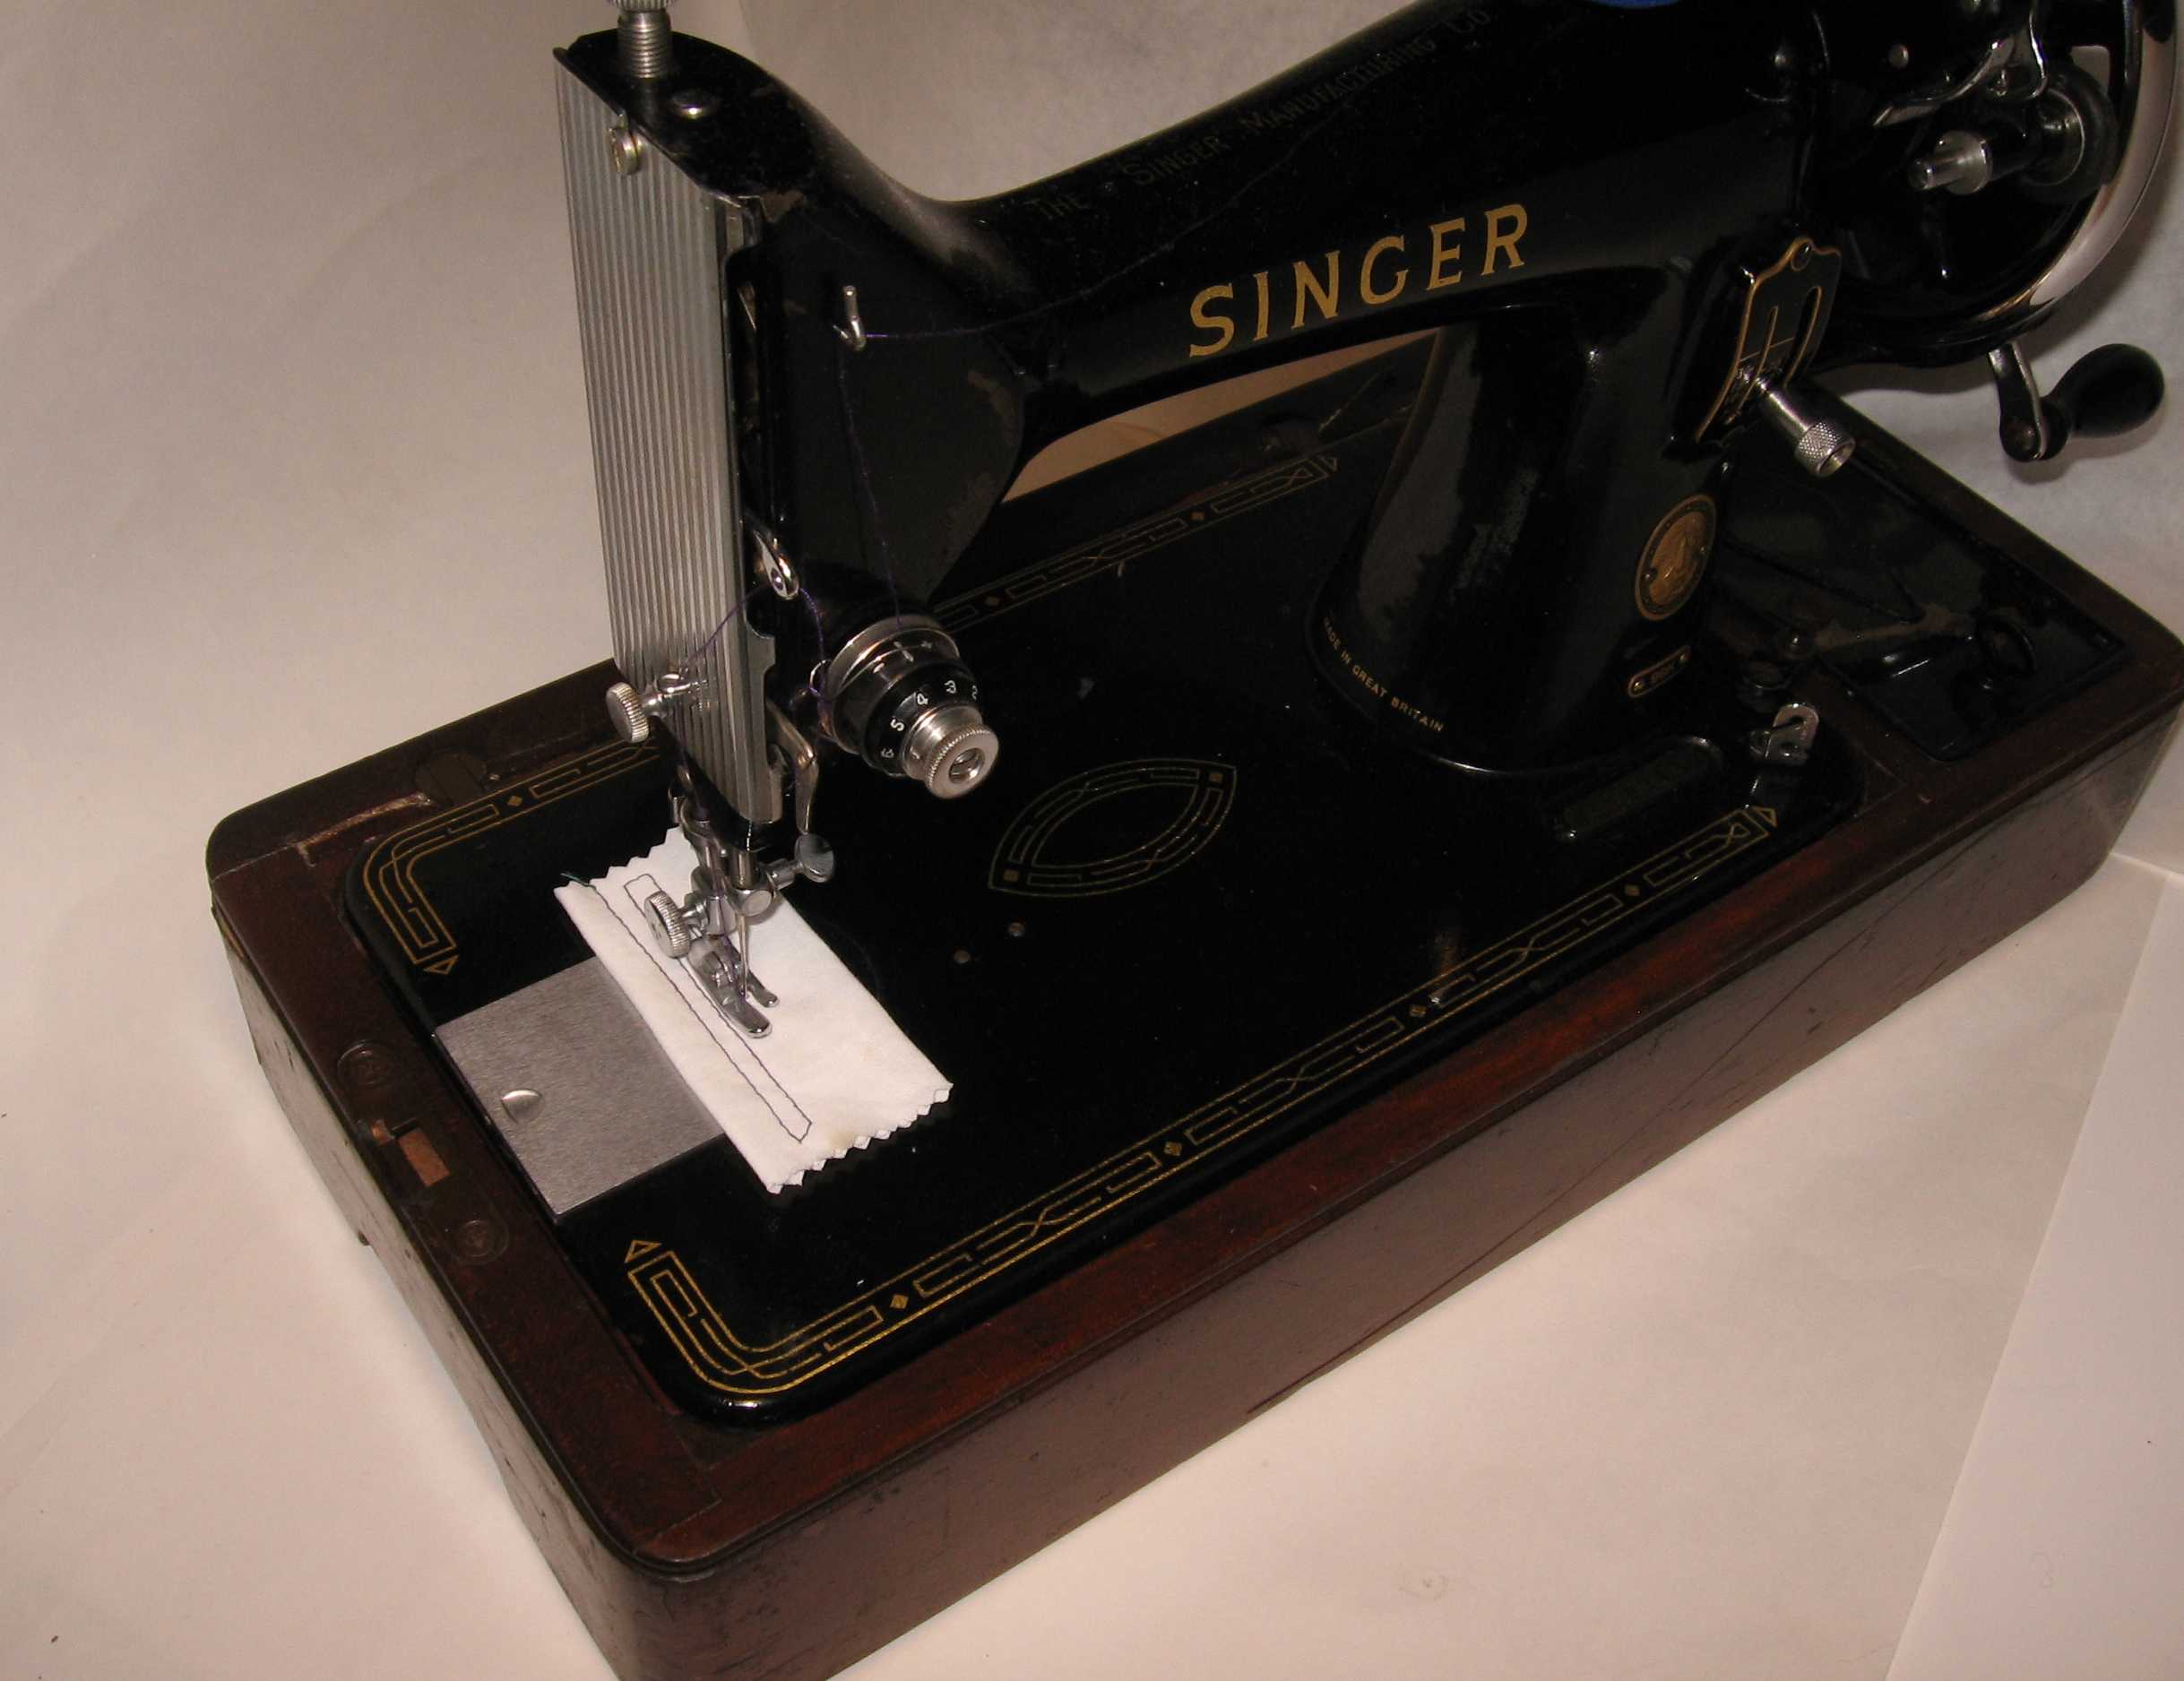
I removed the light, since I didn’t trust the wiring and I don’t like the front mounted lights anyway. I wrapped a gold ribbon bandage over the holes. In case you were wondering, no, I don’t stick pins in it. I sew with a bright lamp nearby, and without the light cover in the way to cast a shadow, there is enough light on the needle area. The blue tape on the stitch length adjuster has the stitch lengths marked in millimeters. I’m trying to think of a more attractive option to mark the stitch lengths, but the blue tape works for now. The sewing machine is on a temporary cobbled together table top, which sits on a treadle base I just found on Craigslist for $25. Eventually I’ll find or make a better table top.

A couple of things I learned while cleaning up this machine:
Don’t put gear lubricant on the gears of a Singer 201! They want oil. In a very un-me-like fashion, I started cleaning and oiling without reading the manual first, and since I saw some old grease in the lower right gear cover, I proceeded to put gear lubricant on all of the gears. I noticed a significant increase in the amount of force necessary to turn the handwheel. Then I read the manual, and it says to OIL the gears, so I had to clean off all of the goop and put sewing machine oil on the gears. The sewing machine turned much more easily after I cleaned off the lubricant and oiled the gears.
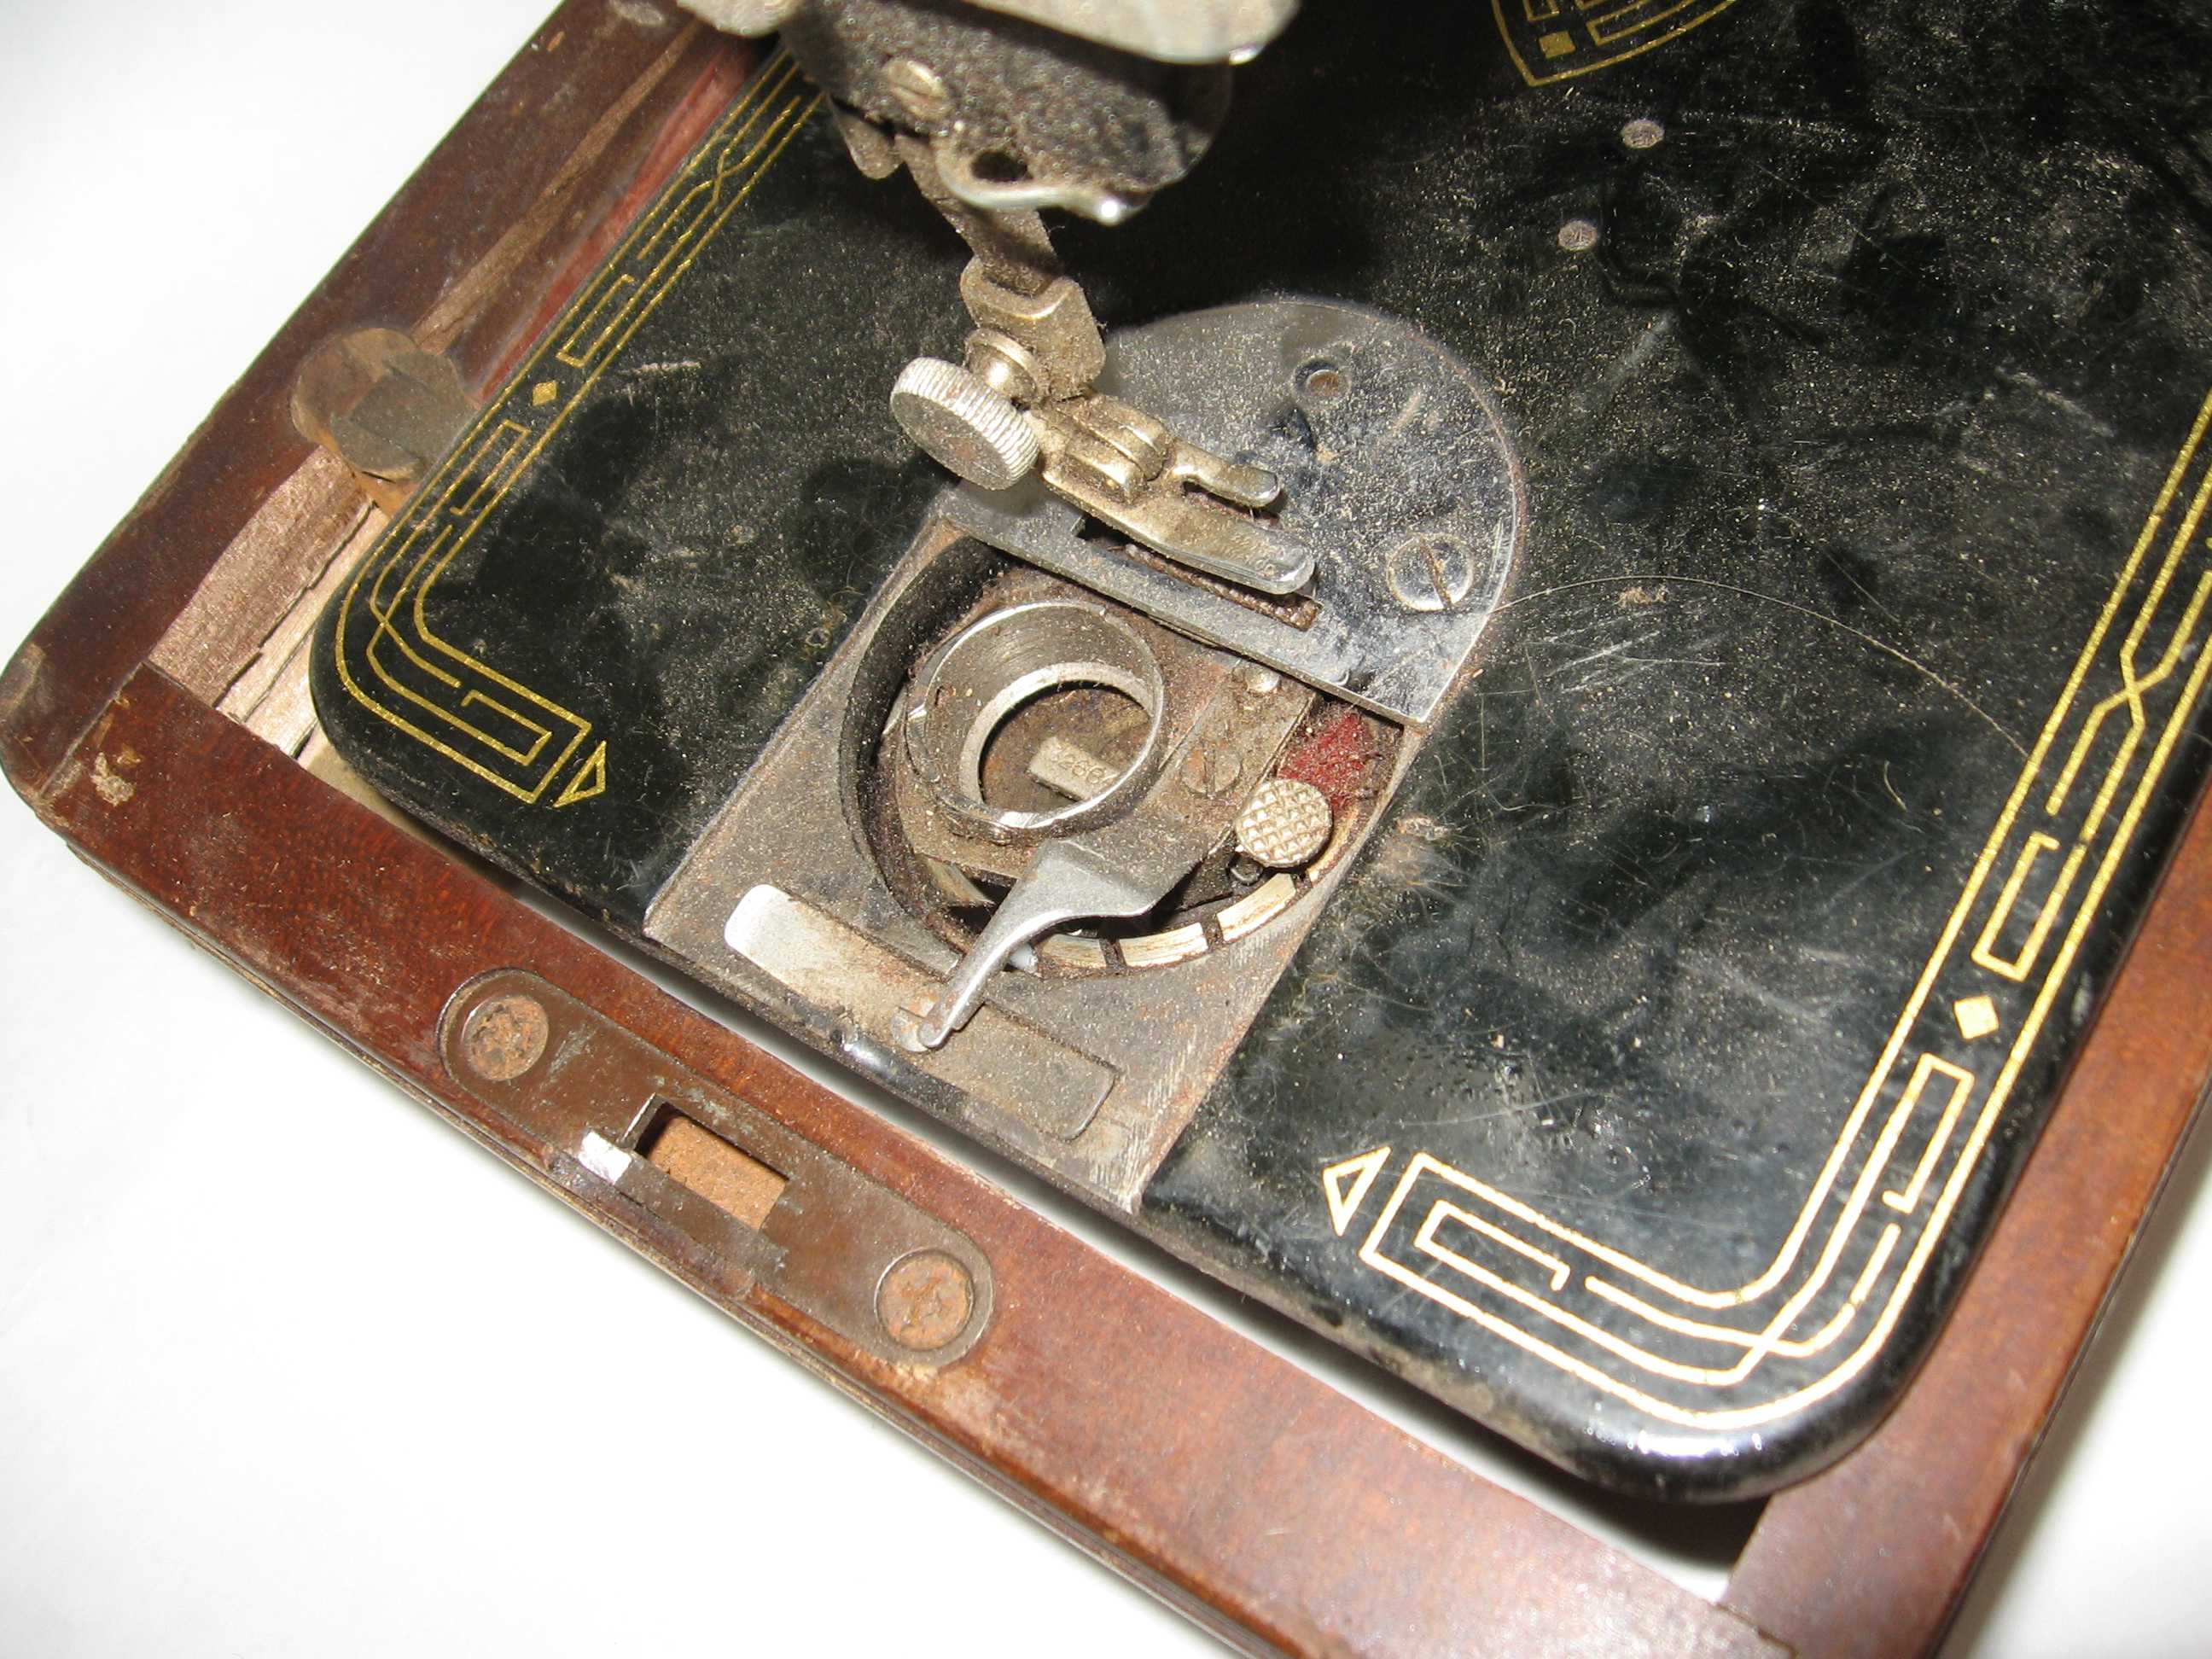
Here is a very good guide for removing and replacing the 201’s bobbin case. It is much easier to understand than the directions in the manual.
The Singer 201 is often called the best quality home sewing machine Singer ever made and sewing on it is compared to driving a luxury car. After sewing on my 201, I absolutely agree. Everything is sturdy, machined perfectly, and the gear drive makes it sew very smoothly. It does great with both thick and thin fabric, and it is an absolute joy to sew with.
Usually after buying a vintage machine, I feel the need to get a parts machine to go with it. However, the 201 is so well built and sturdy I don’t think I’ll need a parts machine. I look at it, and think “What could possibly break?” Maybe the check spring on the tension assembly might need replacing in a few decades, but I already have parts machines that have the same spring. If I happen to run across a 201-1 or 201-3 at a good price, I’m not sure I’d be able to resist buying it, though.
I had a conversation with my husband that went something like
DH: So, now that you have the best sewing machine ever made, can you stop buying sewing machines?
ME: Of course not.
Although, maybe I should TRY to stop. I’m running out of places to stash sewing machines.


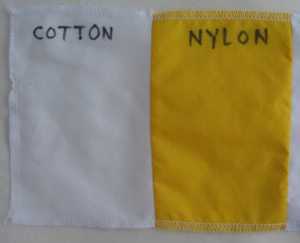
 Note: Since I wrote this, I got another set of markers, and did a quick test on cotton, this time letting the marks dry for two days, and the colors didn’t seem to wash out as well. The green and blue washed out better, exactly the opposite of my previous results. So do your own tests before marking all over the right side of your fabric!
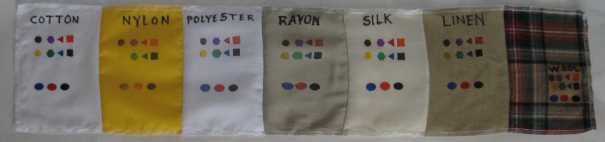


 GrowYourOwnClothes Etsy Shop
