
This year I resolved to get my sewjo back. I was frustrated that my “to sew” list just kept getting longer and longer. Also, I really needed some new clothes, but now that I know how good custom made clothing feels, I can’t bring myself to buy ready-to-wear clothes. But I was stuck and couldn’t seem to start a sewing project.
Heather Lou, the designer behind Closet Case Patterns, was on Episode 23 of the Love to Sew Podcast last January. Her advice for procrastinators really resonated with me. “Just do the damn thing. Stop thinking about it. Stop making endless lists. Just do it.”
I really need a personal cheerleader telling me that all the time. I tend to think something to death because I’m so afraid of something going wrong, or I’m just not sure of how to get started, or I want it to be perfect. Also, I have way too much sewing stuff in too small of a space. I have things arranged as best as I can on rolling carts and things, but there’s still the mental hurdle of having to move things around before I can get started.
Since I don’t have a personal cheerleader, I thought maybe I could print out a note reminding me not to procrastinate and hang it on the wall. I know from experience, though, that I’ll stop noticing a sign on the wall after a couple of days.
I thought maybe if I spent several hours sewing myself a note instead, I might pay a little more attention to it. So I made this wall hanging, which I put on the wall just above my computer screen:

Did it work? Well, I still ignore this sign sometimes, but when I do really look at it, I have positive feelings about sewing. It is definitely more motivating than words on a piece of paper would have been. I think a paper sign would make me feel guilty for not doing something, while the sewn sign makes me happy because—hey, I sewed that, and look at those nice satin stitches on the applique!
I’ve sewn quite a few things this year. The funny thing is, I just haven’t felt like blogging about most of them. I guess I feel I should have pretty pictures of them. But, you know what, taking pictures sucks. I don’t have good lighting or much room indoors, and taking everything outside is a huge hassle. Then there’s trying to get good pictures when I am a total dunce at posing. But this is my blog, and I can do whatever I want, so you get whatever pictures I feel like taking, even if they are just on my dress form or in bad lighting.
I’m writing this blog post mostly for myself anyway, to remind me, that yes, I’ve sewn quite a few things this year. When I don’t blog about them, I tend to forget how many things I really have sewn.
After I took care of the two main things that had me stuck—I needed to make bras that fit me before I started fitting new clothes, and I really wanted a new custom dress form—I started sewing a lot more. That dress form has been absolutely amazing, by the way. I can’t believe how much faster and easier fitting is now. I wish I could come over to your house and help you make your own dress form, but I can’t, so that’s why I wrote the tutorial on how to make your own dress form. Actually, I think writing that tutorial is what got me burned out on blogging for a while—it was a lot of work.
These are the garments I’ve sewn this year but haven’t mentioned on my blog. They are all made from fabric from my stash purchased in 2017 or earlier. I spent too much on a set of thread and some vintage sewing machines this year, so I’m not buying fabric for the rest of the year. I’m making room in my stash, though, so next year I’ll have room for new fabric!
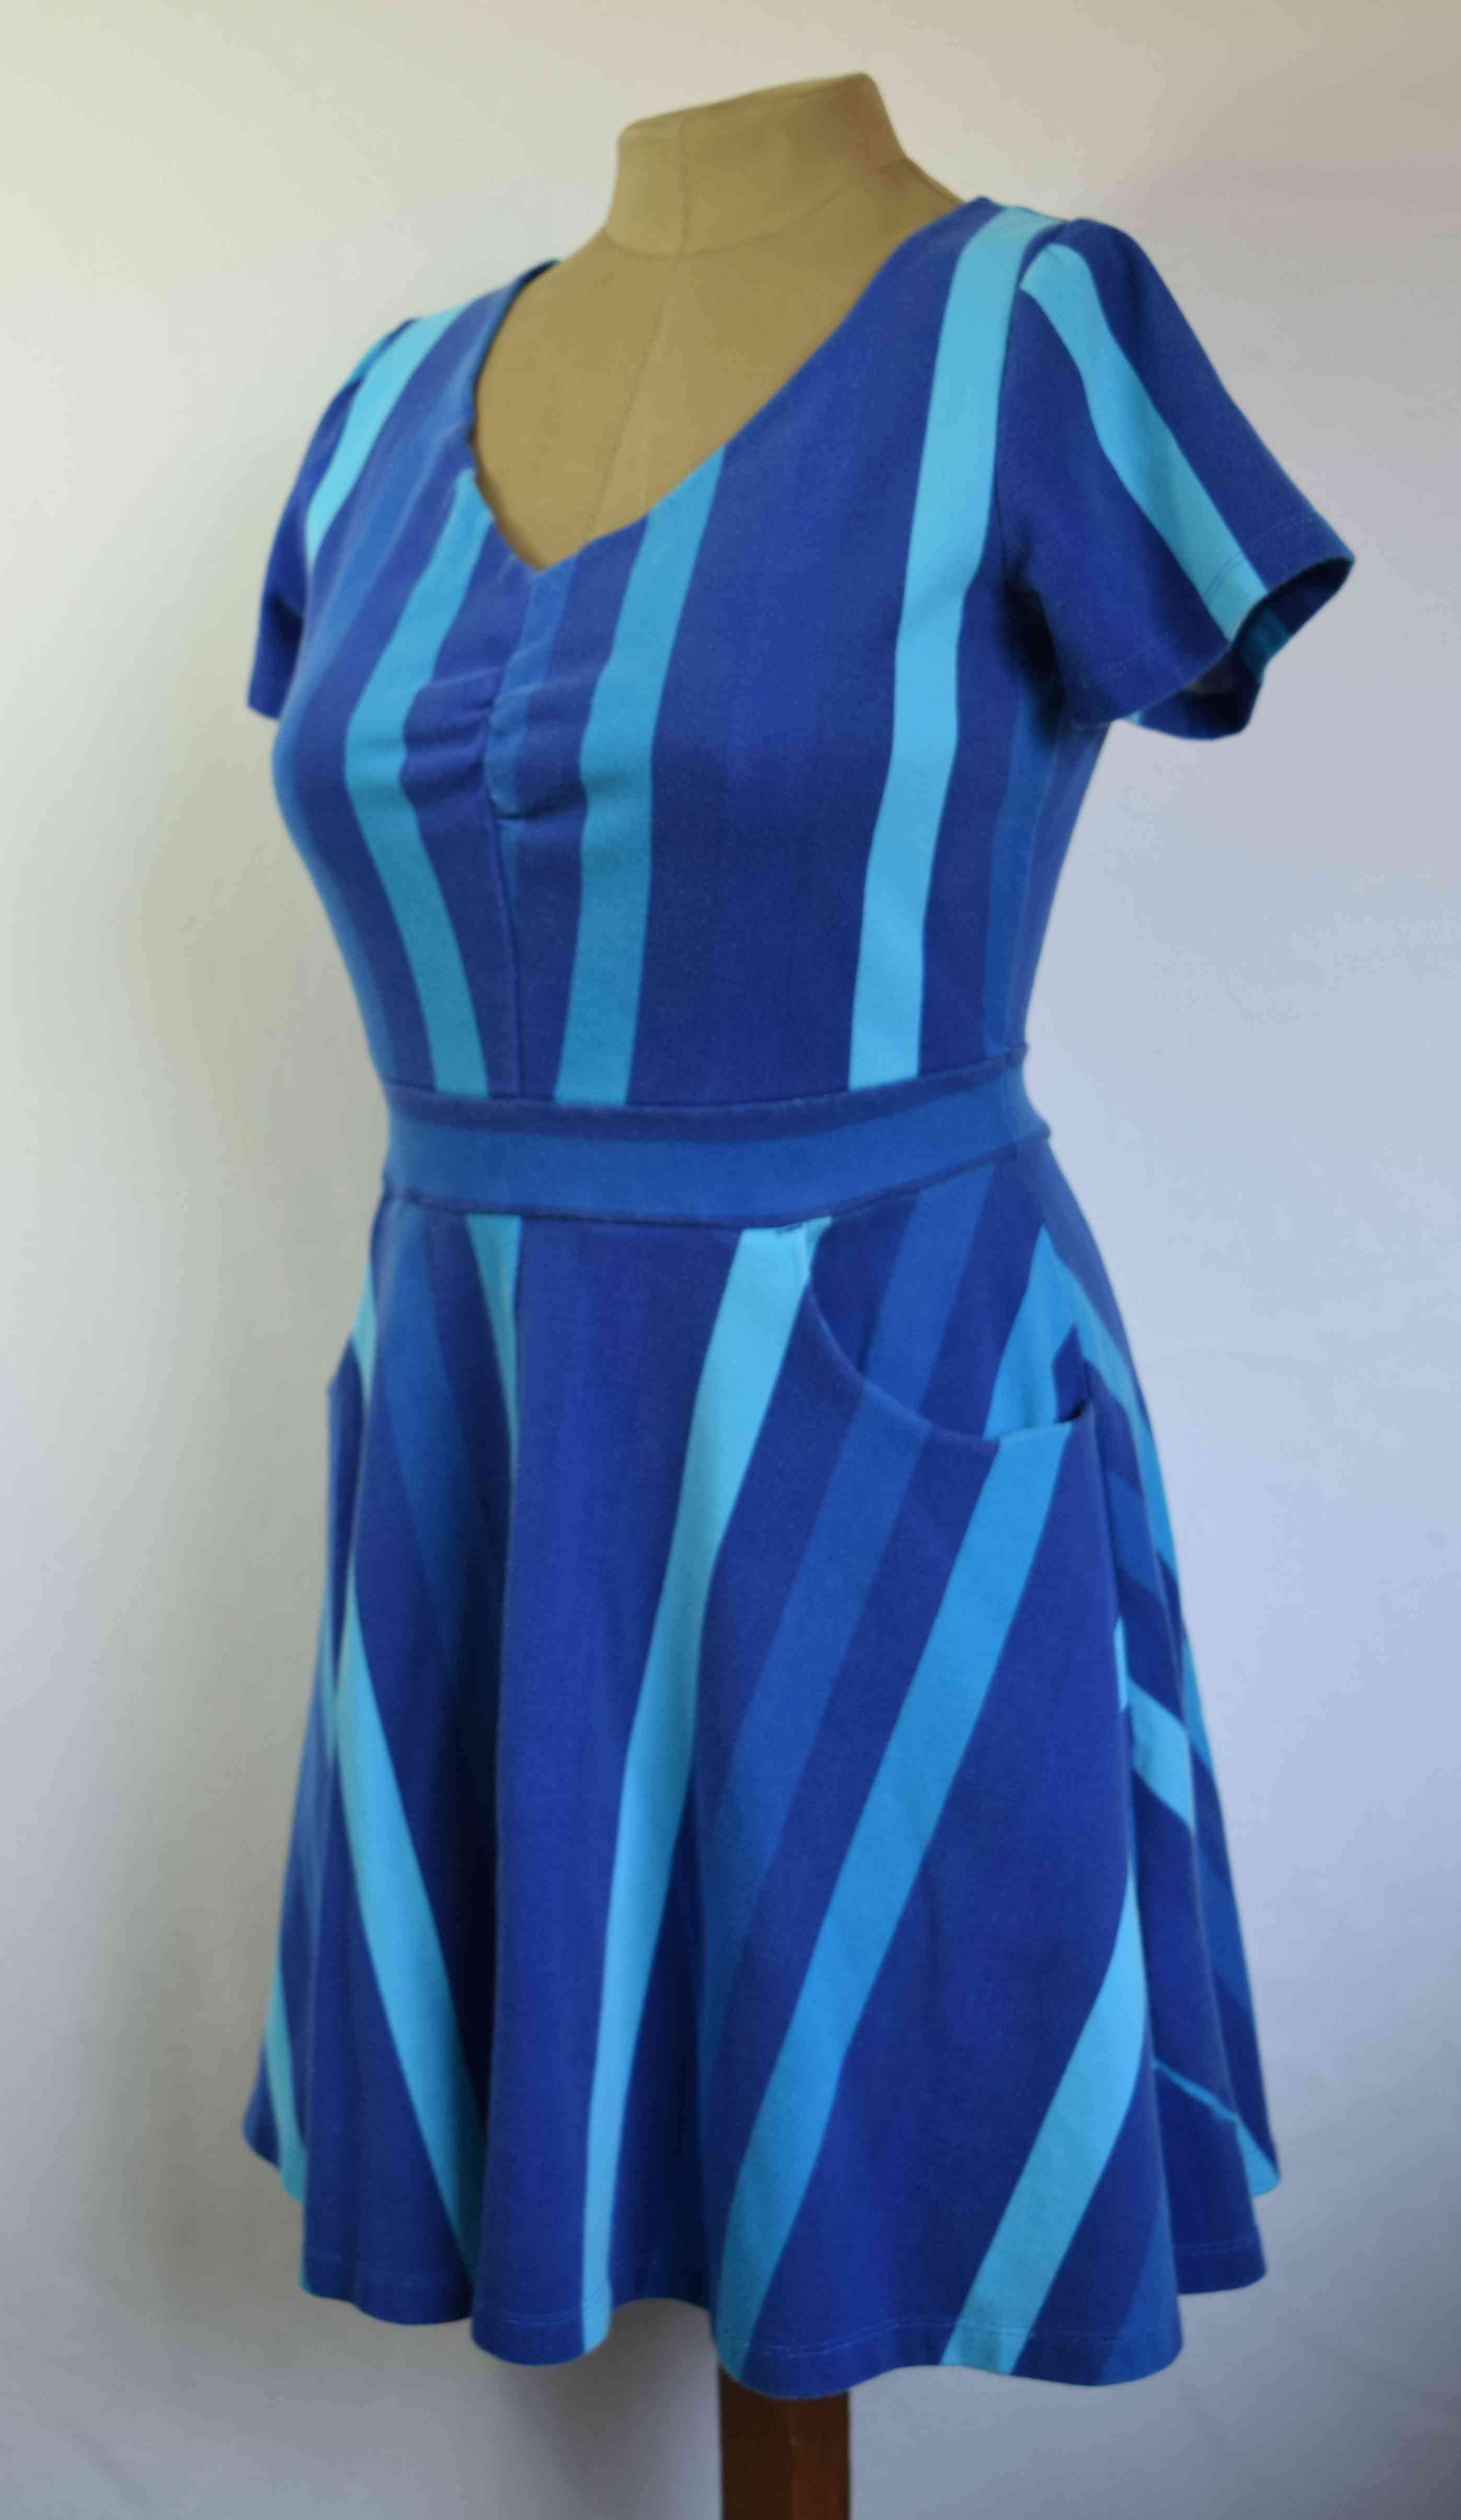
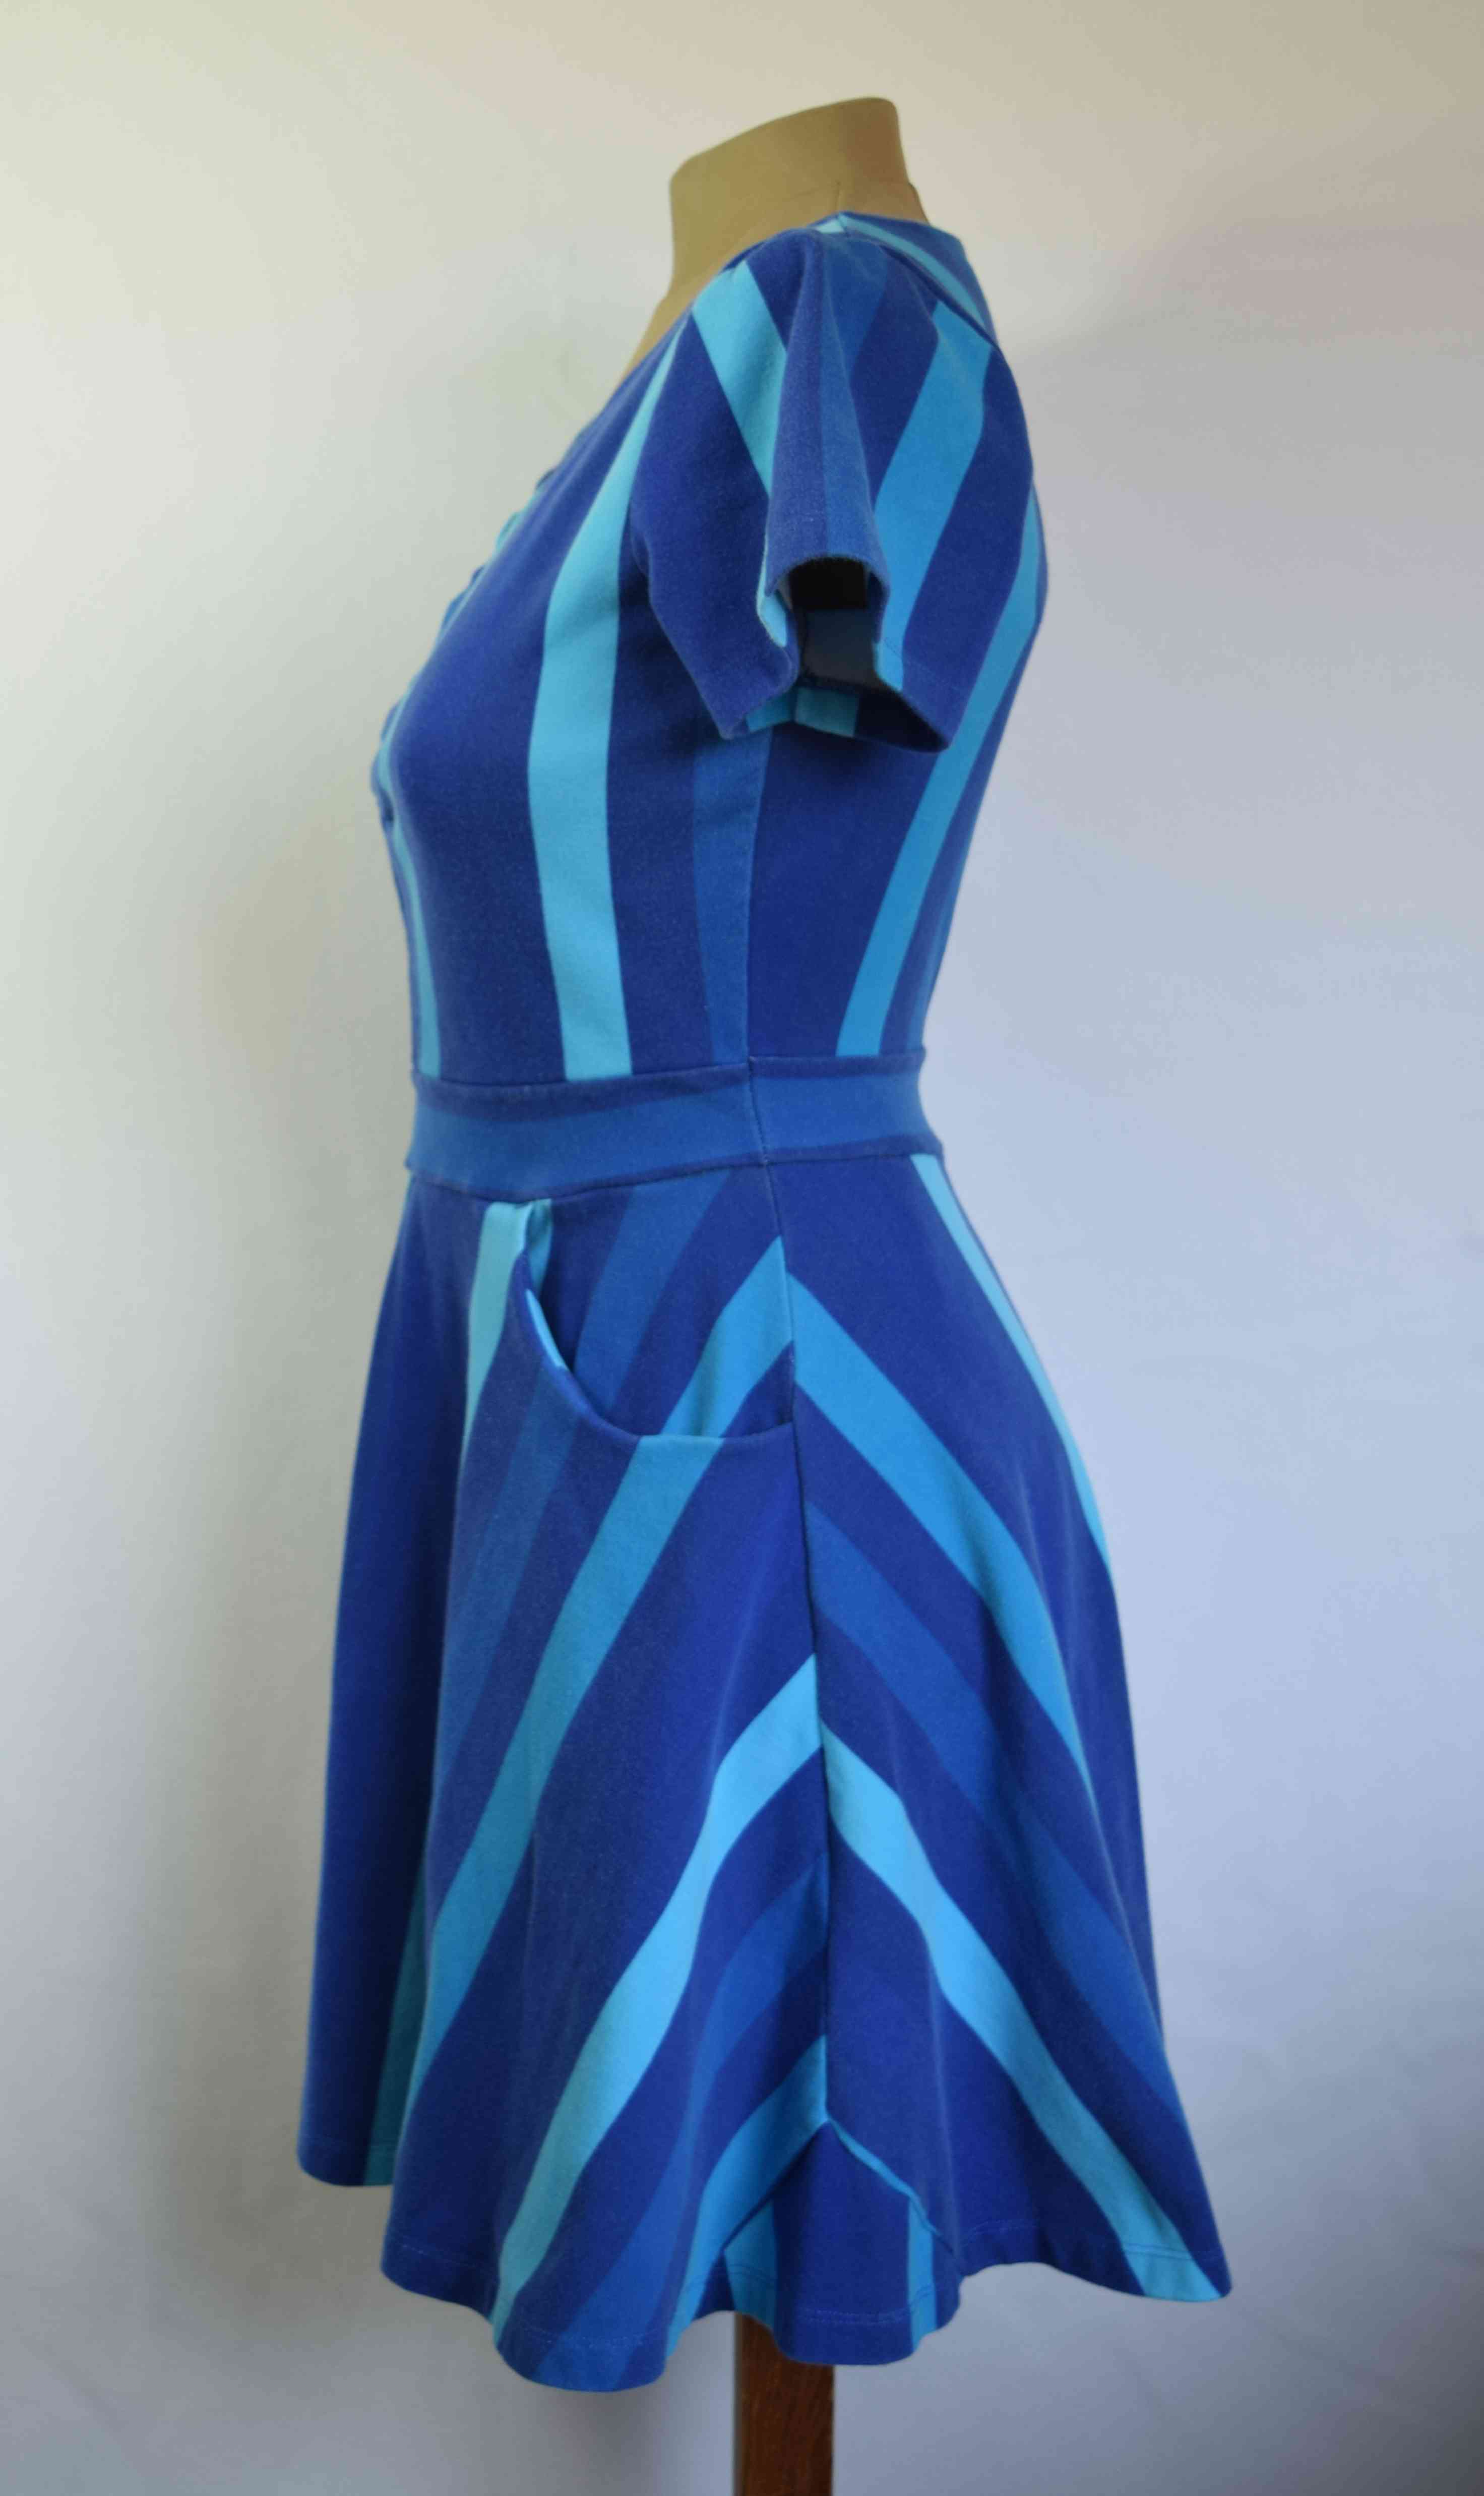
Here’s an Itch to Stitch Davina Dress. I made this with a heavyweight cotton/spandex double knit fabric that I had previously cut down the middle lengthwise to make it into a baby carrying wrap. My babies are now almost teenagers, so I converted the wrap into a dress. The fabric was narrow, so I had to do some creative piecing, but I made it work. I had some issues with the neckline gaping, so I sewed some clear elastic into the seam, and now it ripples. I need to remember to alter the neckline and do an FBA if I make this dress again. I do wear the dress, though. In fact, I’m wearing it right now.
Here is an SBCC Tonic Tee. I made some fit alterations, so this version fits a little better than the last one I made, although I may have overdone the flat upper back alteration just a tad—the shoulder seams are a little too far back now. But it’s a knit, so it all works.


Another Tonic Tee in mint green.

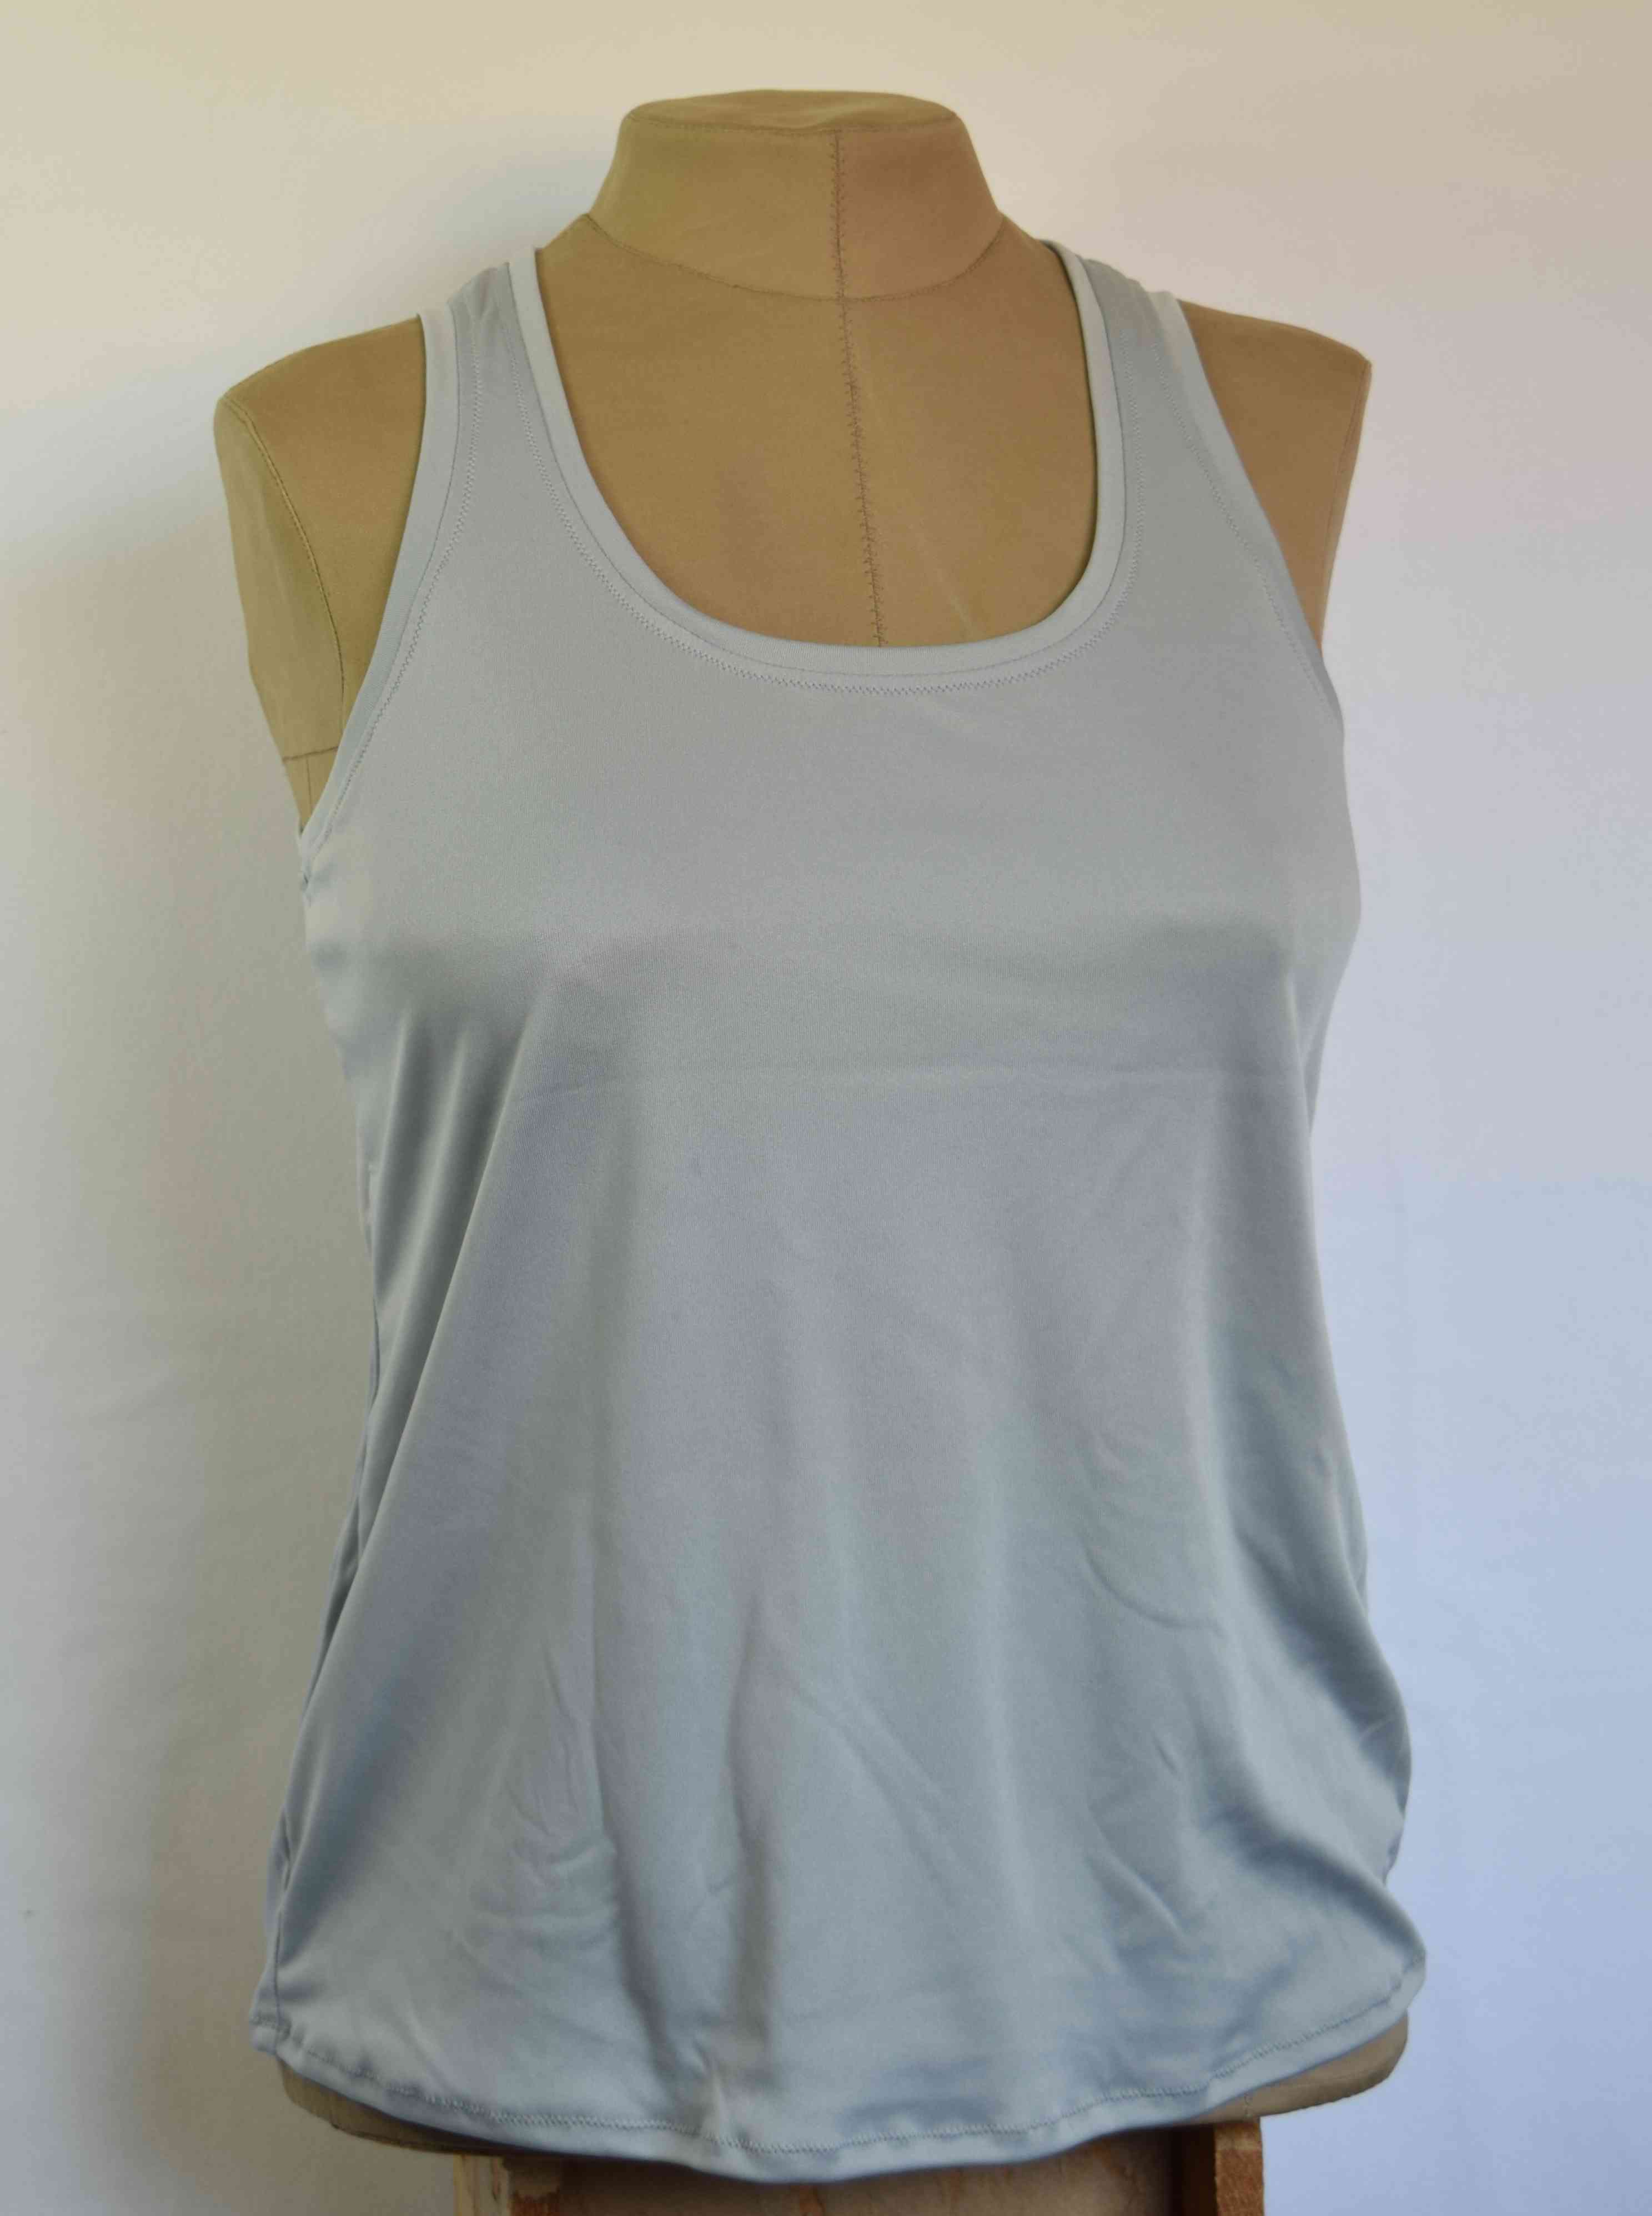
An Itch to Stitch Lago Tank. This was the first one I made, so I consider it a wearable muslin. I should probably get rid of it, because it’s polyester, and I hate wearing polyester.
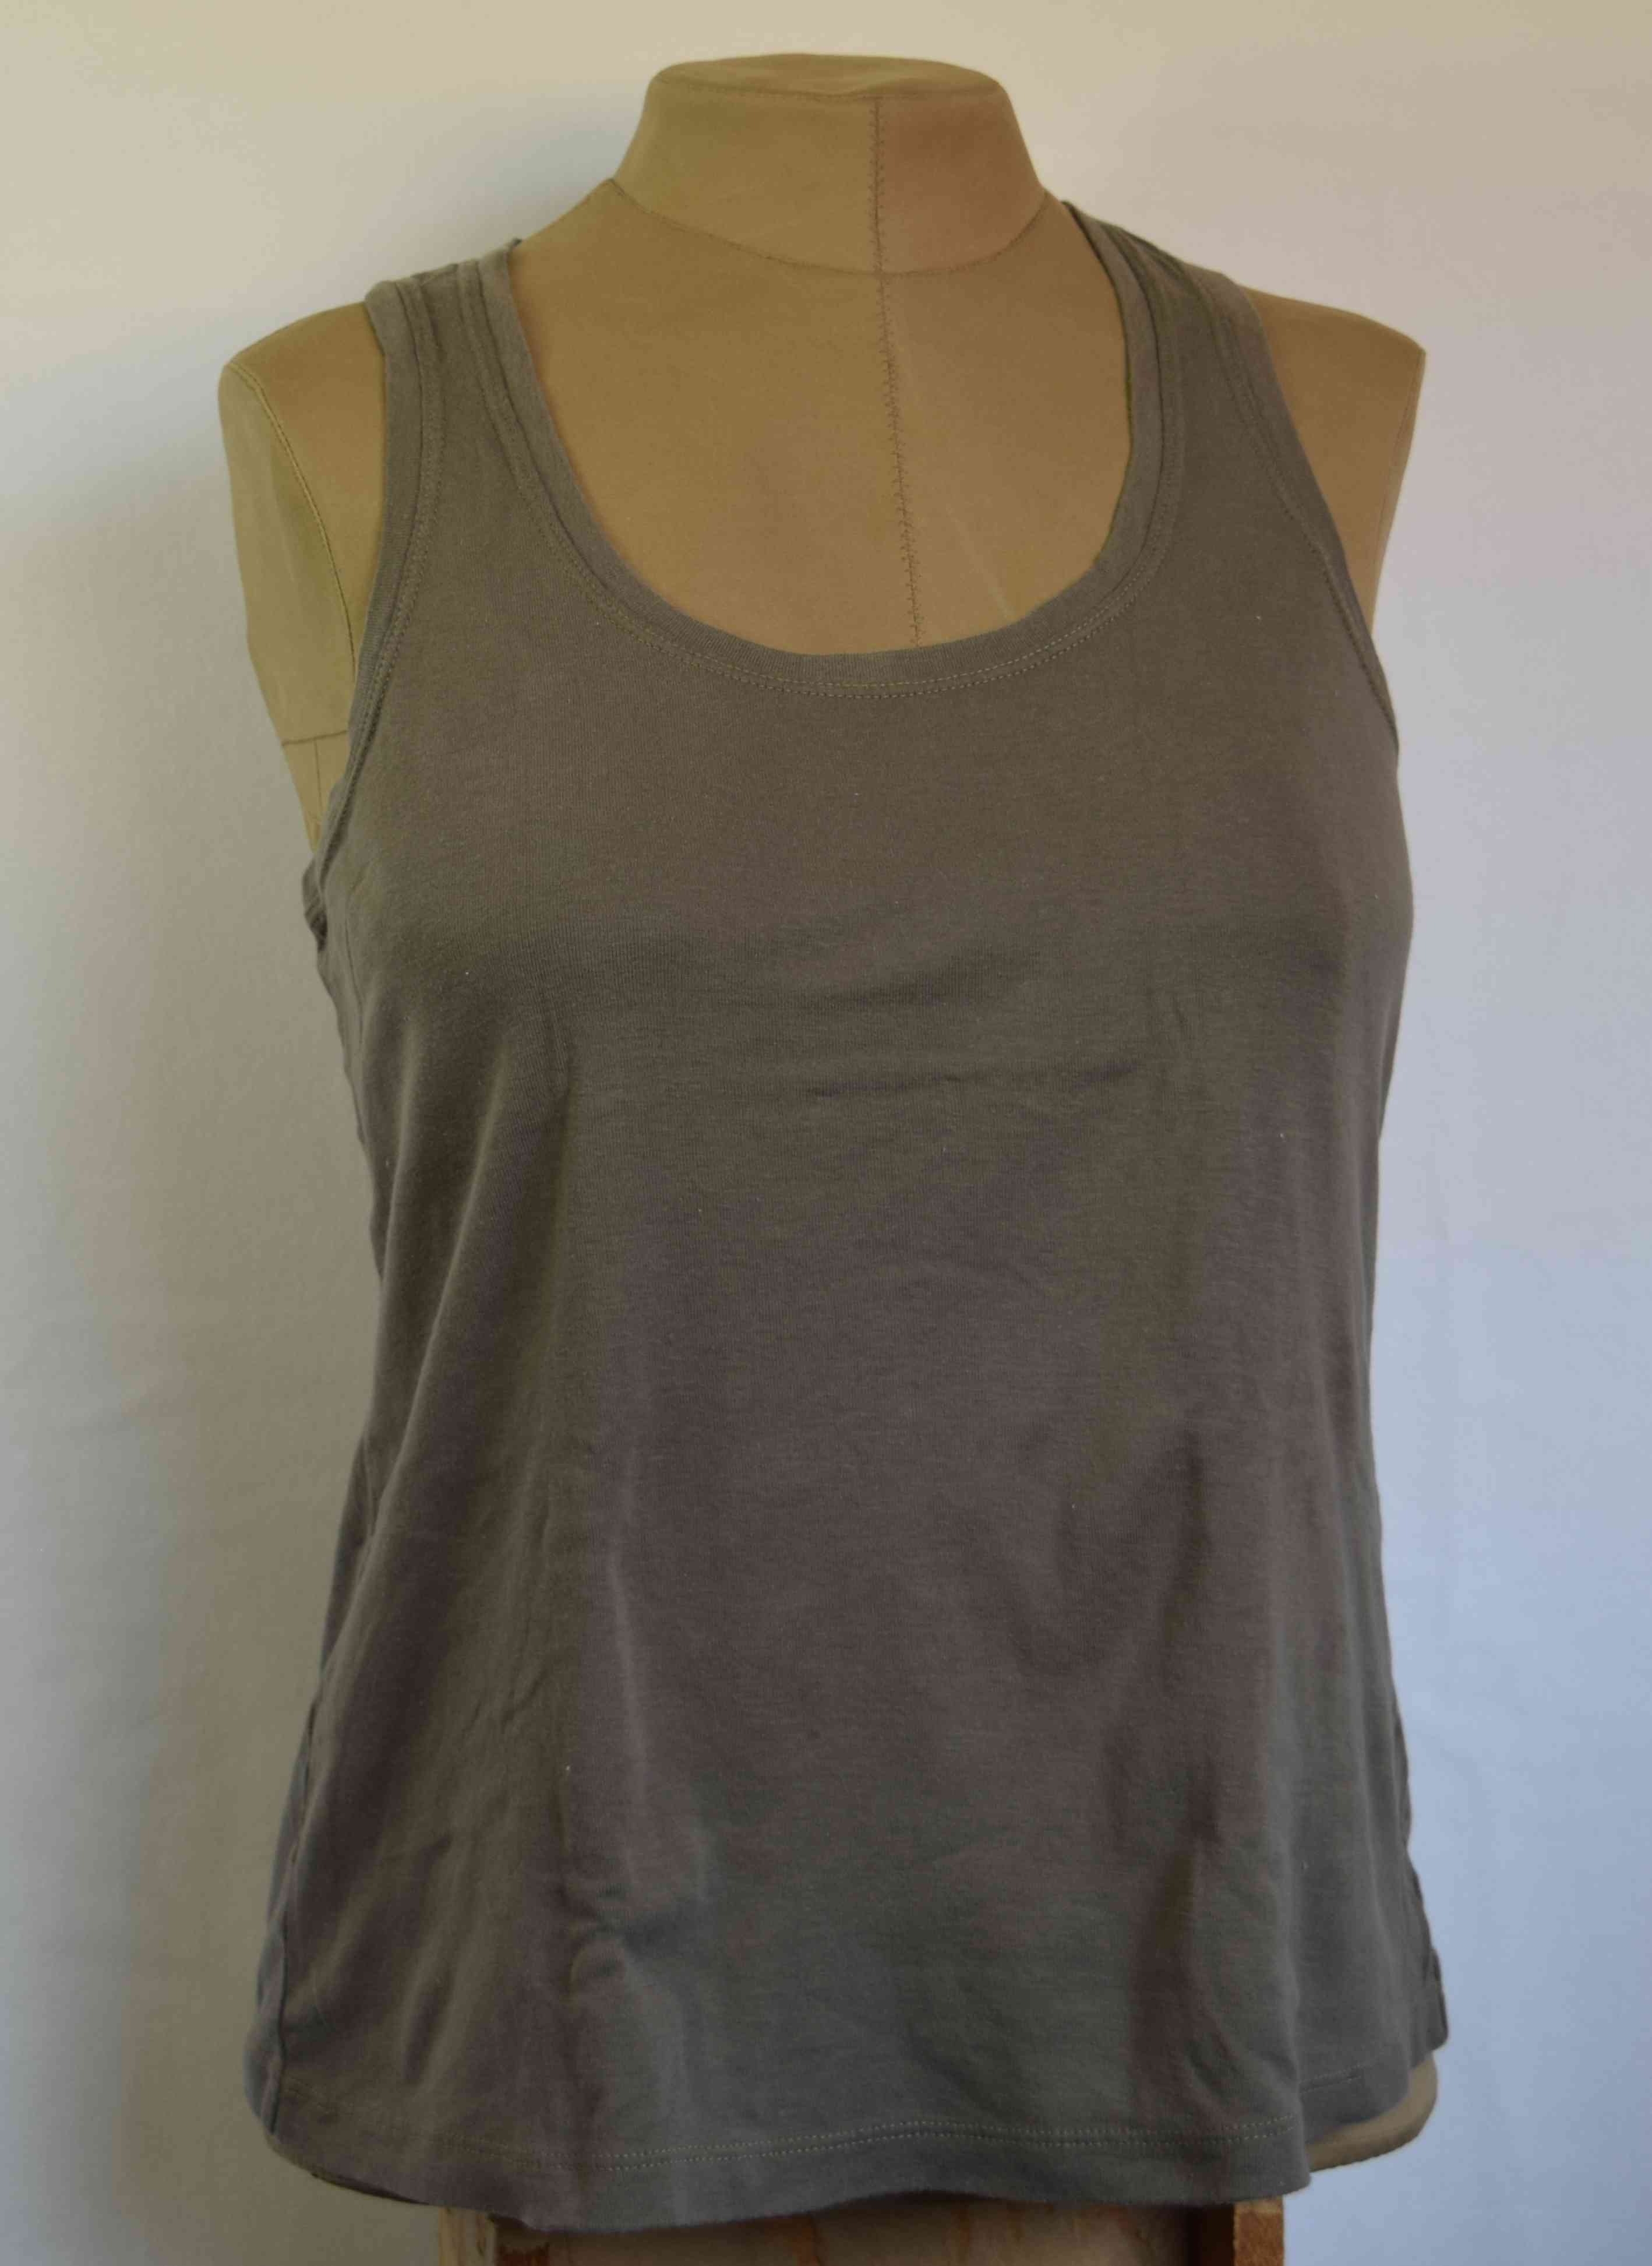
Another Lago Tank made from cotton baby rib knit. This one has a very loose fit, because there is no spandex in the fabric. I don’t really care for the cut of this tank, because it shows my bra straps in the back, but it’s a good place to start from if I want to customize the pattern. I’ll wear this tank in the winter as an extra layer for warmth.
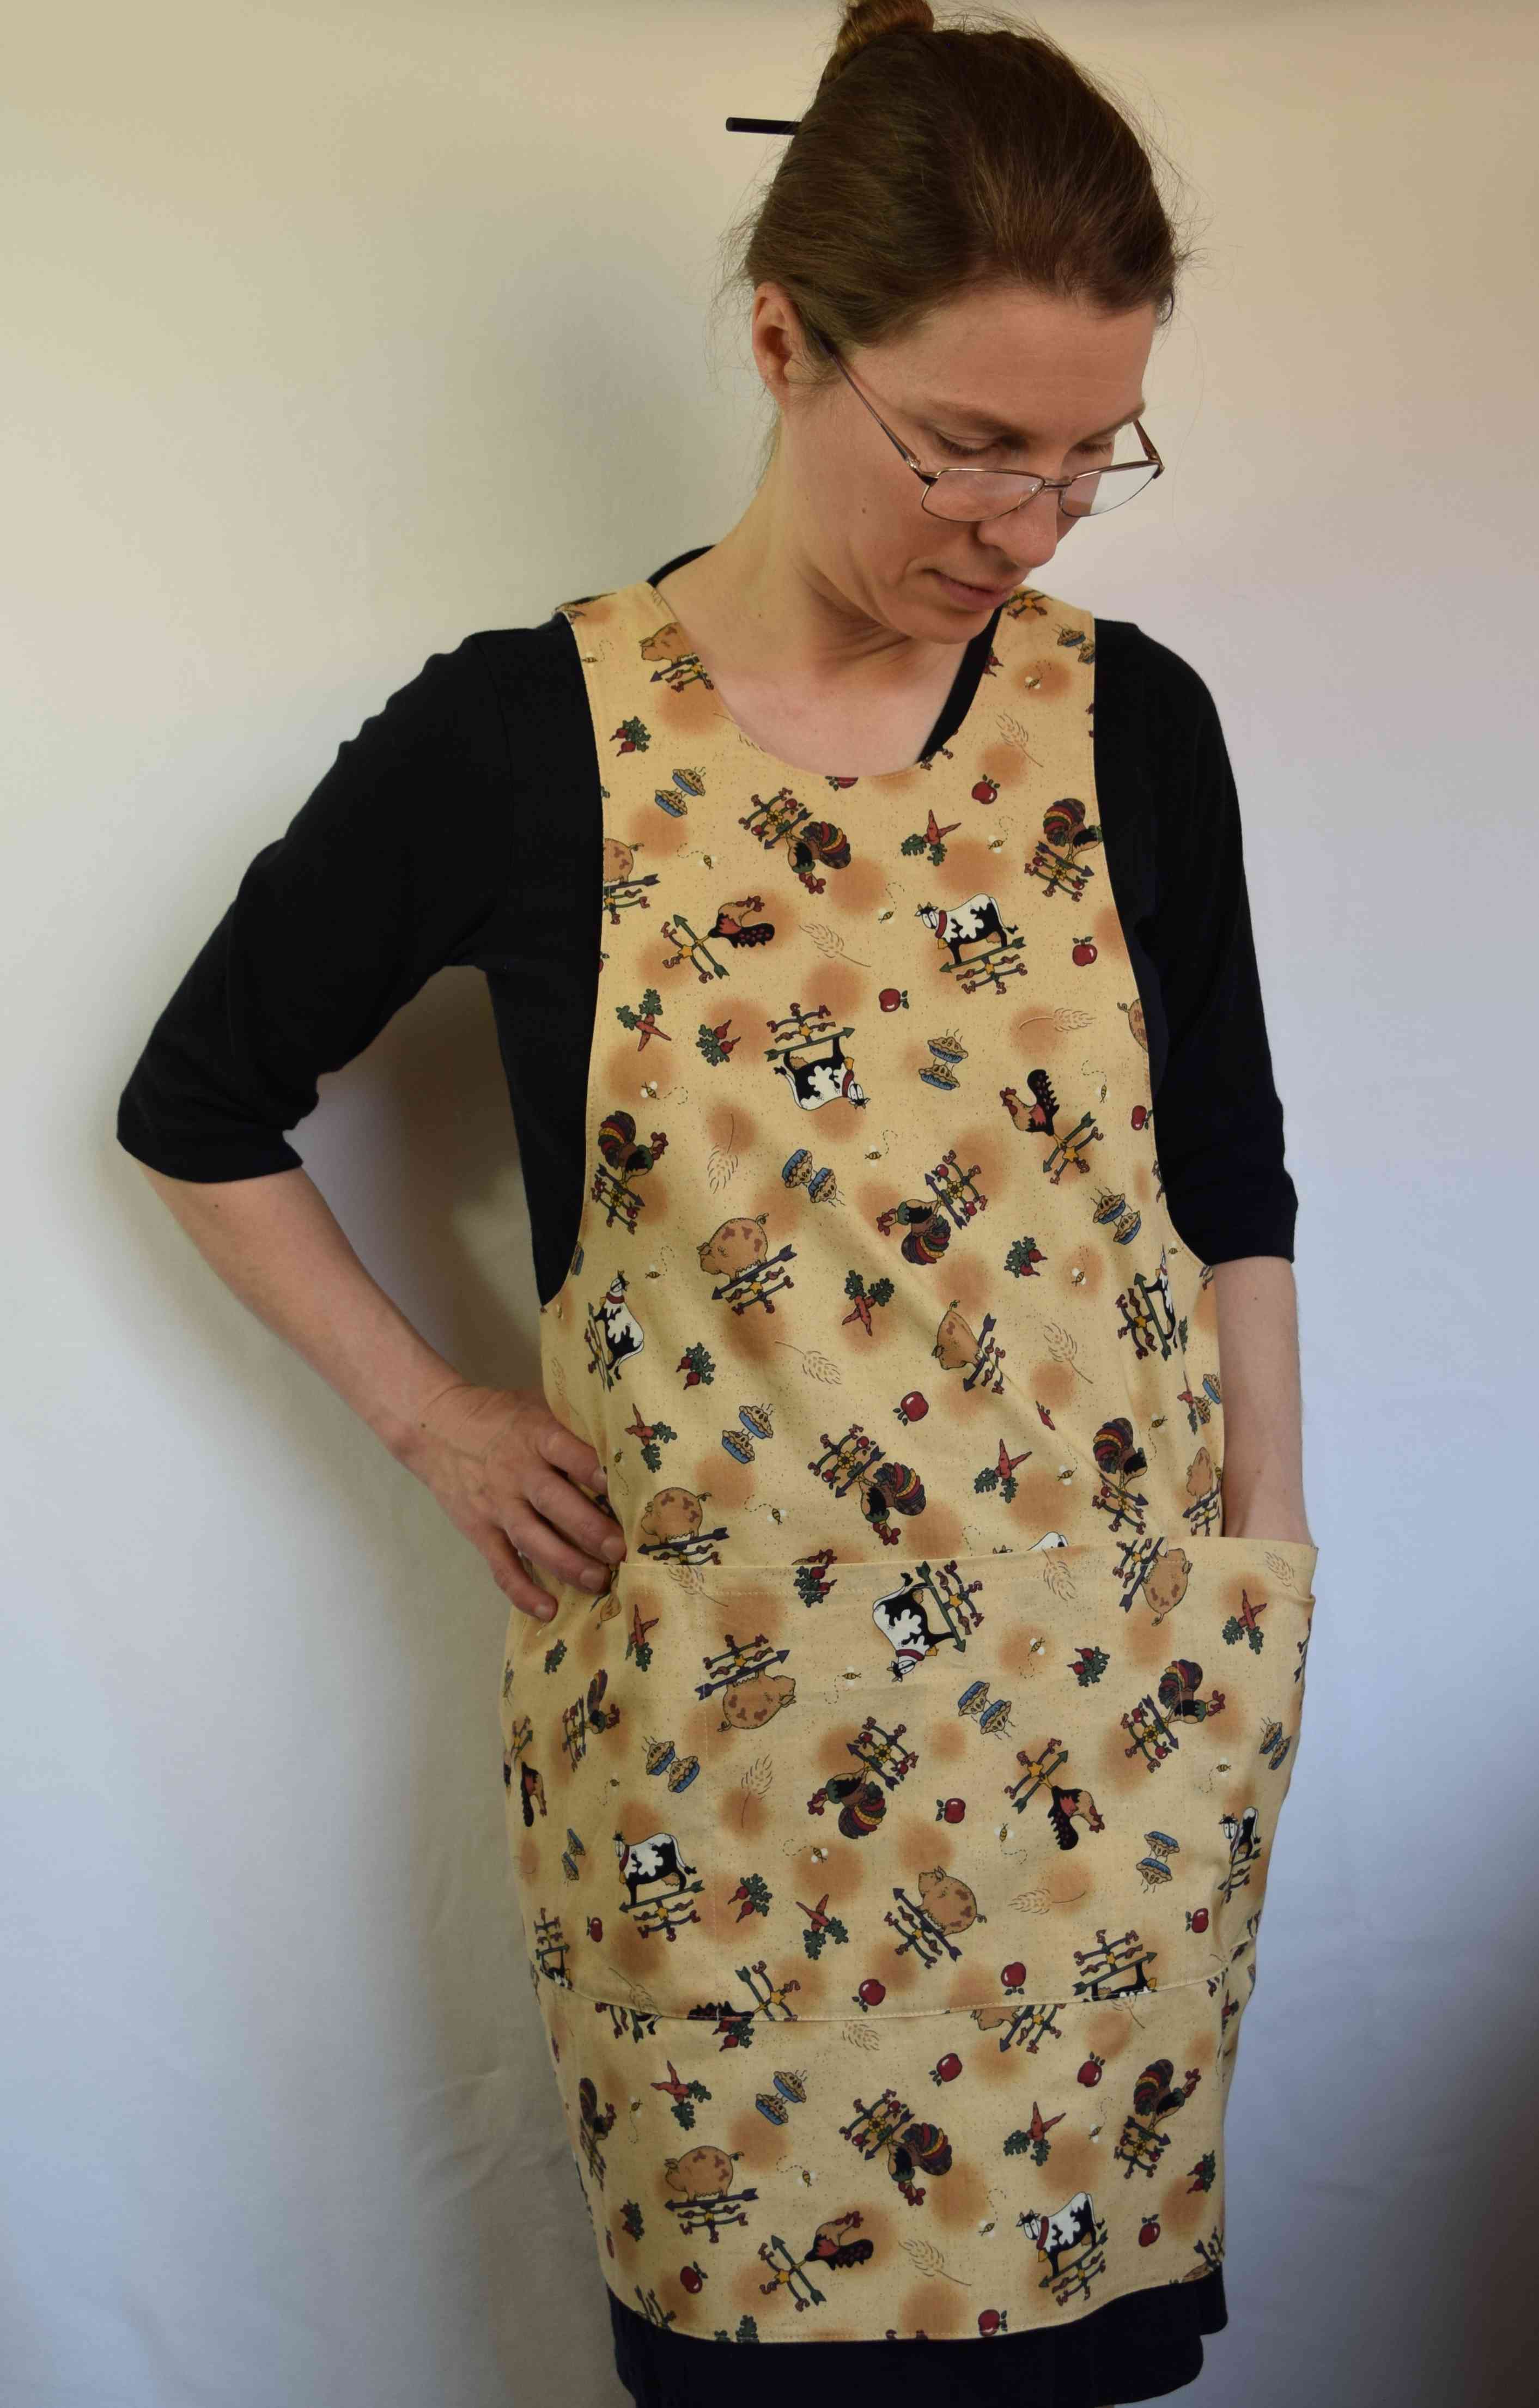
Here’s my first Helen’s Closet York Pinafore. The fabric I used was a remnant of cotton twill. I made the bias facings extra narrow, hand basted them in place, and sewed them down from the right side with jeans topstitching thread. I did an FBA and shortened the pattern in the upper chest area so the neckline and the opening on the side aren’t down so low. I also made some fit changes to the back shoulder and made a full bum adjustment. The pattern alterations were so easy with my dress form! It is such a simple pattern that I just pinned the printer paper pattern onto my dress form and adjusted it. Kind of like tissue fitting, but I didn’t even bother tracing the pattern onto tissue paper.

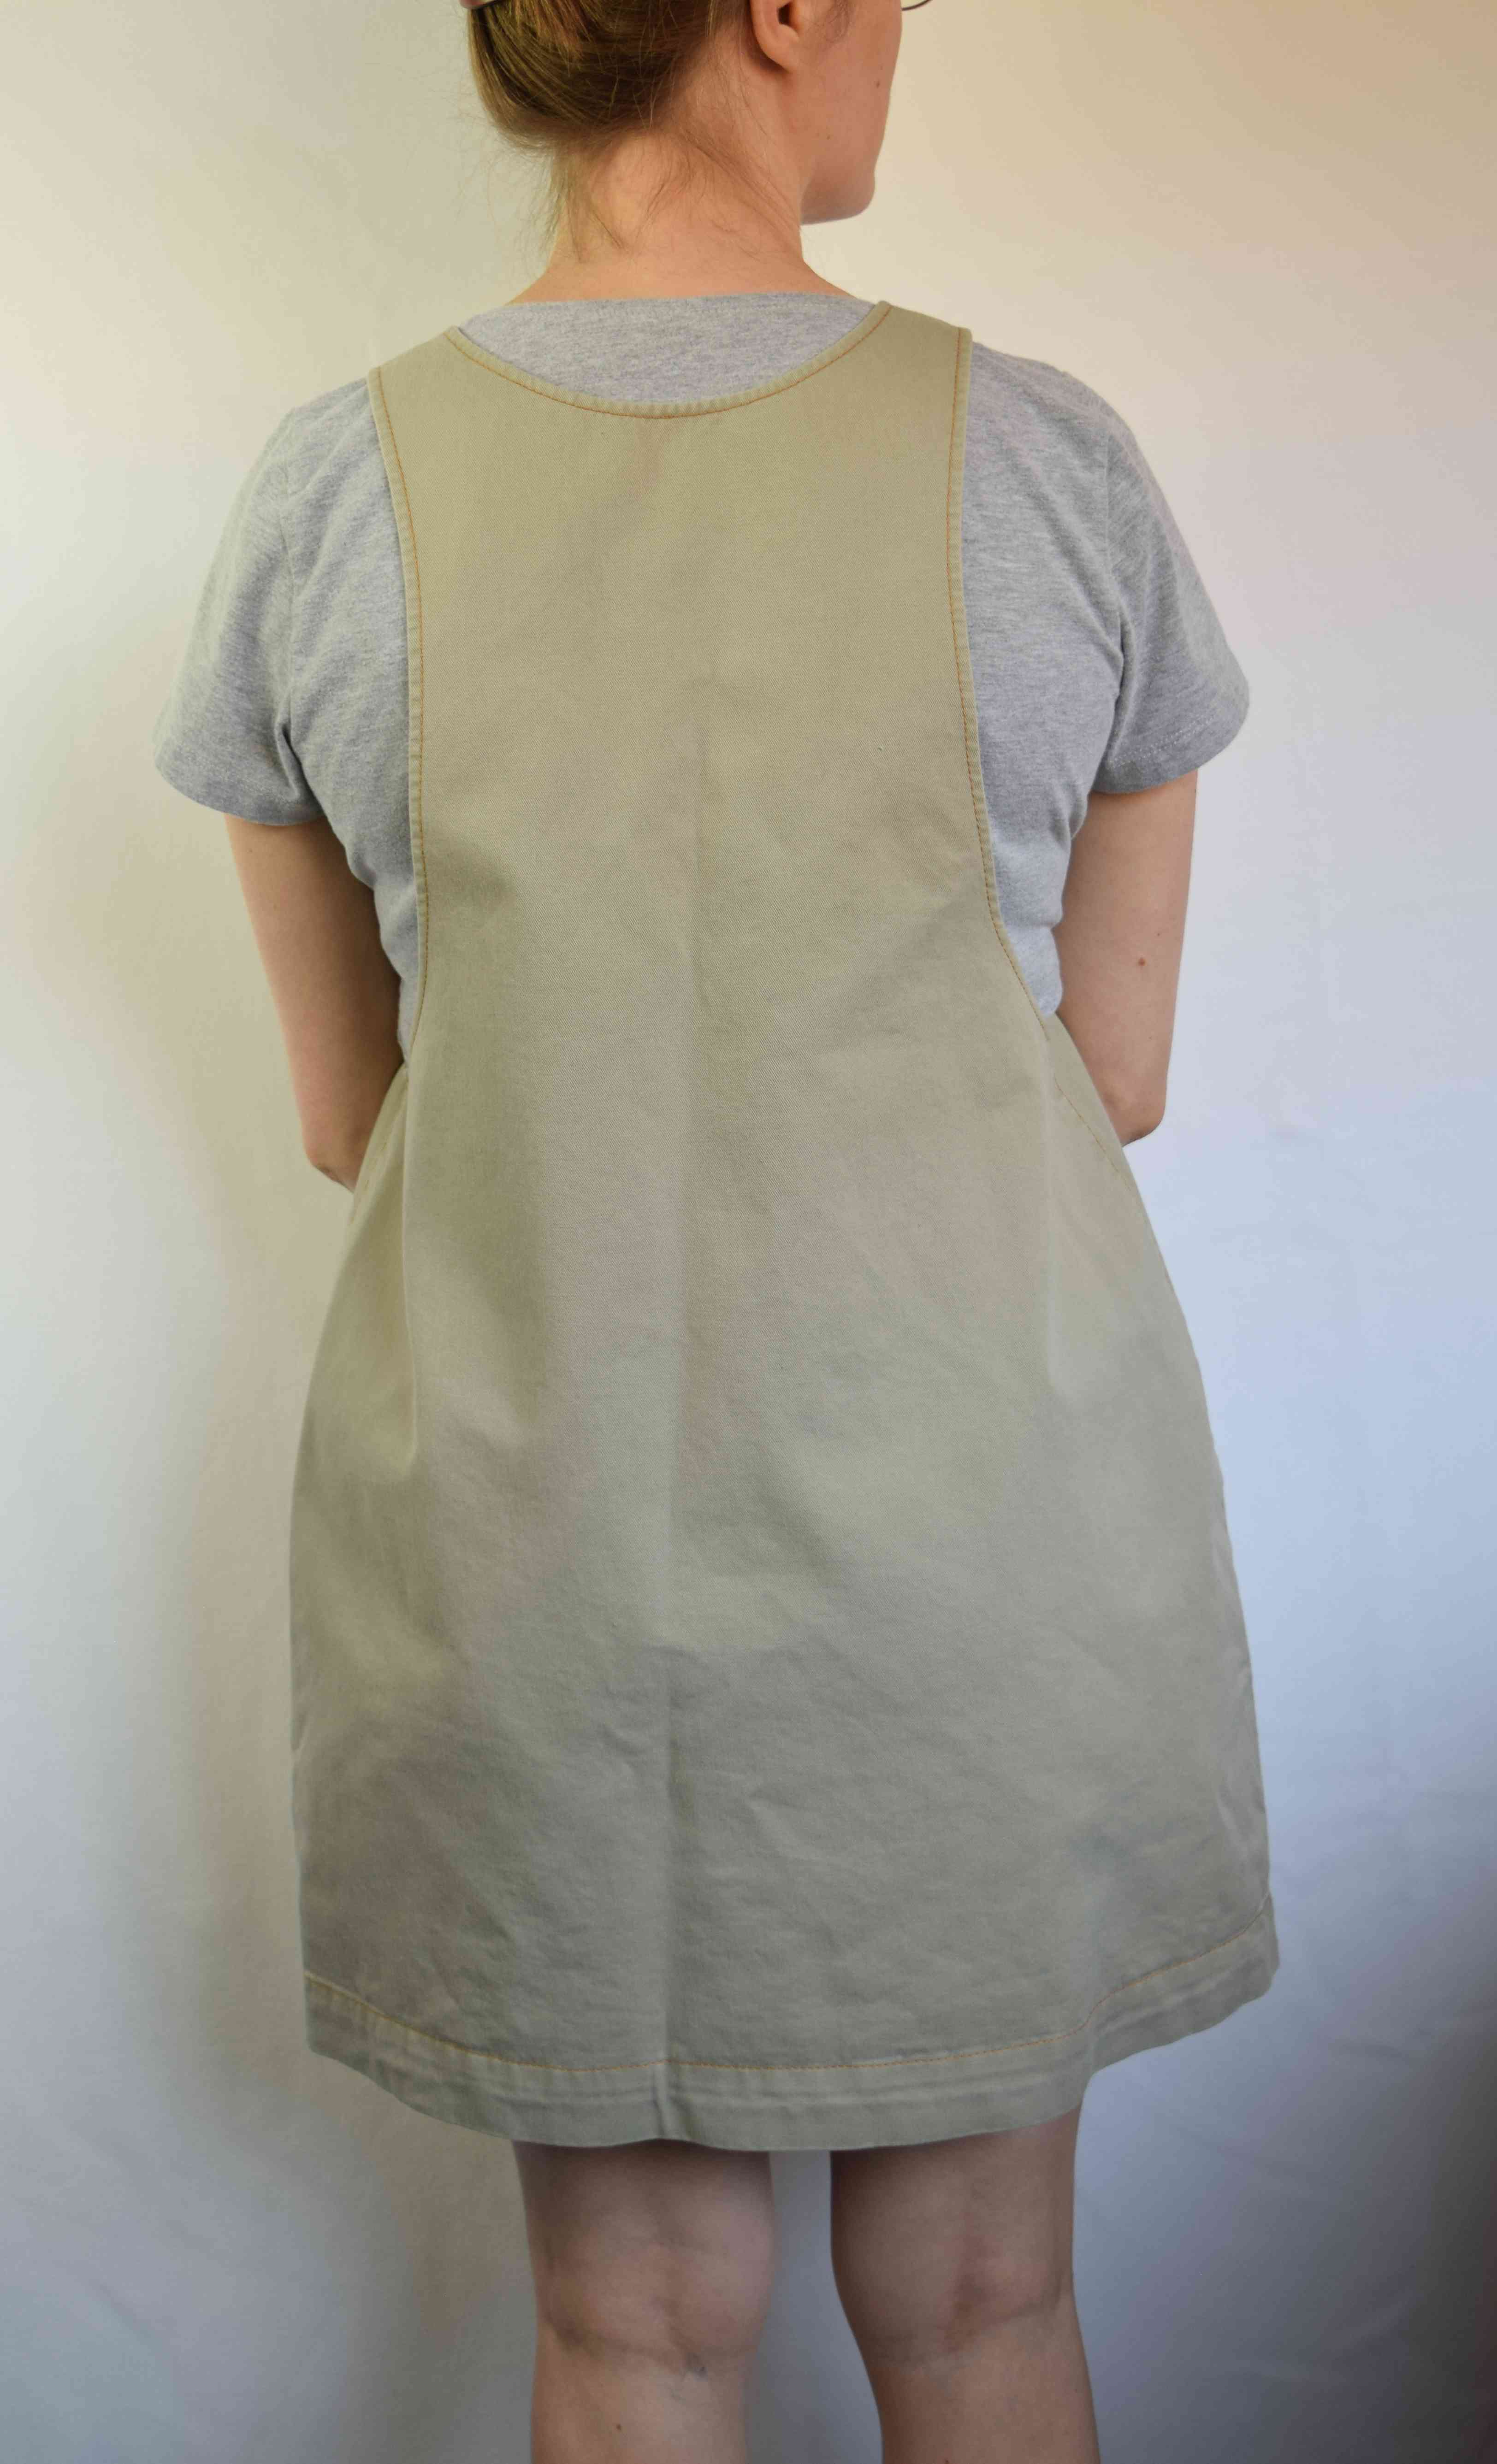
Here’s my second, longer version of the York. I made this in linen. I drafted narrow exposed facings for this one instead of using bias tape. The facing fabric is floral linen left over from making my Bootstrap Fashion dress form.

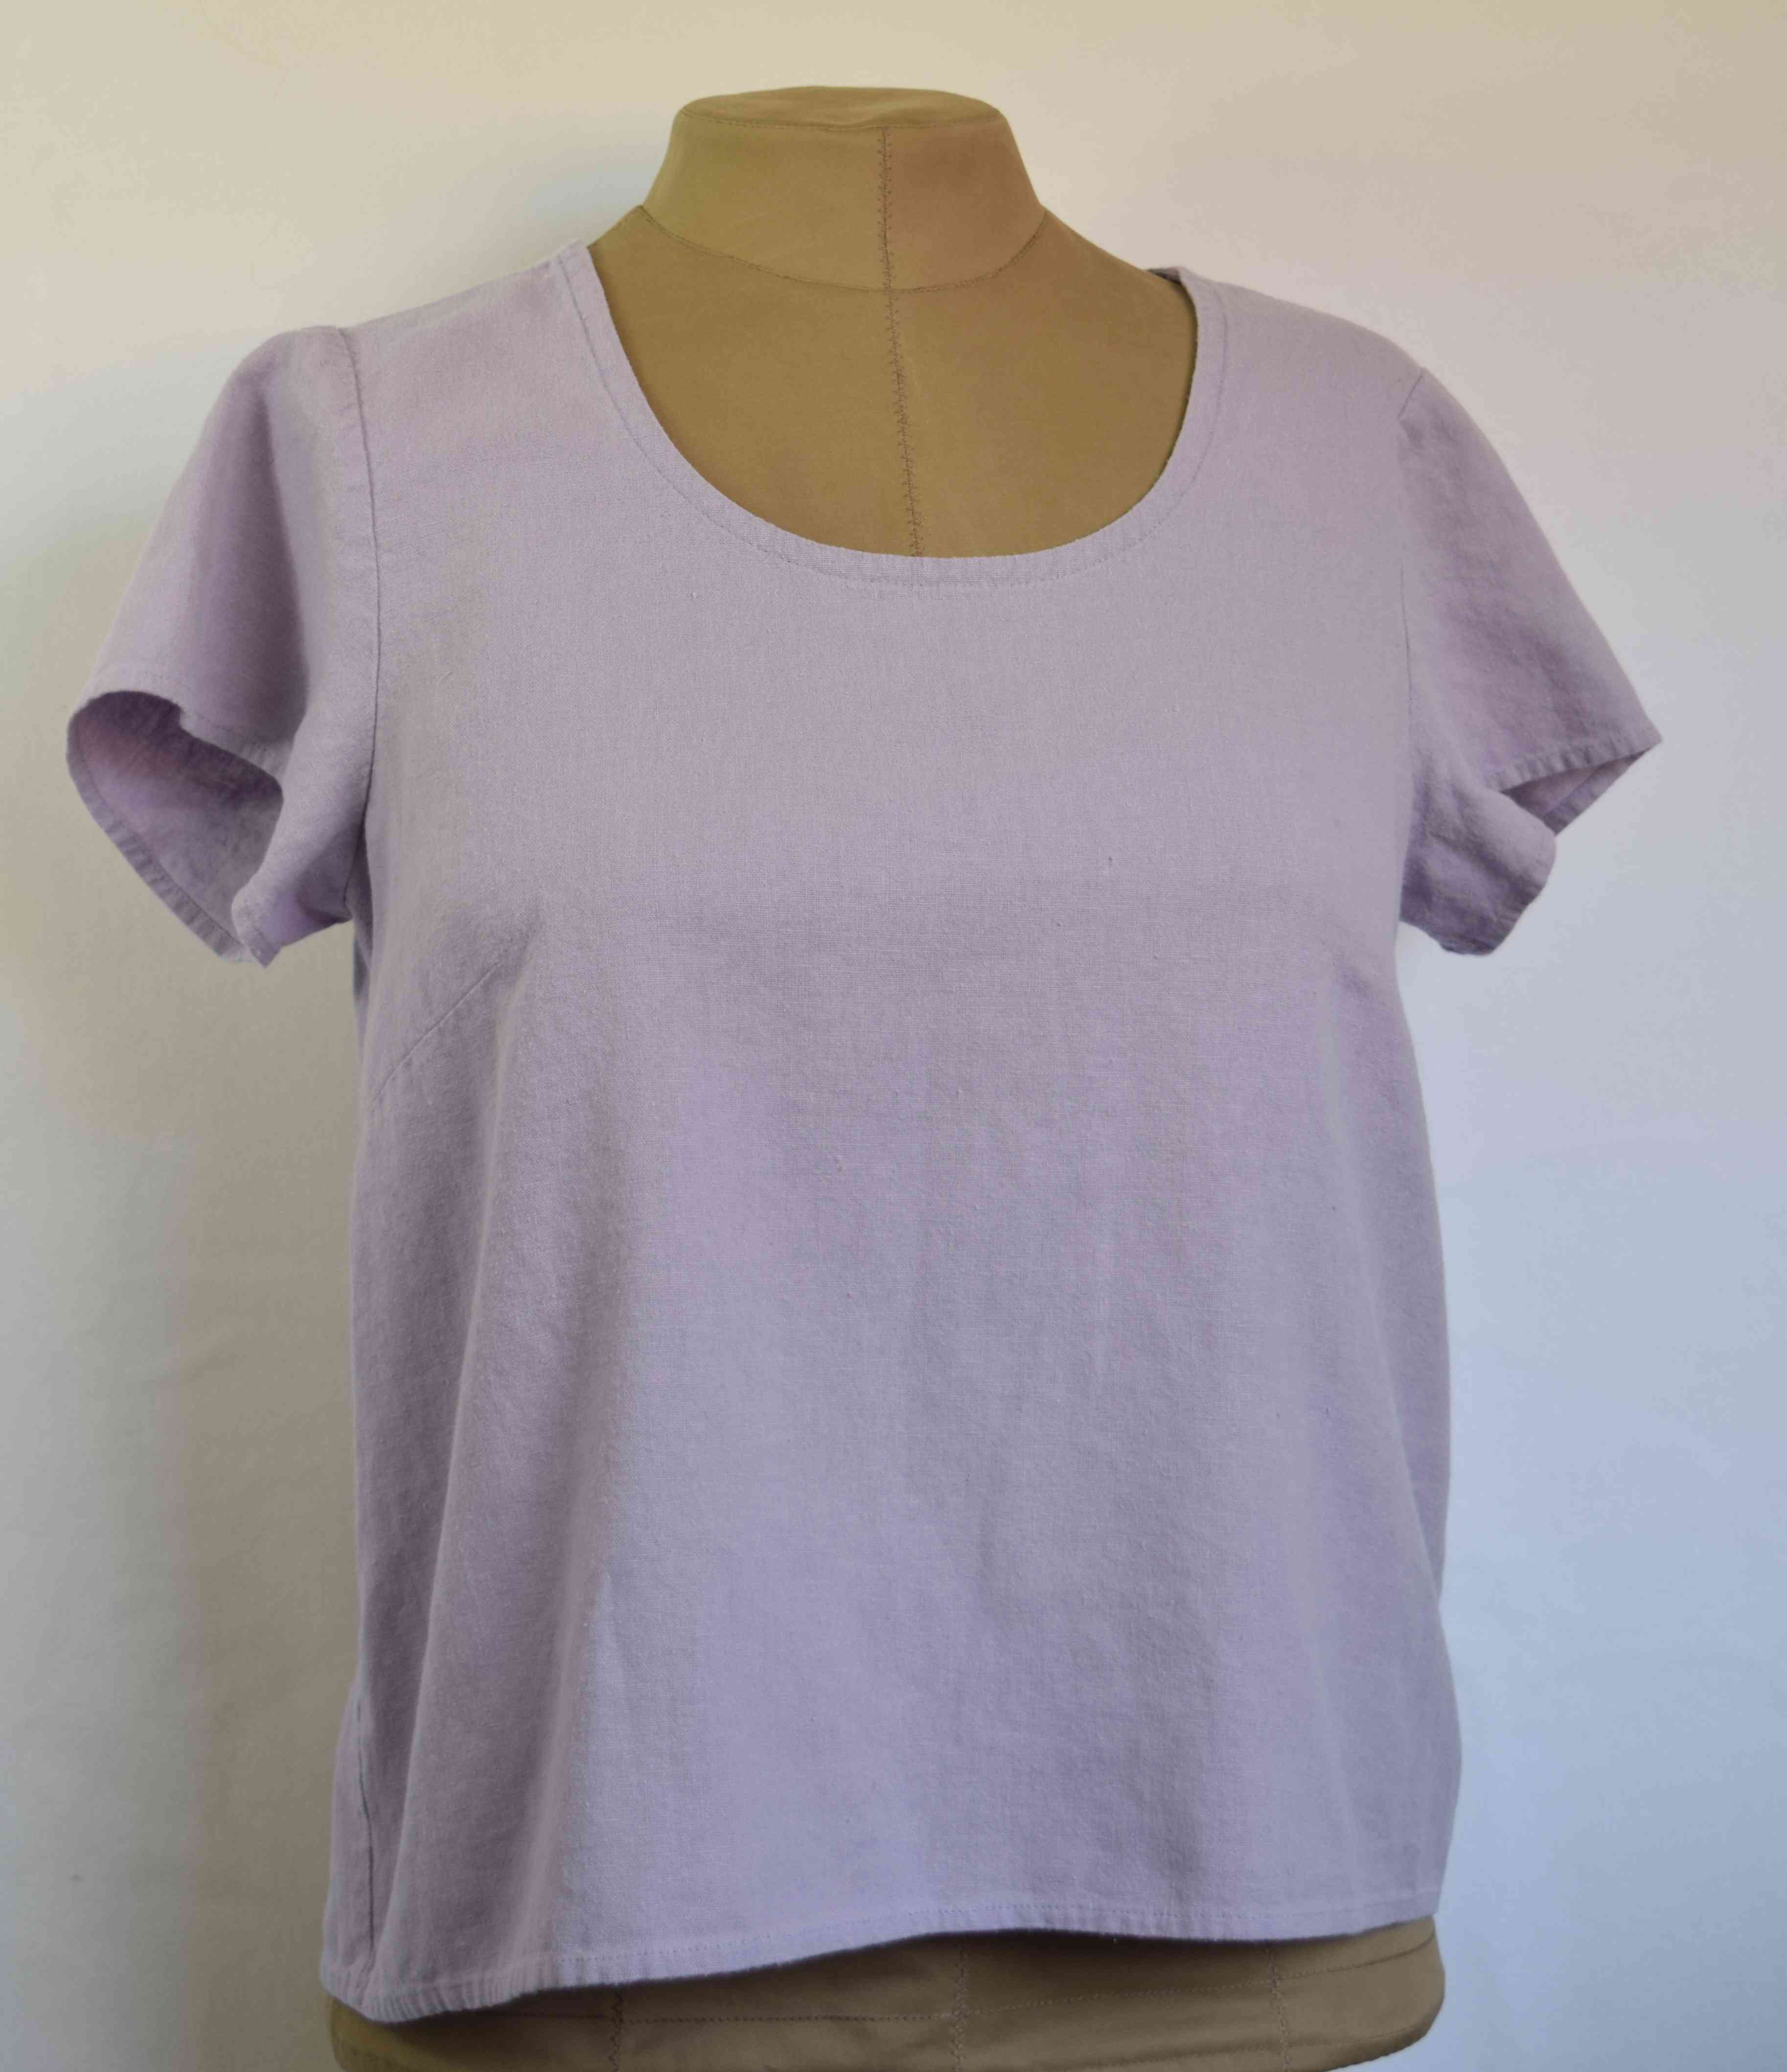
I had some lavender linen left over, so I made another modified Scout Tee with it.
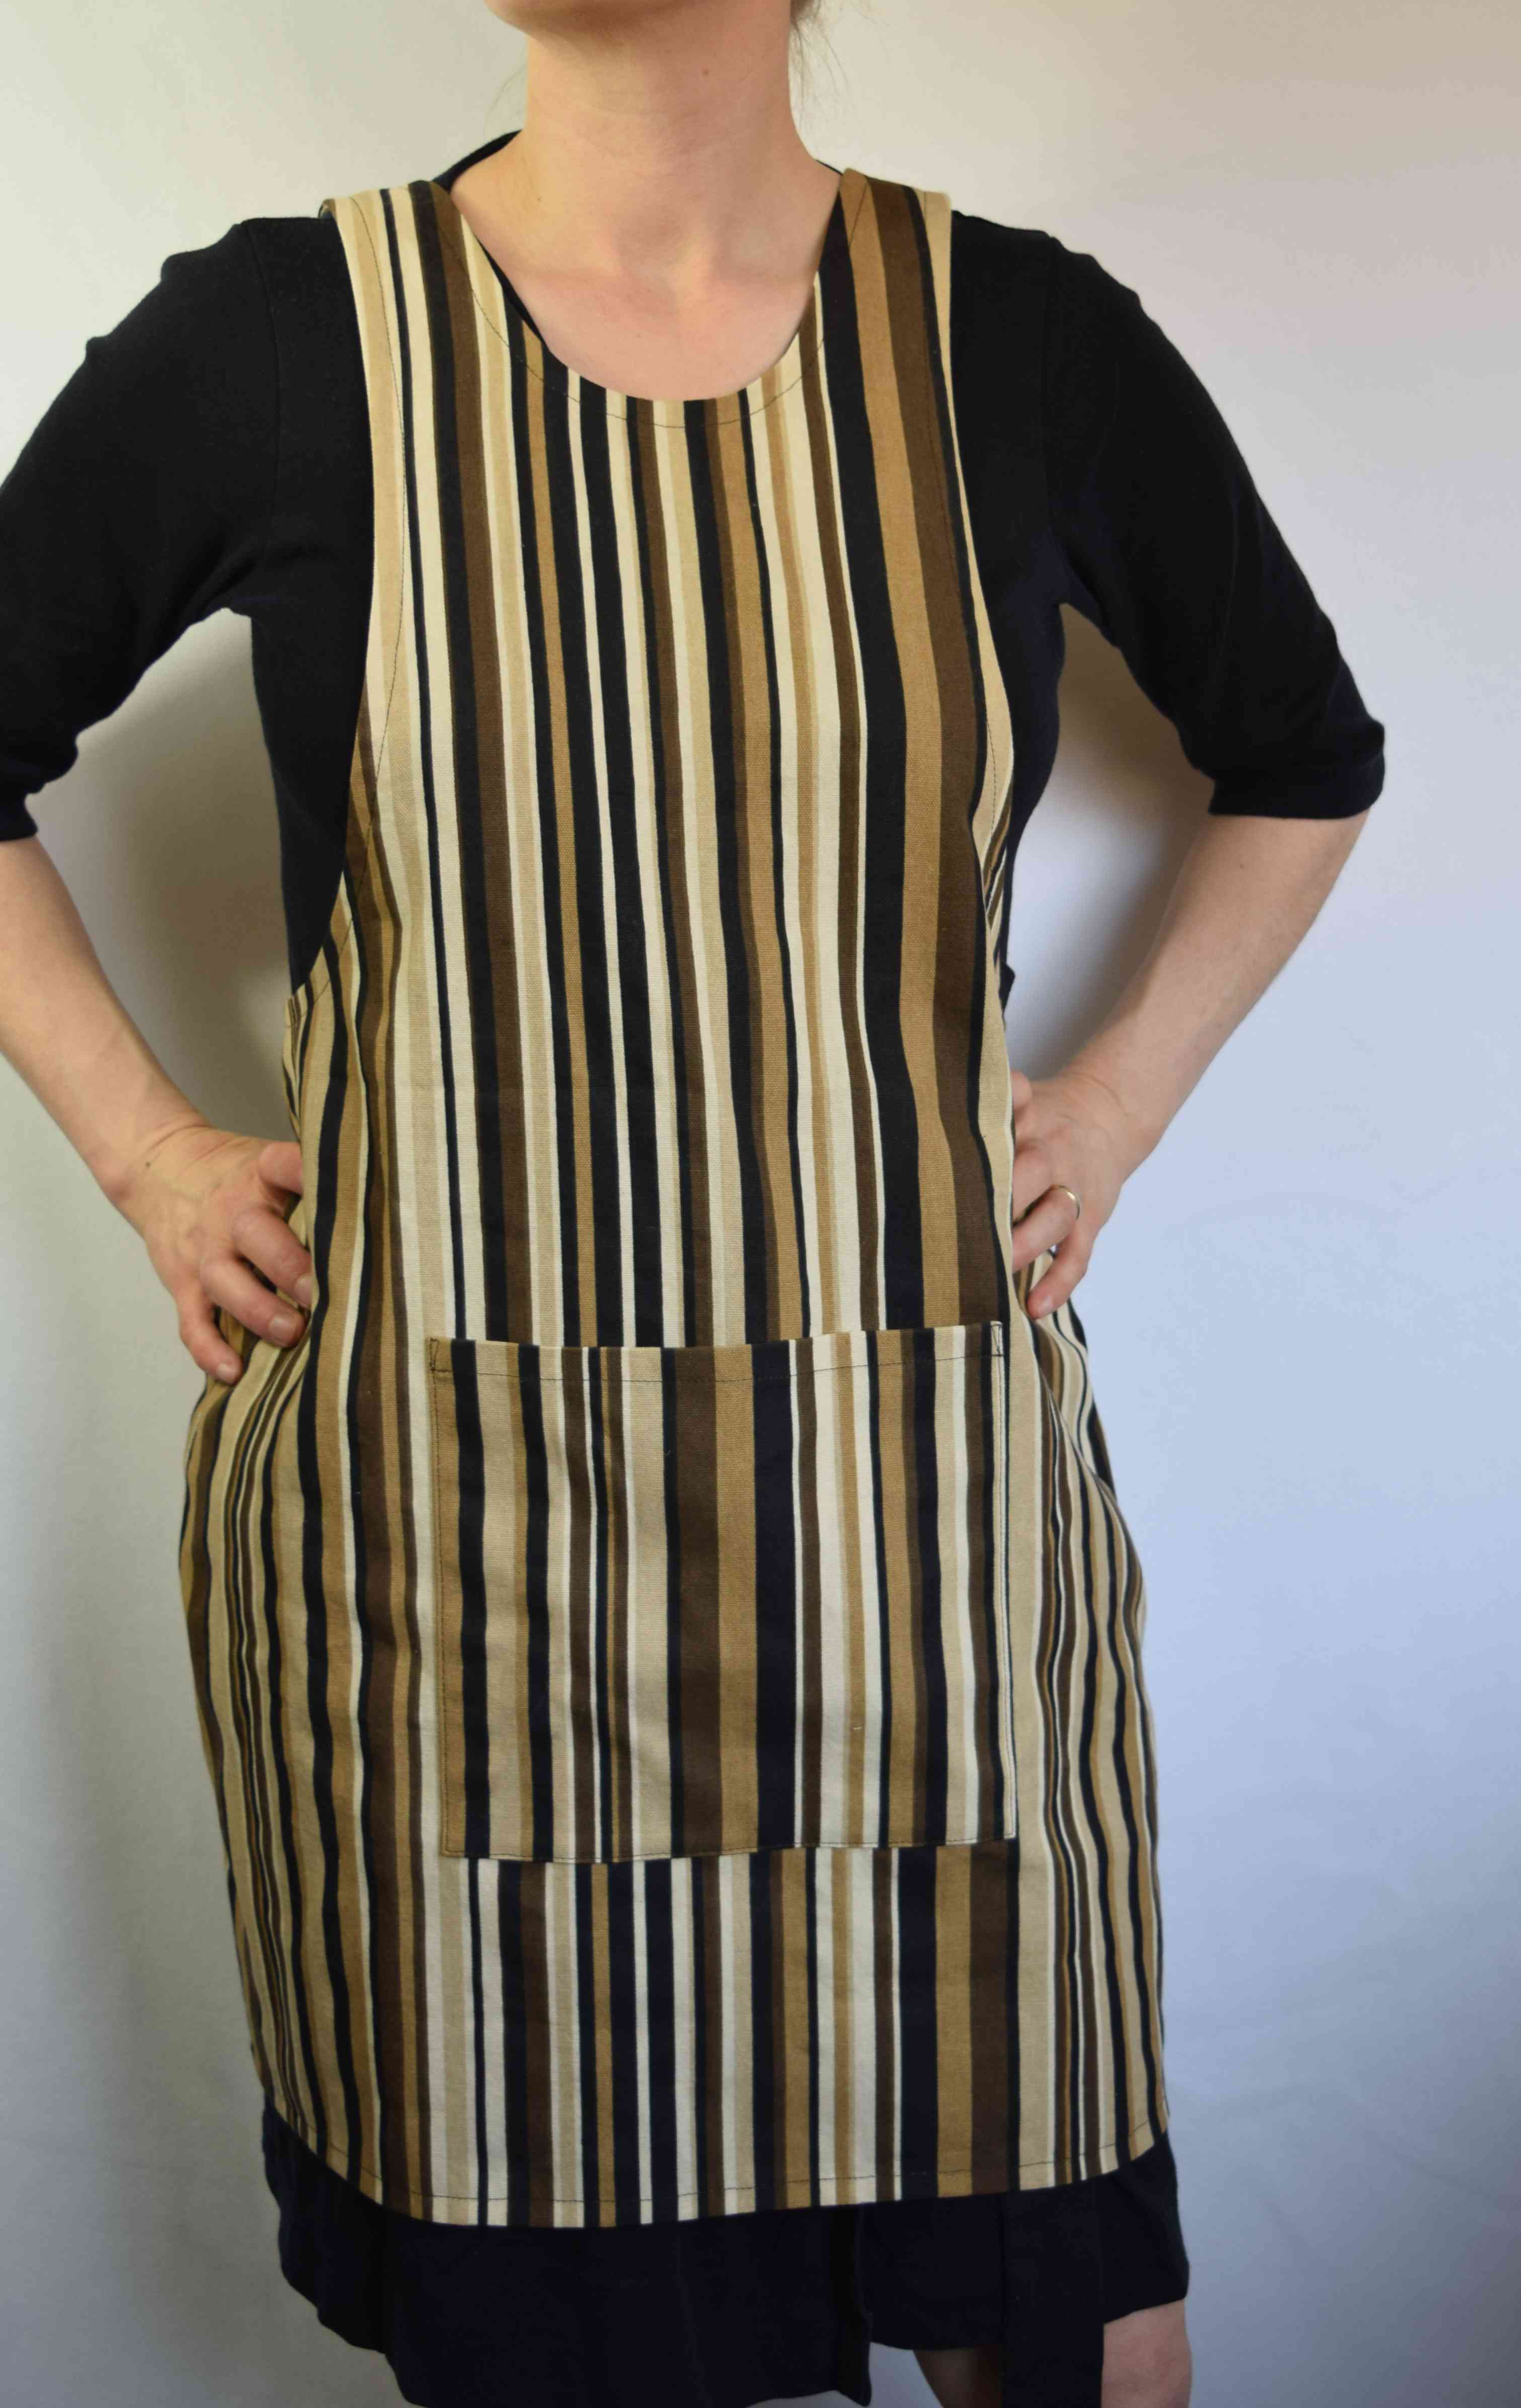
Helen released a cross-back apron expansion pack for the York Pinafore. I thought that was a fabulous idea, but I had made so many fit changes to the pinafore already that I thought it would be easier just to figure out this pattern hack on my own (plus I spent too much money on sewing stuff already this year, so I’m on a fabric and pattern buying break). I put my first York pinafore onto my dress form and pinned ribbon onto the back to figure out the apron back lines, then traced them onto tissue paper.
I managed to squeeze this apron out of just under a yard of cotton canvas I had in my stash. I had to cut the back pieces slightly off grain, but it looks fine.
The apron is ever so much more comfortable than ones with a tie around the back of my neck. And it fits! The one-size-fits-all store bought aprons I have are much too large for me.

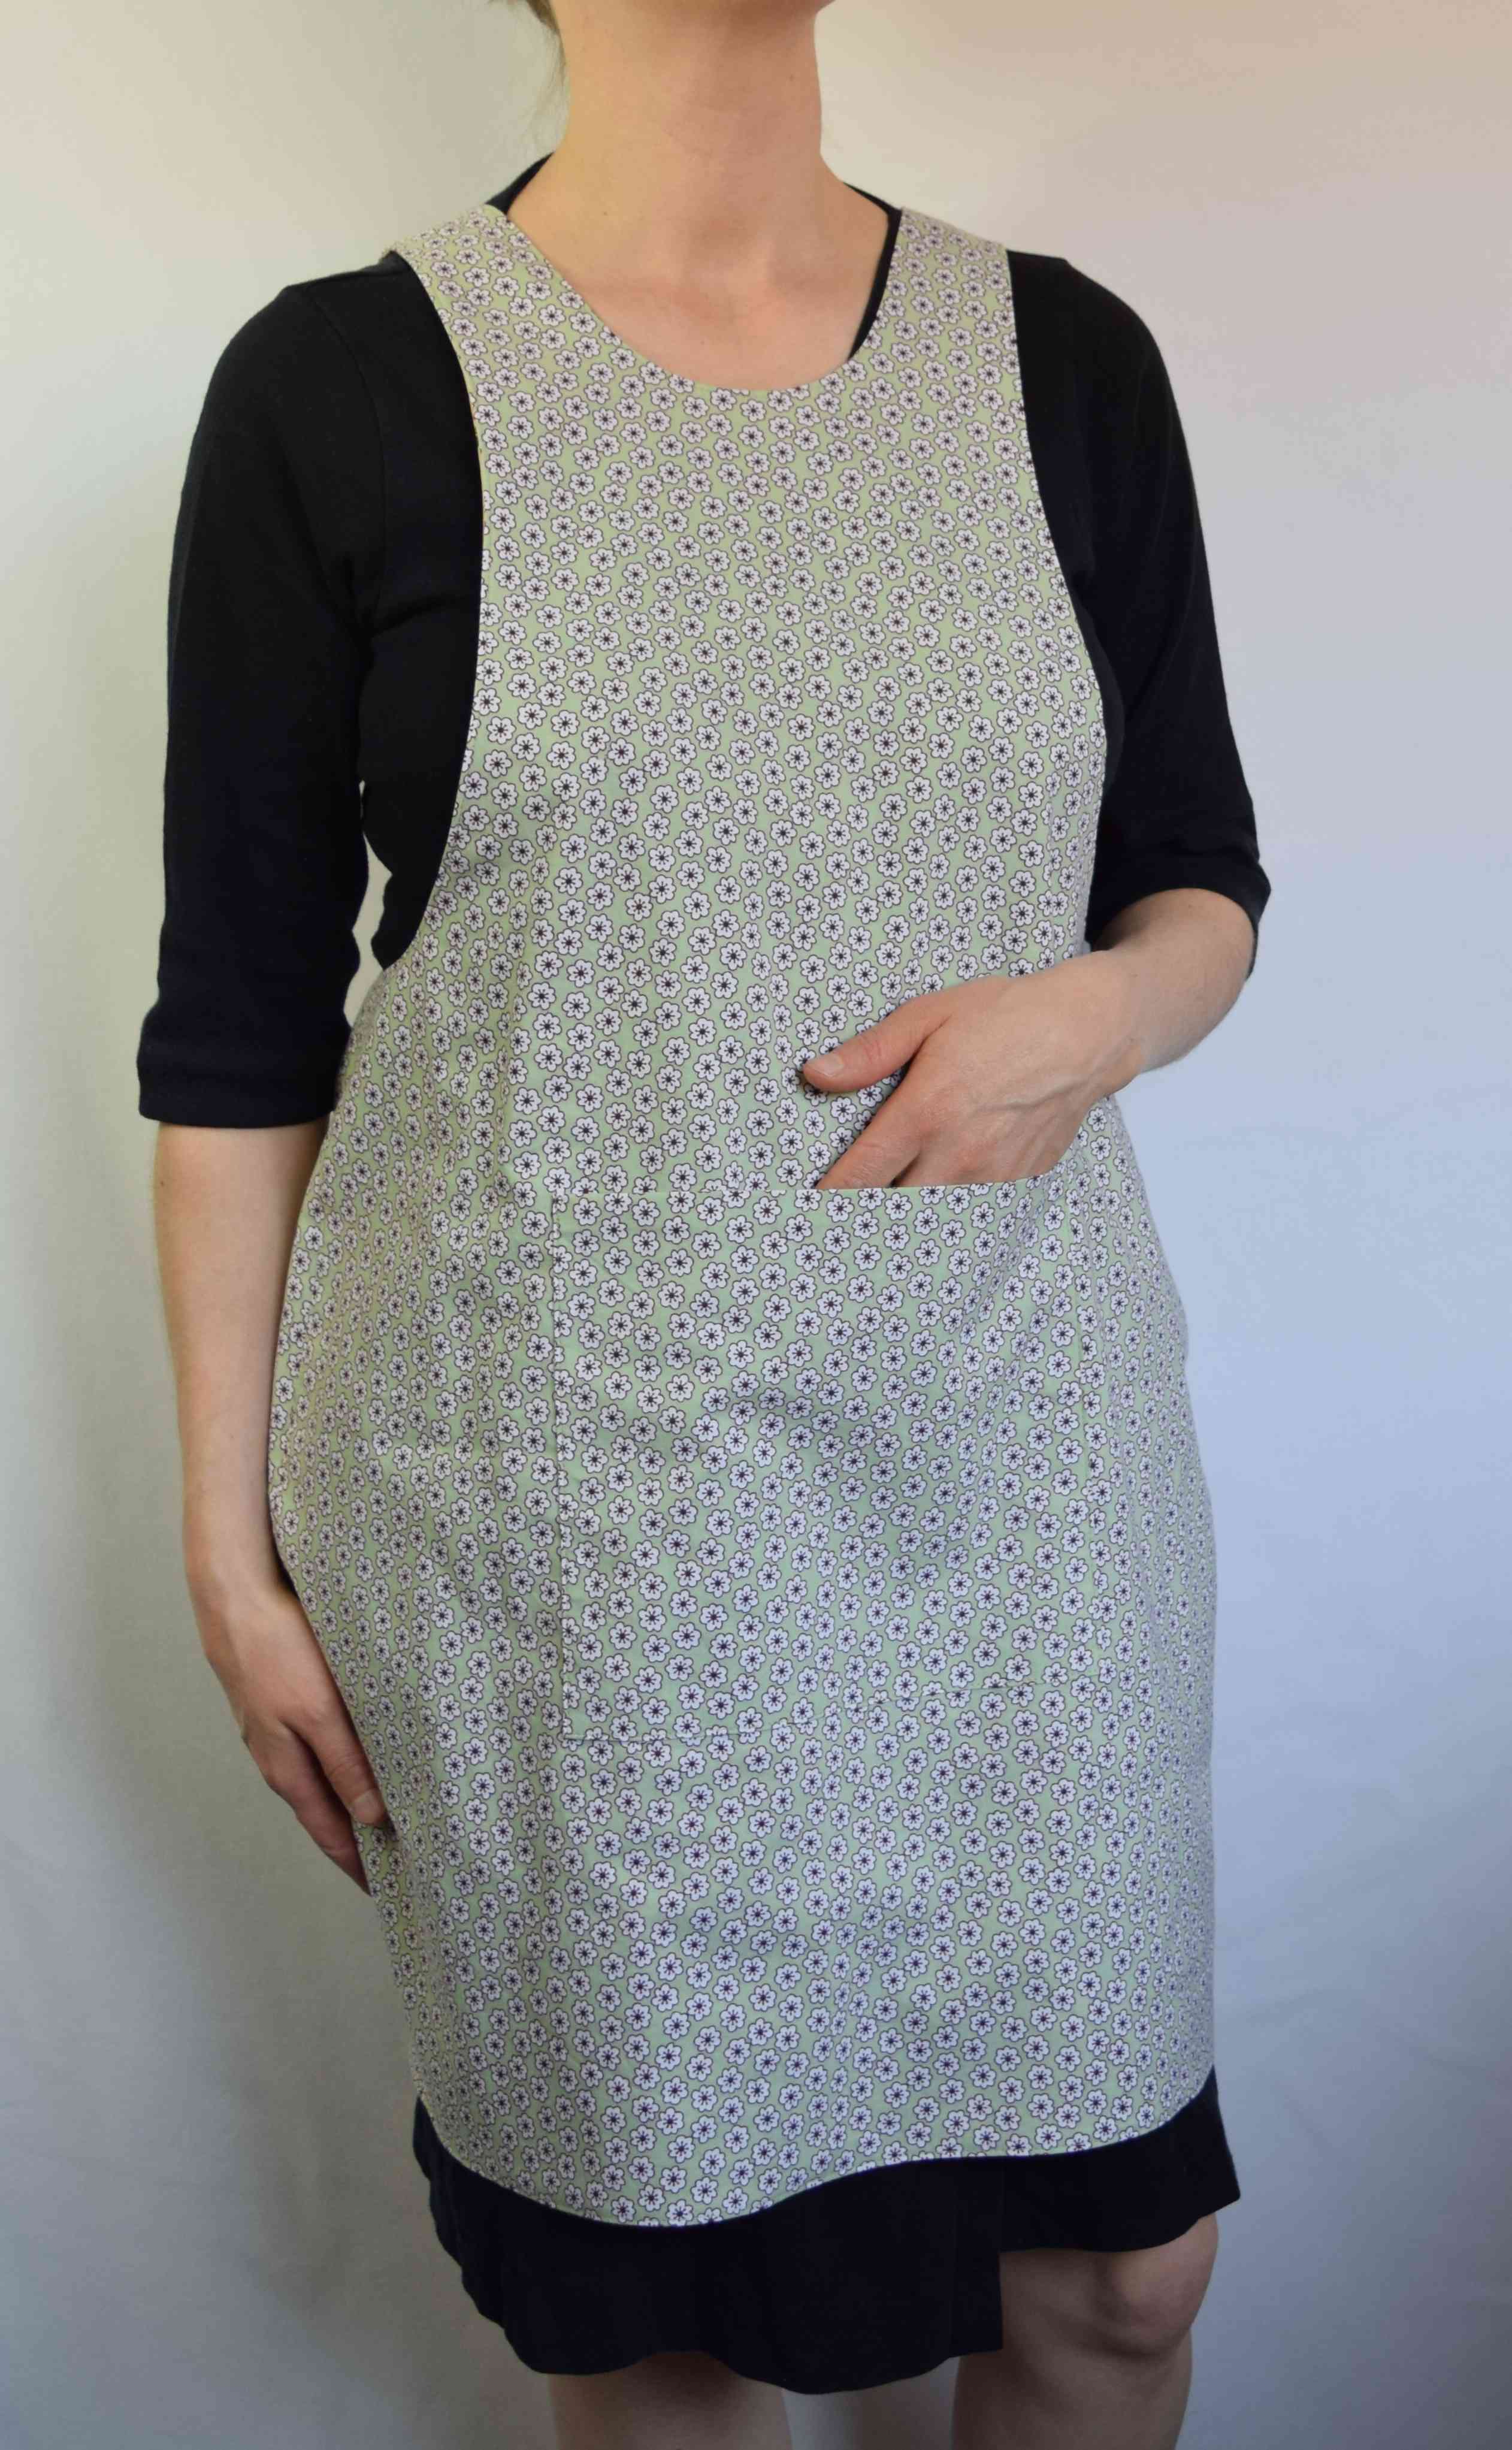
I made a second, reversible York cross-back apron. I thought it would be easier to sew than sewing on over five yards of bias facing, but it really wasn’t, and the edges aren’t as stable. If I make another one of these aprons, I’ll stick to finishing the edges with bias tape.

Is it a floral kind of day?
Or am I in the mood for food and farm animals?
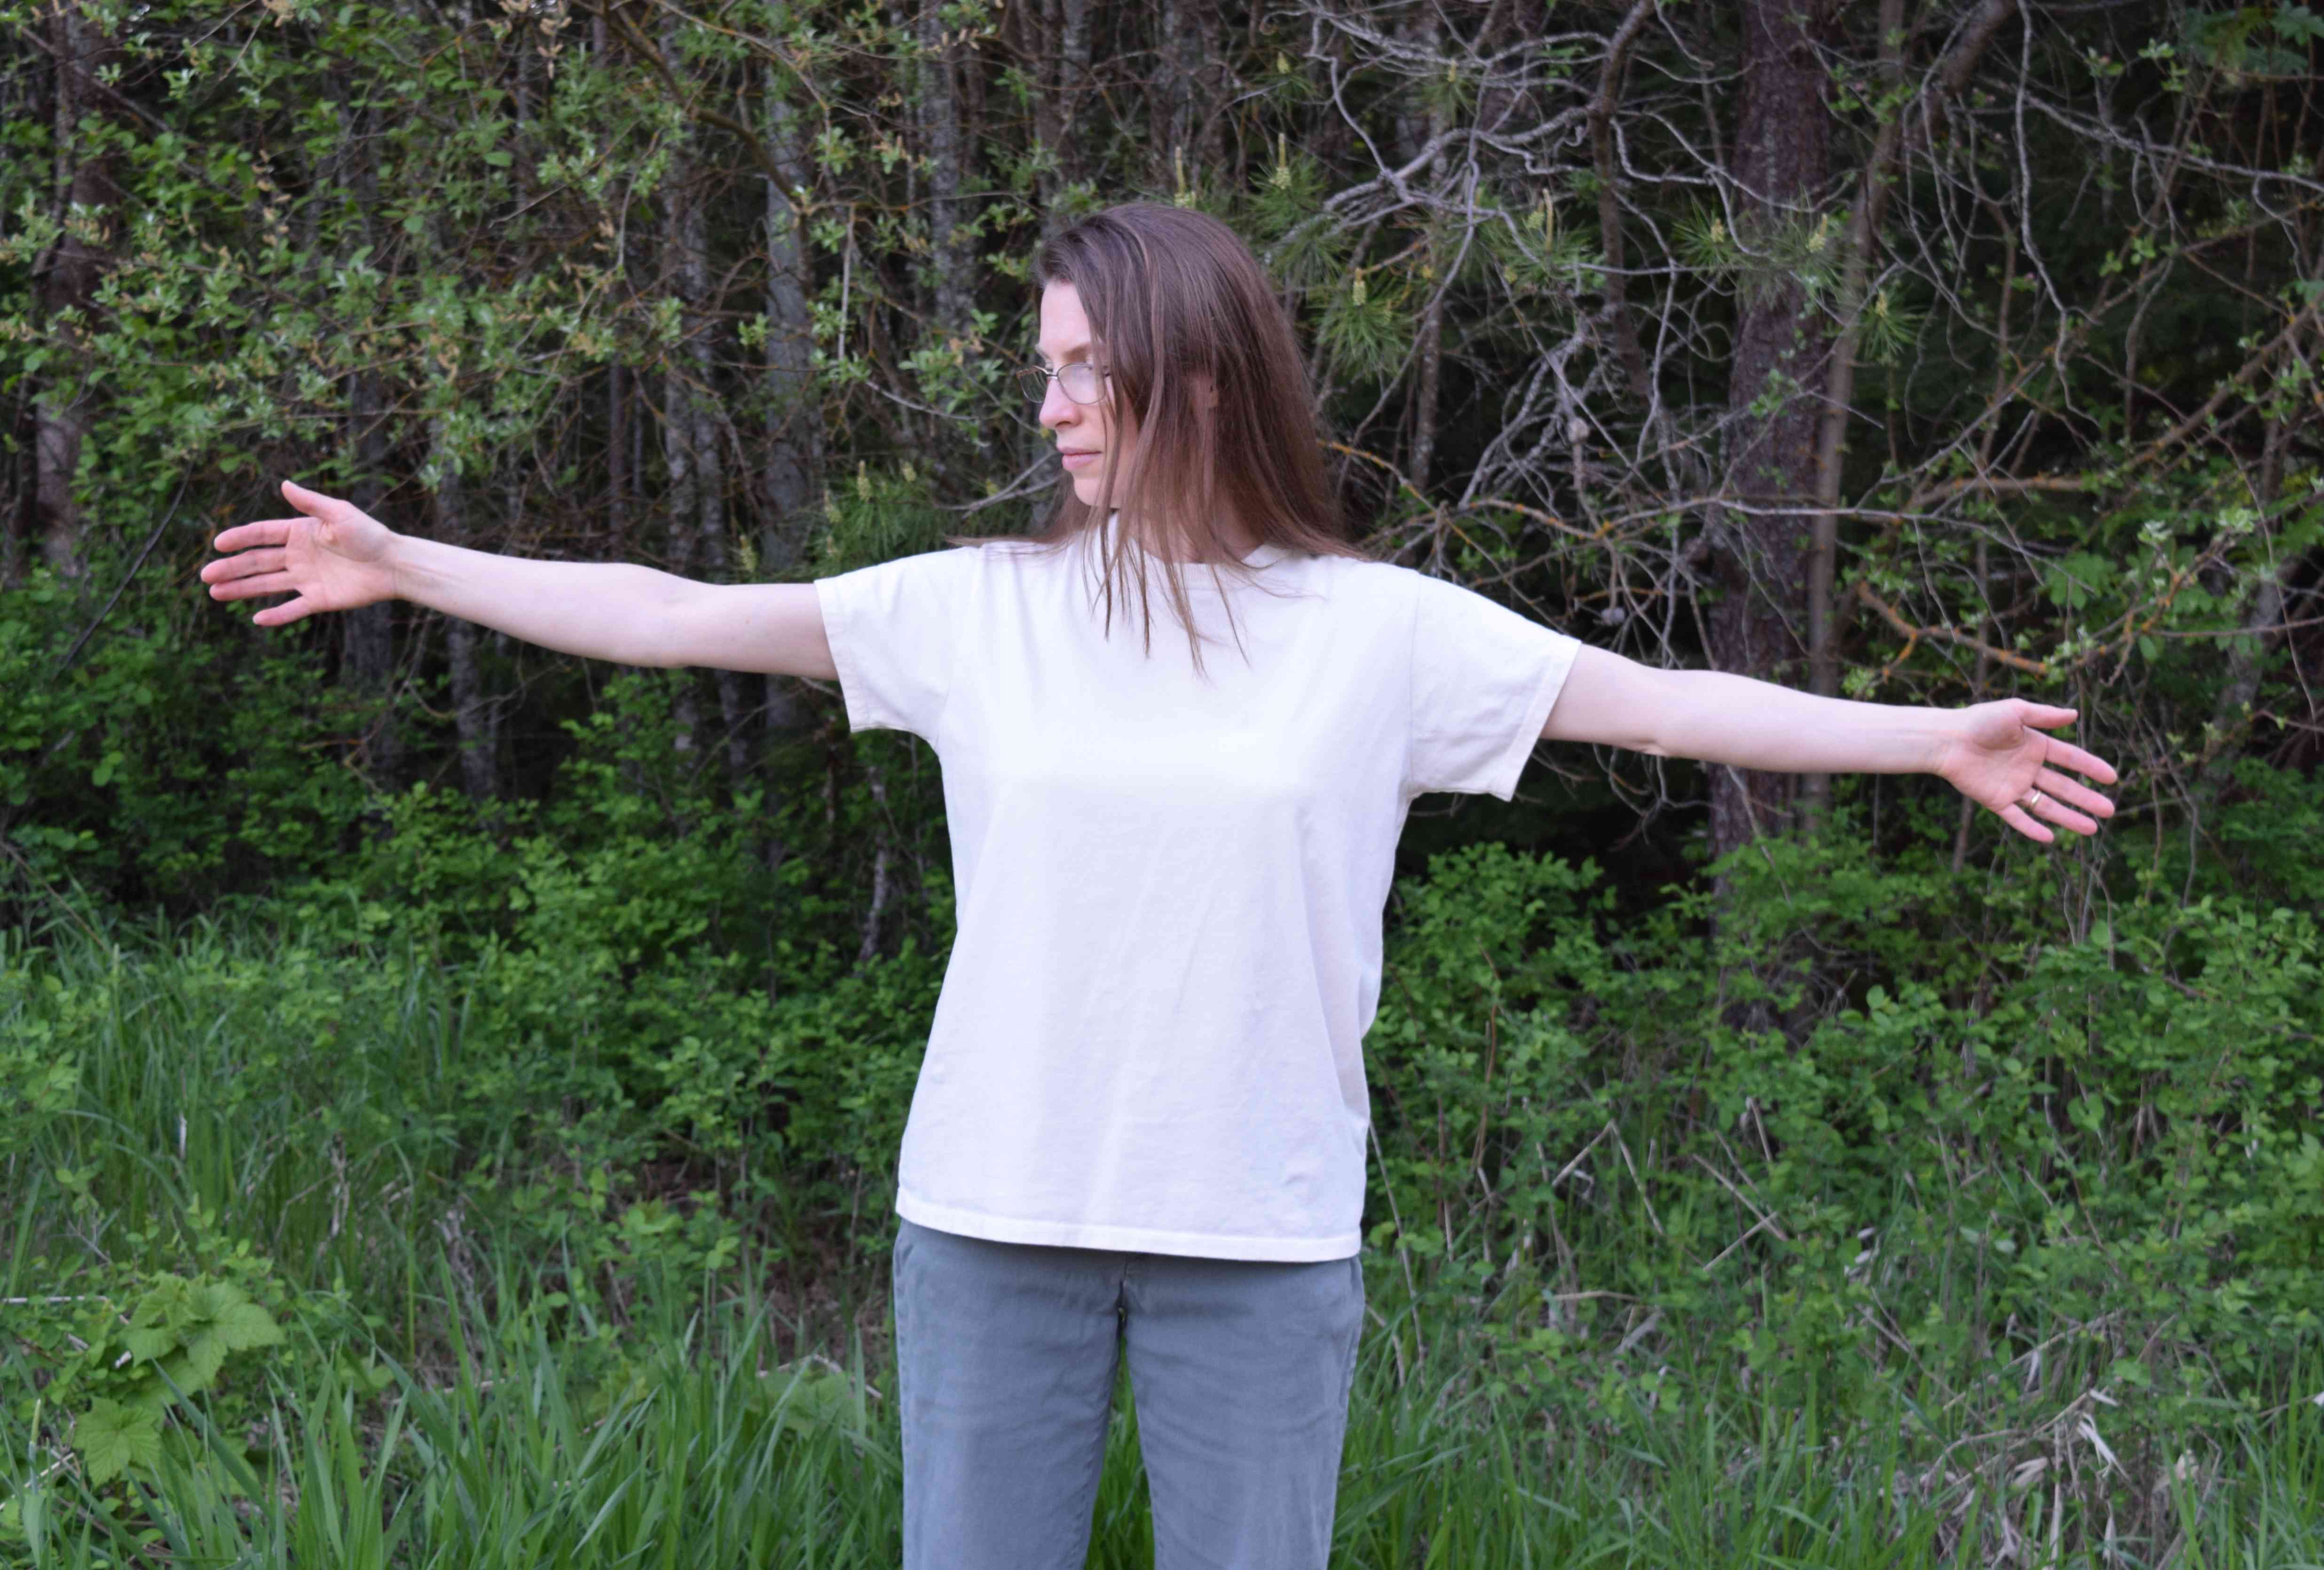
Here is a loose fitting tee I made. My husband got a free T-shirt that ended up being a women’s large, not men’s, so he gave it to me. It is absolutely the perfect size for me, and I realized that my other ready-to-wear tees are all either too big or too small. So I traced off a pattern from the shirt, compared it to my fitting shell, and came up with a method for drafting the perfect loose fitting tee based off of a woven sloper. Once I’ve perfected the method a bit and tried it on other people I’ll share it. This tee is almost perfect. I need to raise the shoulder points just a bit on the next version.
I don’t tend to think of loose fitting T-shirts as needing much fitting, but they really are more comfortable when they fit correctly!
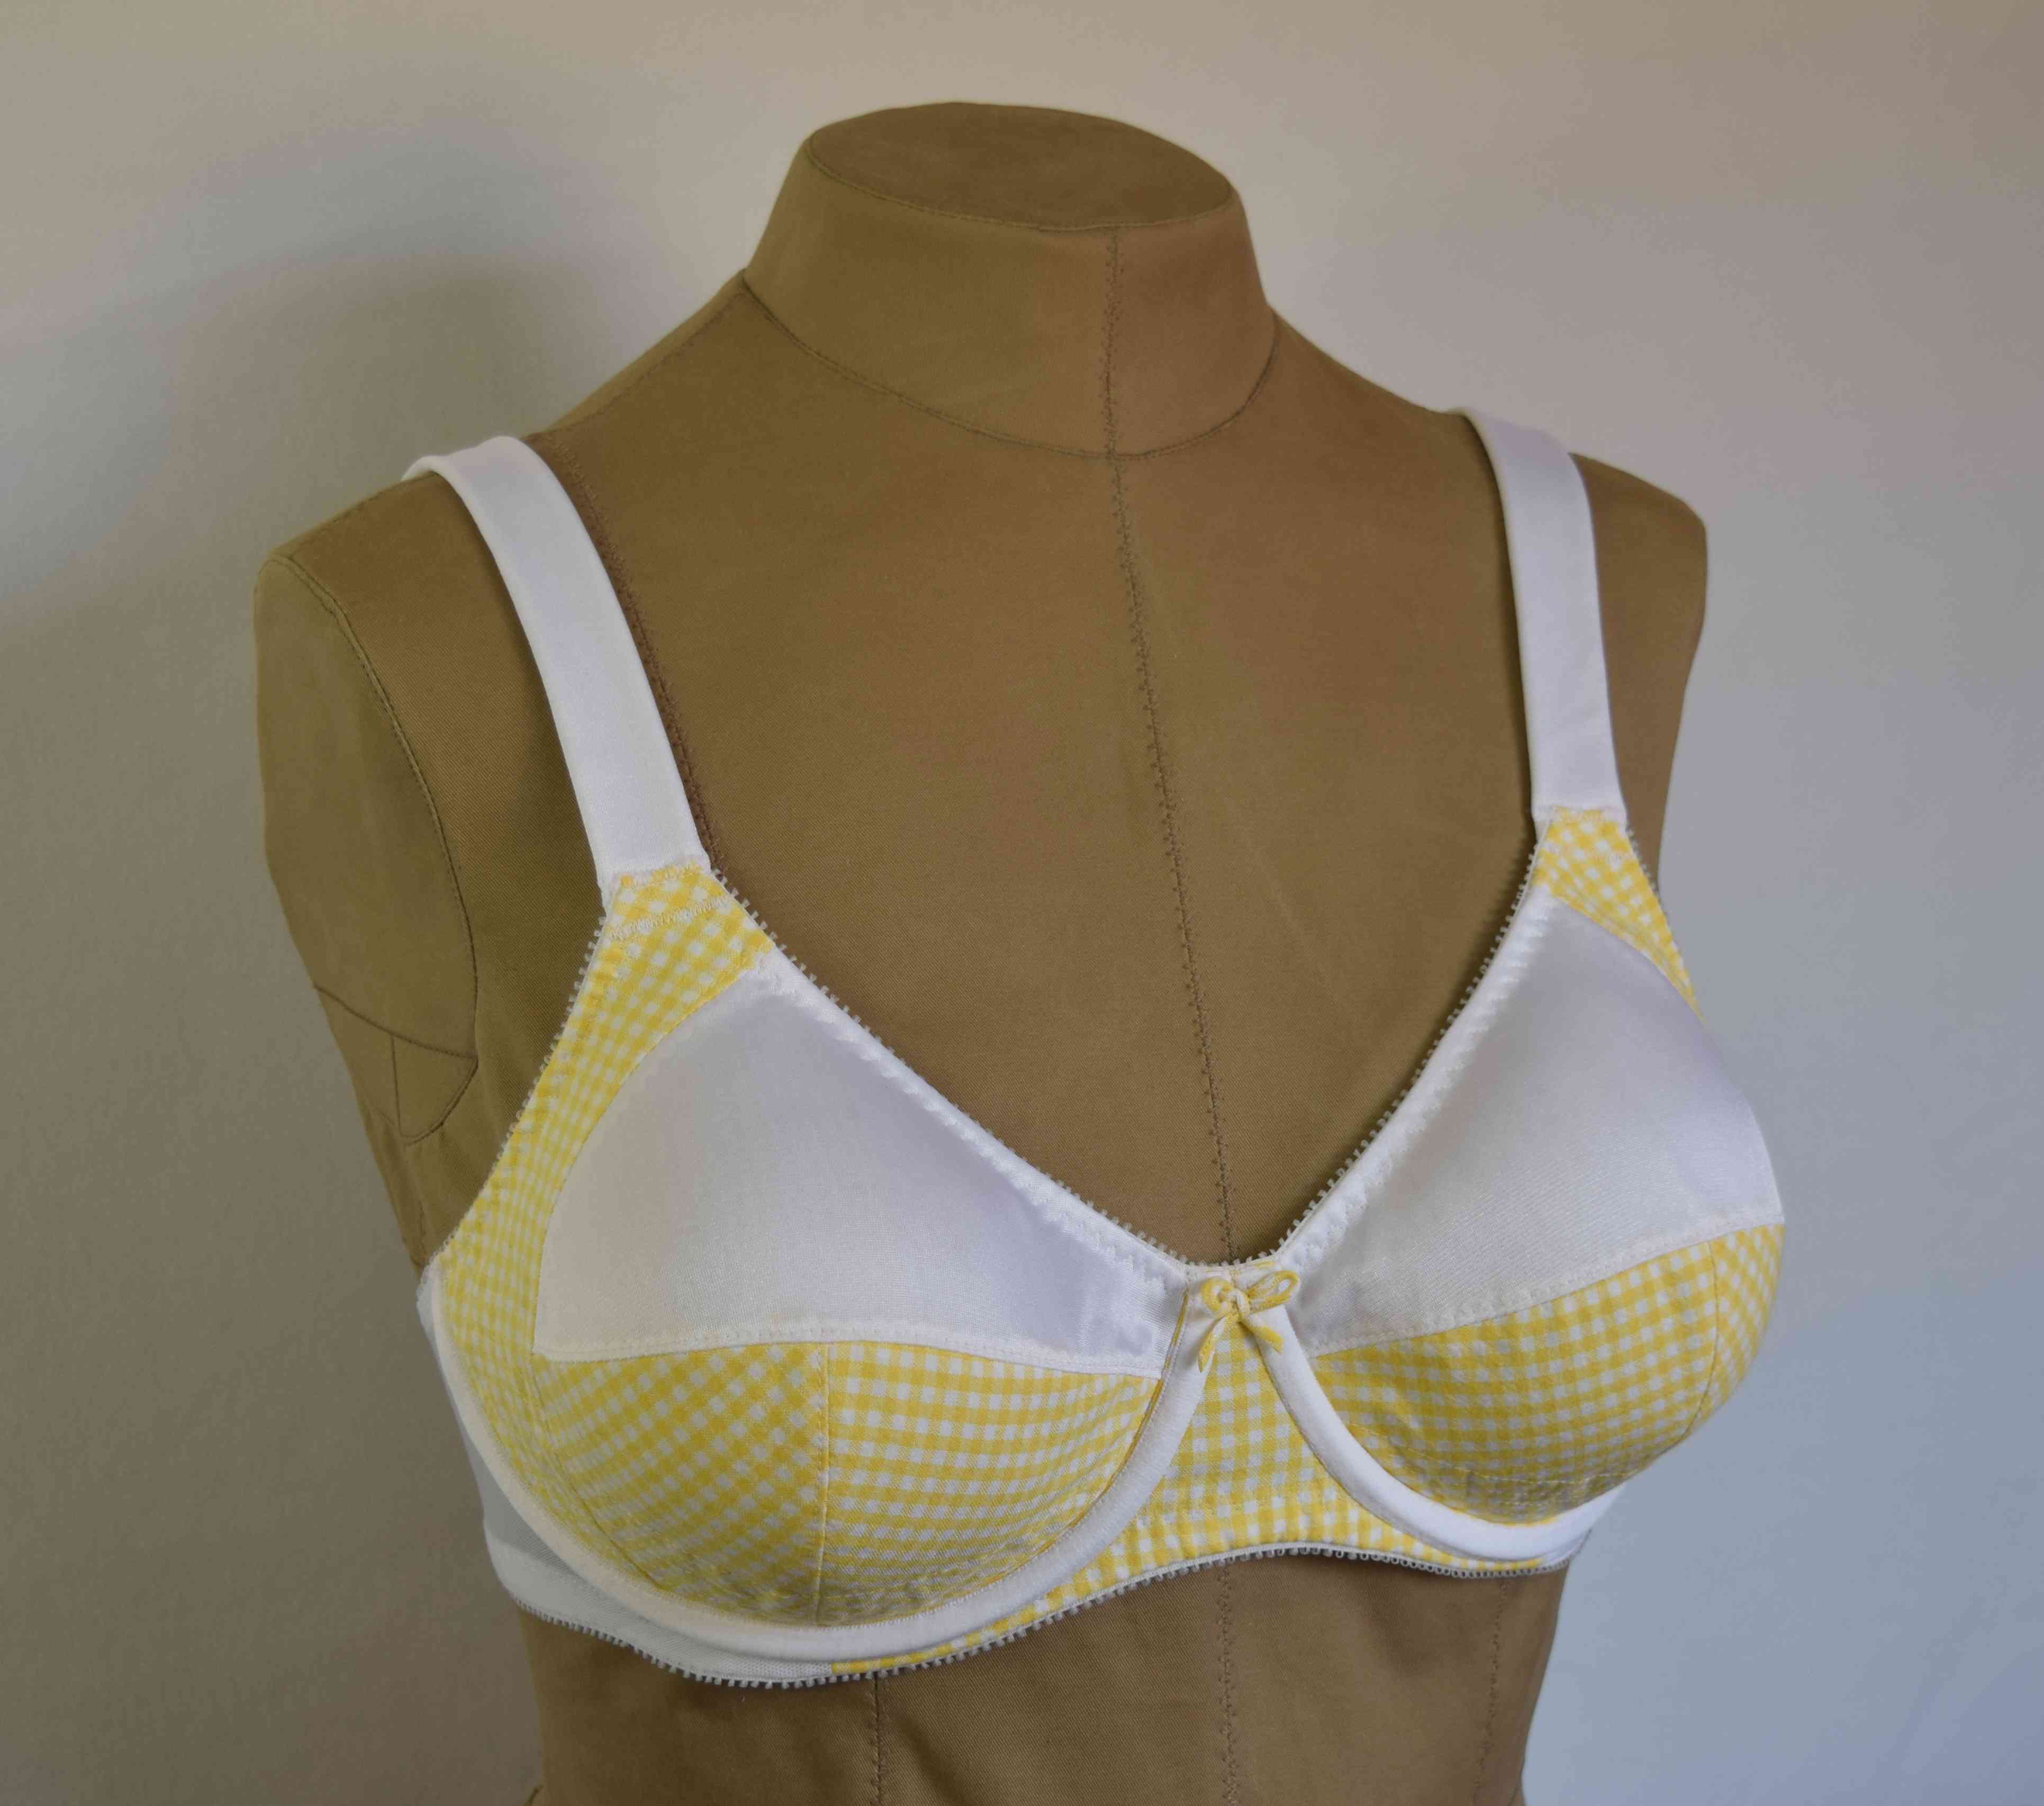
I sewed three more bras using the same self-drafted pattern as last time I made bras. The yellow and white checked fabric is Kaufman Carolina Gingham, which seems like an unlikely choice for bra fabric, but I really like it. It doesn’t stretch out too much over the course of the day, yet it has a good amount of give on the bias. I didn’t have yellow ribbon, so I made the bow out of a narrow tube of bias cut fabric.
I pulled out all of the scraps of knit fabric I had in my stash and sewed a drawer full of underwear. I only own two pairs of ready-to-wear underwear now. The pattern is one I made myself. Originally I traced off patterns from three different pairs of ready-to-wear underwear and combined them. Then I just kept tweaking the pattern. By the last pair I had the fit perfect.

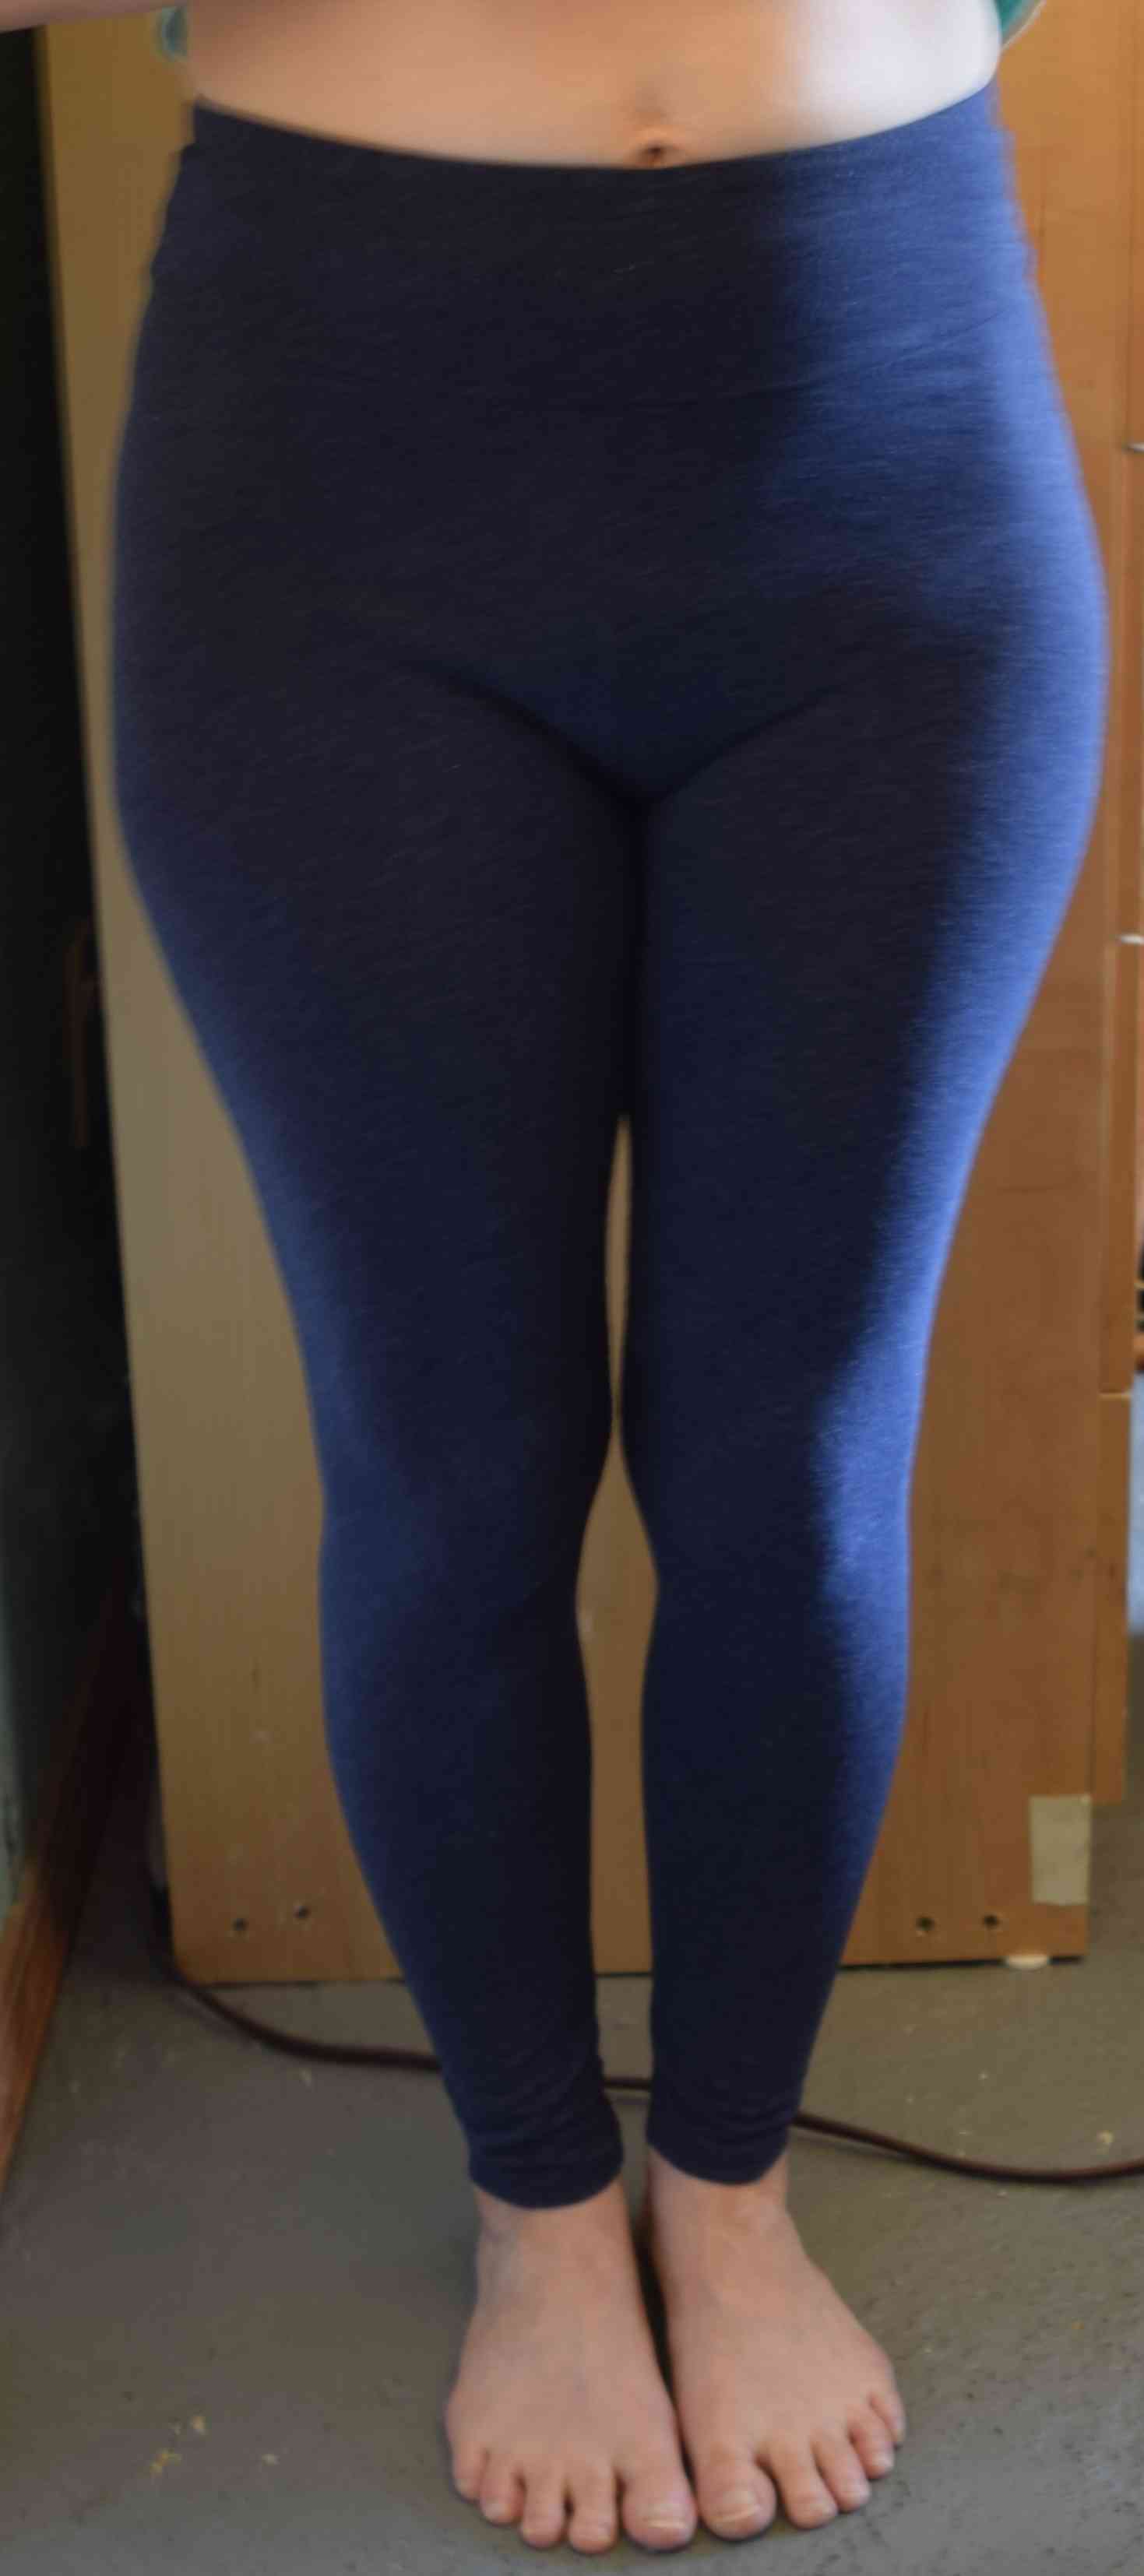
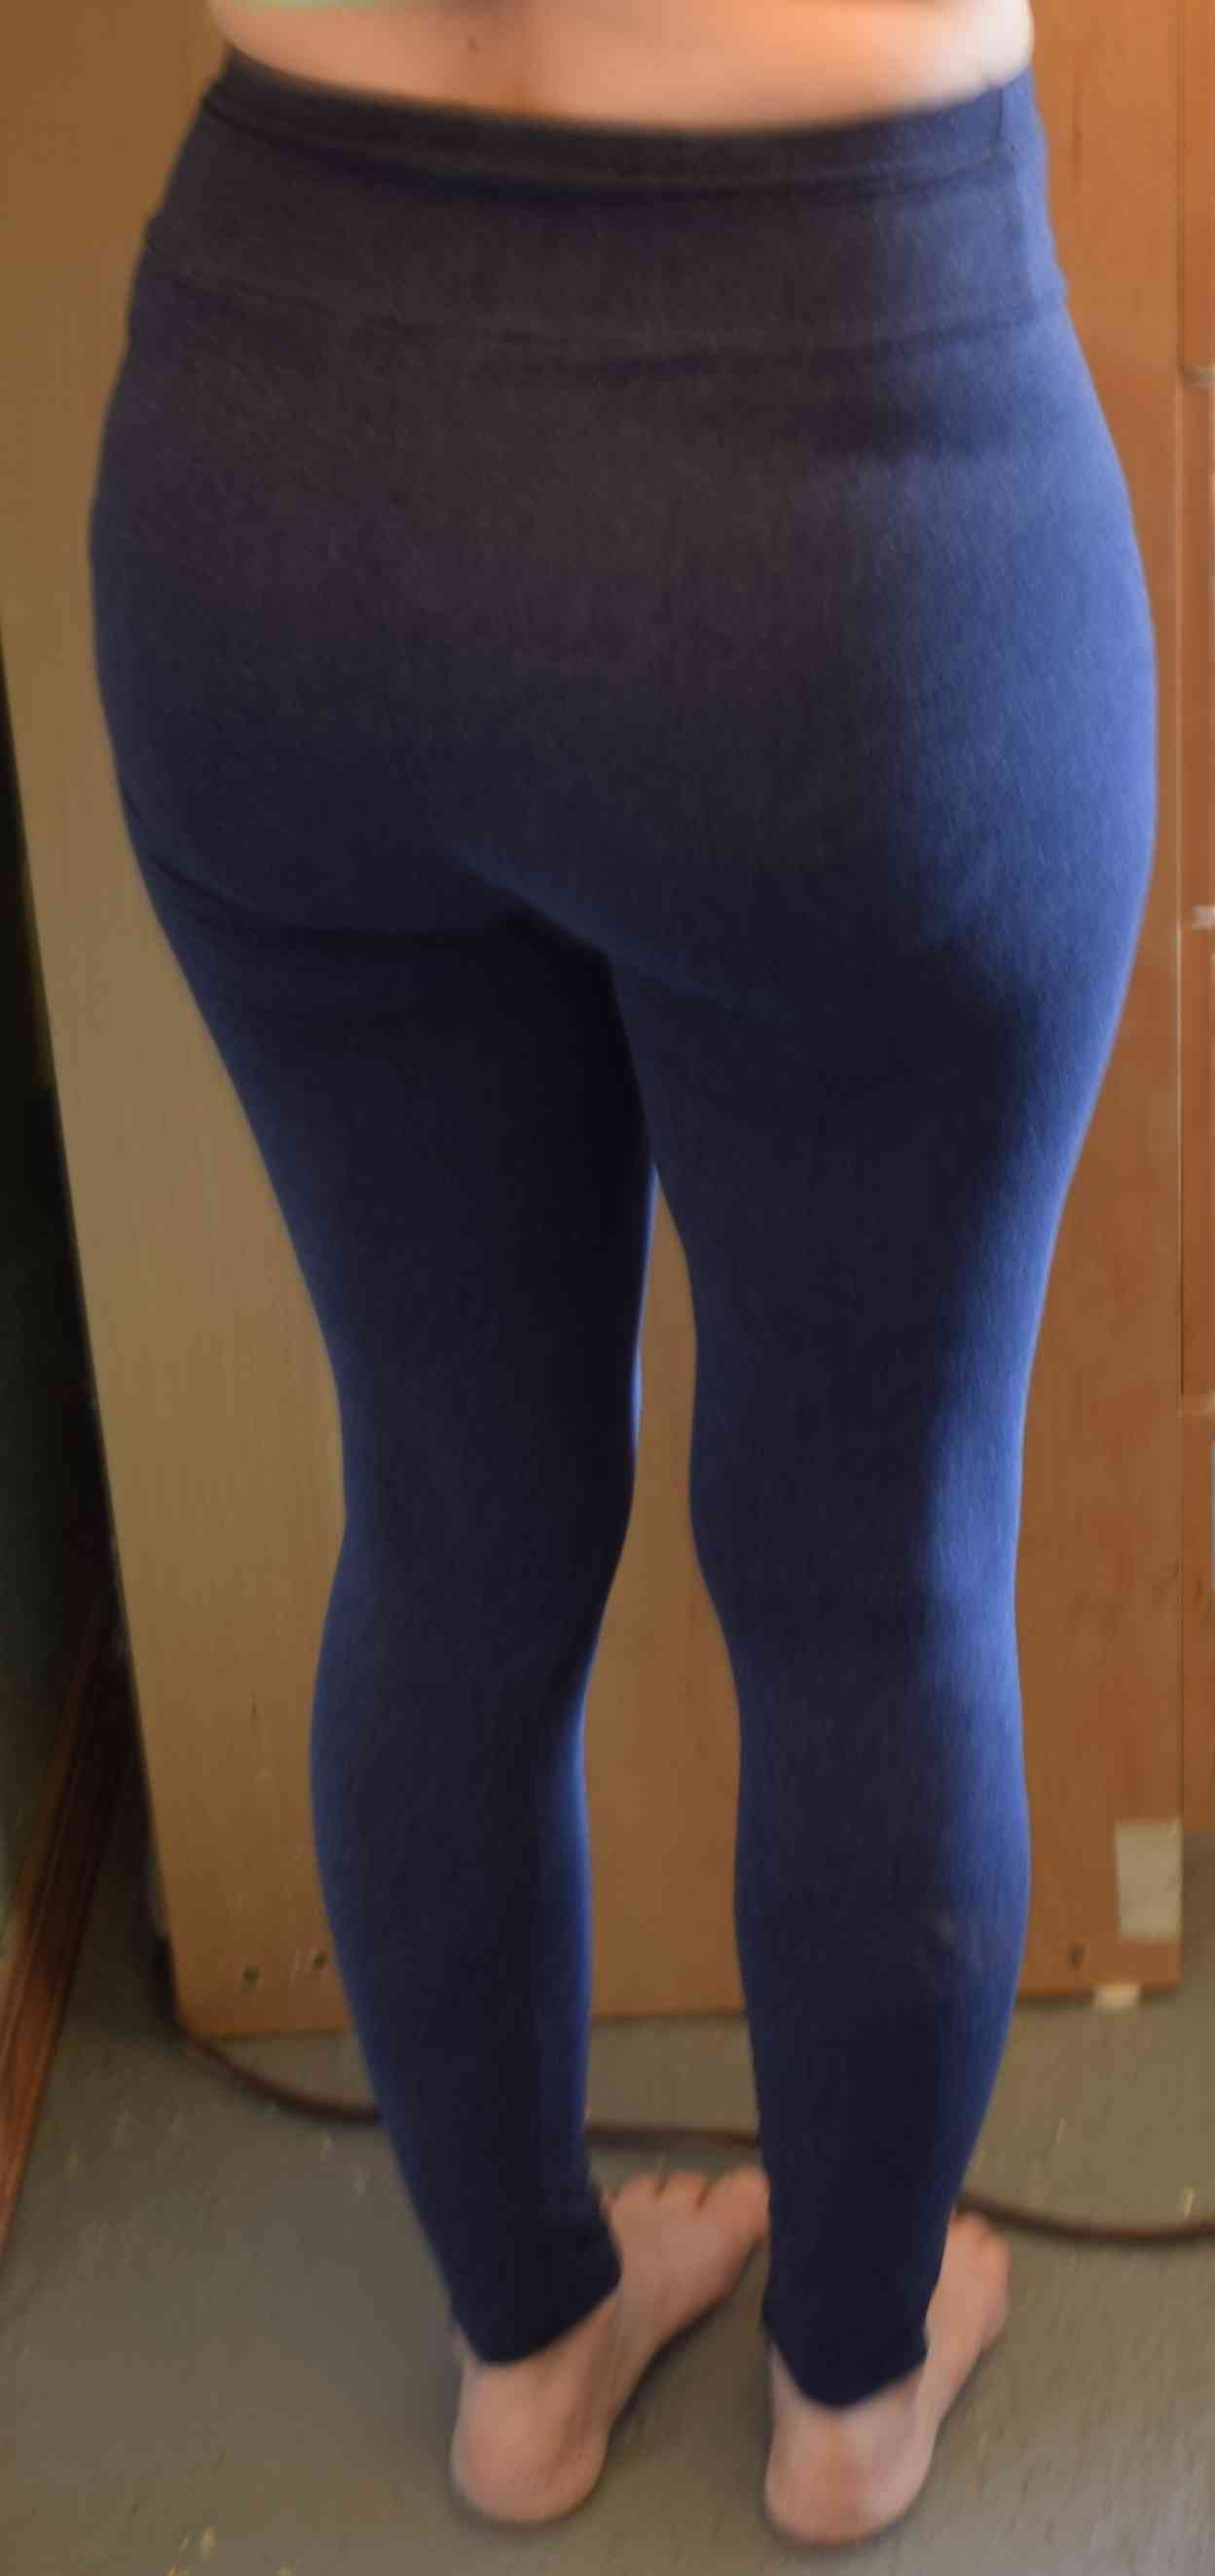
Here are a couple of blurry mirror shots of my Avery Leggings. These are really just a wearable muslin. I actually made the lower rise, cropped version, but I’m so short they nearly come up to my natural waist, and go down to my ankles. I added length to the back waist for a full bum adjustment, but next time I’ll add just a little to the width, too.
The pattern calls for 1/2″ elastic at the waist. I’m sensitive to pressure, so I used some 3/4″ elastic instead. You have to use elastic with gentle stretch, or the elastic will be longer than the fabric and it won’t sew together right. Even with the gentle stretch 3/4″ elastic, the waistband still cuts into me painfully. If I put my finger under the elastic, it doesn’t feel tight, but I just can’t tolerate narrow elastic around my natural waist.
I think I have enough fabric to re-cut the waistband and try to make it more comfortable. I can try a slightly longer piece of elastic. If that doesn’t work, I might try figuring out how to fit two rows of elastic at the top. Unfortunately I haven’t been able to find wide elastic with gentle stretch. The wide elastic I’ve purchased is all pretty firm.
It’s too bad I find the waistband uncomfortable, because I really like the higher waisted look of the leggings, and the double layered wide fabric waistband holds in my tummy nicely. It’s only waistbands up at my waist that I find uncomfortable, so I may have to get rid of the fancy waistband and just do a simple stitched and turned lowered waistband with wider elastic on my next version. I’d still get the benefit of the nifty hidden gusset in the pattern.
I sewed four pairs of woven pants for my son. I made the pattern using an experimental draping/drafting method I’m working on. I’ve learned so much about how pants fit during the process. It’s really been quite horrifying to realize how much pants fitting “experts” and pattern drafters misunderstand about the geometry of pants fit. No wonder those fitting and drafting methods haven’t worked for me. I’m not quite ready to share the method, but I think it’s going to work.


I also made him a few pairs of sweatpants using the same experimental patternmaking method for the pattern, and a matching sweatshirt using Jalie 3355. I reinforce the knees on all of his pants with interfaced patches. Otherwise he blows out the knees in a few weeks.

Not pictured are four pairs of elastic waist pants I made for my daughter, a leather holster for my scissors, and some pillowcases I sewed with my kids.
 GrowYourOwnClothes Etsy Shop

The first thing I noticed about your appliquéd hanging was the beautiful satin stitching. I’m glad you made it and feel good when you look at it. If this is how prolific you are with a limping mojo, you must be a dynamo with a full steam one!!!
I enjoy your blog.
LikeLike
Thanks for sharing your low-mojo struggle. And thanks also for sharing info about this pattern. You’ve inspired me to exercise one or more of my vintage machines. This is a great holiday gift for friends! Thanks!
LikeLike
You made a lot of beautiful clothes! And I can’t wait to try to make my own dress form.
LikeLike
I think this is the post with the homemade undies. I made a pair out of “activewear” — some poly or nylon+lycra. I did a partial lining with swimwear lining. I had a crazy idea to reuse my boyfriends old undie-tops, cut off and put on mine to give the waist some kind of “professional” look, and boy was that look horrid! It was so shabby (they were his old undies) that I was embarrassed to change clothes at gym. So I made a self-double-over waistband, and it’s enough stretch and give for me. The legs I did a binding, as if it were a neckline. I wanted to see if I could omit the foldover elastic or all kind of elastic. And I can! I realized on my store-bought undies that they use elastic because it has to be one-size fits nobody-great and they need elastic. I also use it on my swimwear because it’s really hard on fabric and when my suits disintegrate I tarry making new ones and the elastic is the only thing keeping the suit together and on me. But these “activewear” undies have been my favorite pair, and don’t itch in hot weather where elastic would be. I might try compression-knit as elastic, and fold over the “fashion” fabric over that, instead of rubbery elastic, to see if I can get the bands to be a little less bulky. Right now they’re 4 layers thick. Three layers would probably be better.
But I return to your Brother Coverstitch guide every so often and remind myself of things, esp. like, “Quit fiddling with the foot pressure.” Thanks!
LikeLike